How to Properly Upscale Pixel Art in Photoshop

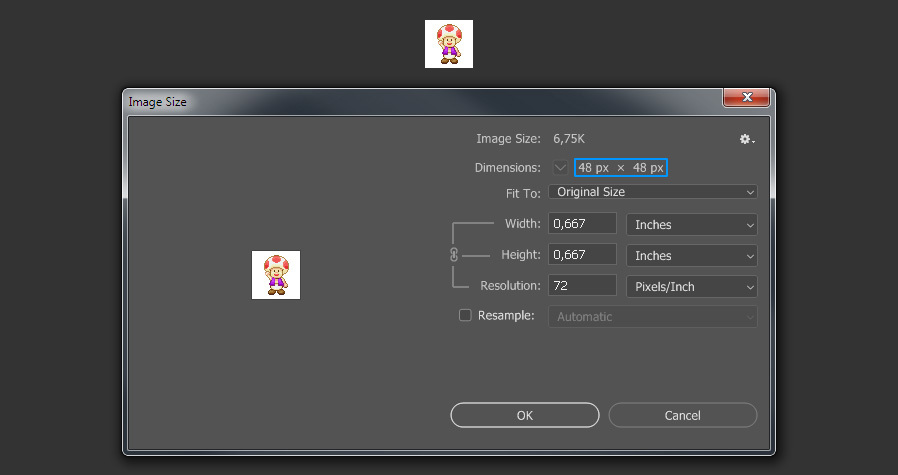
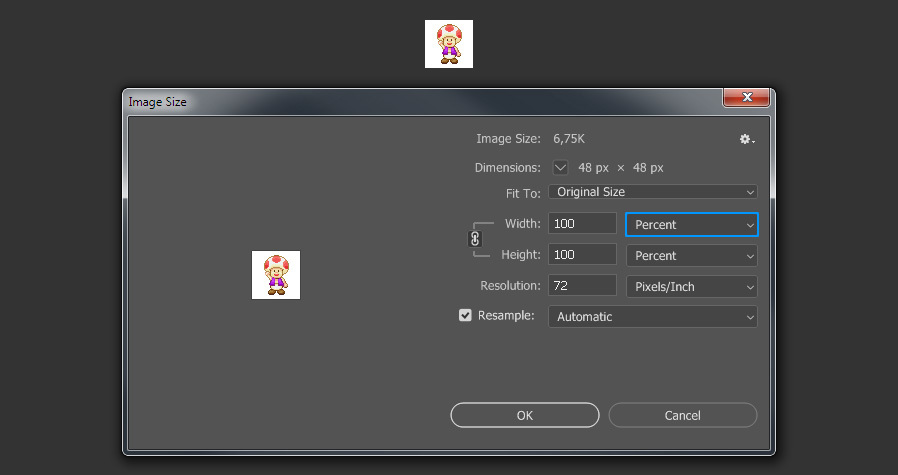
Open your pixel art image in Photoshop and go to Image > Image Size. In this case the image dimensions are 48 x 48 px.
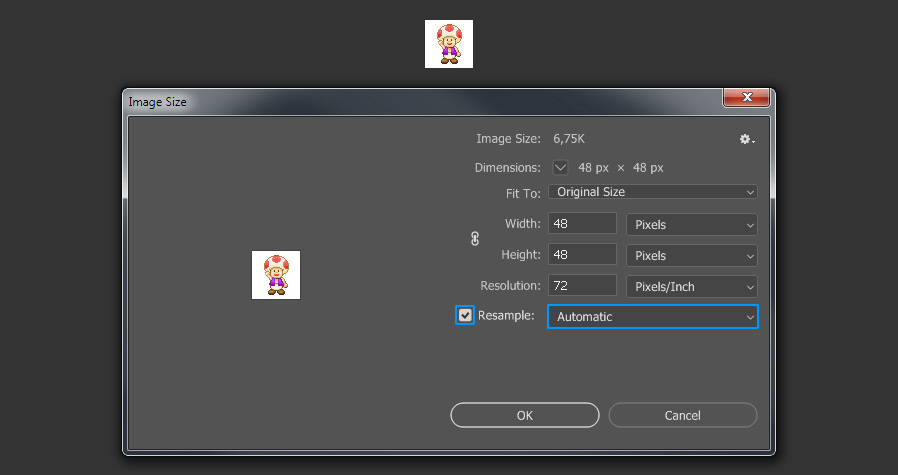
Step 2
Check the Resample option. By default, Photoshop will set the resampling method to Automatic.
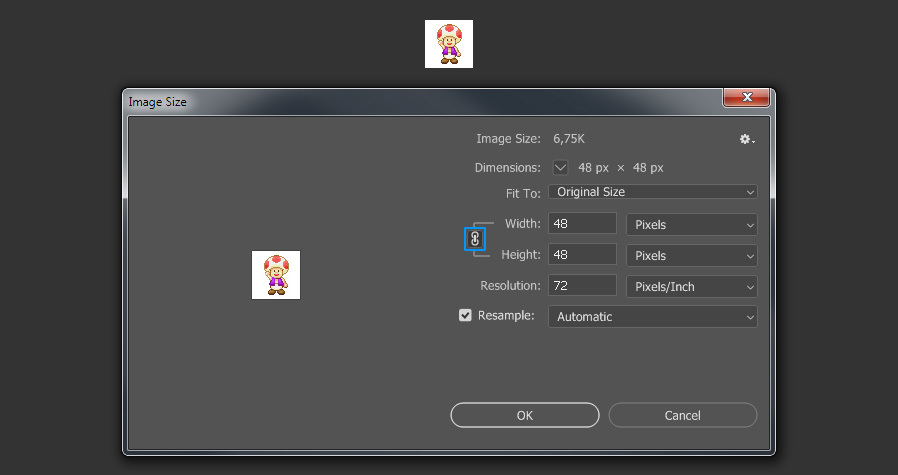
Step 3
Check the “Constrain Aspect Ratio” icon.
Step 4
Set the Width and Height to “Percent”.
Step 5
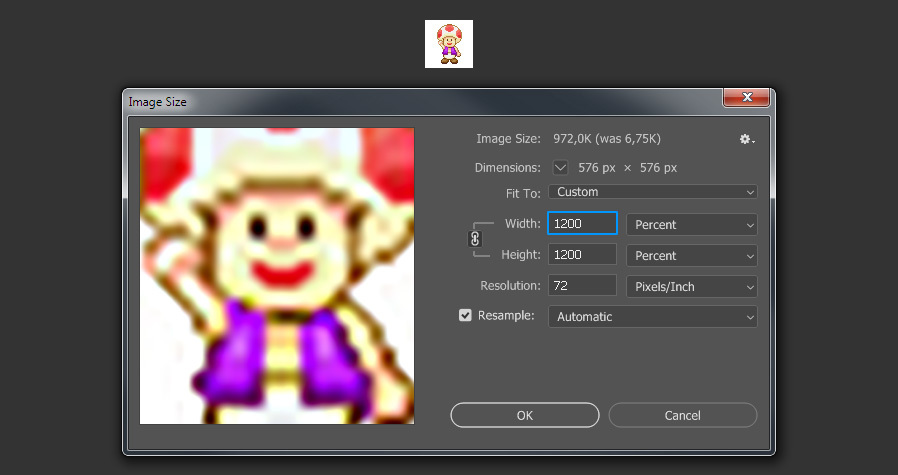
Finally, set the percentage Width to 1200 and click OK.
Step 6
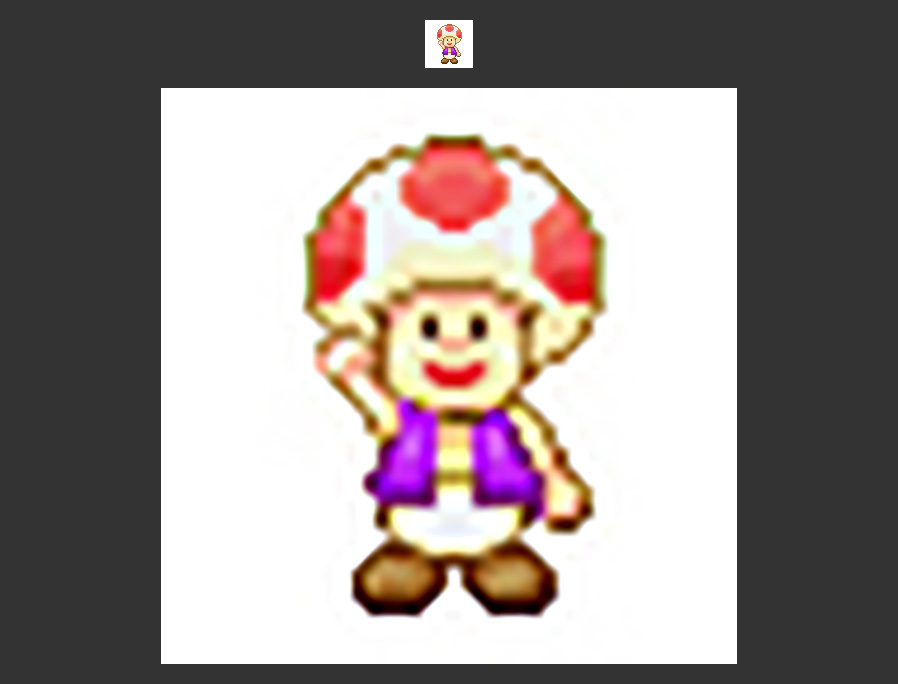
As you may see, the end result is not even close to be acceptable.
The Wrong Method 2
Step 1
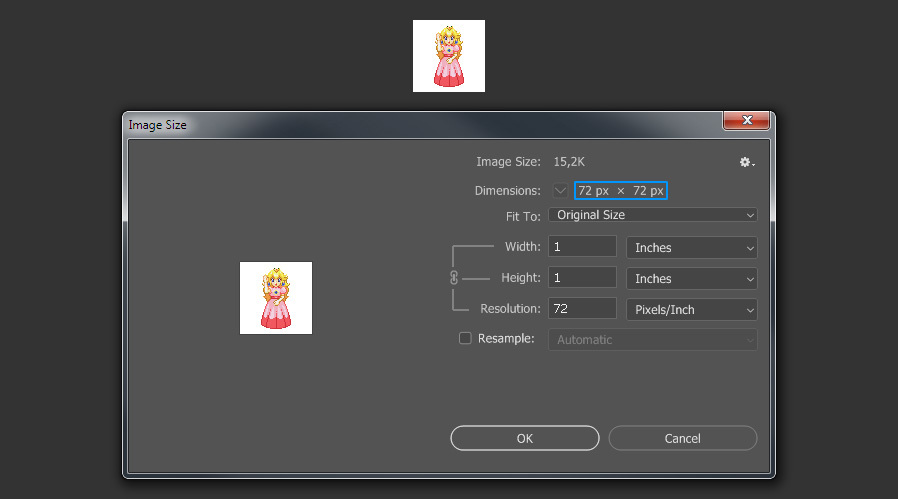
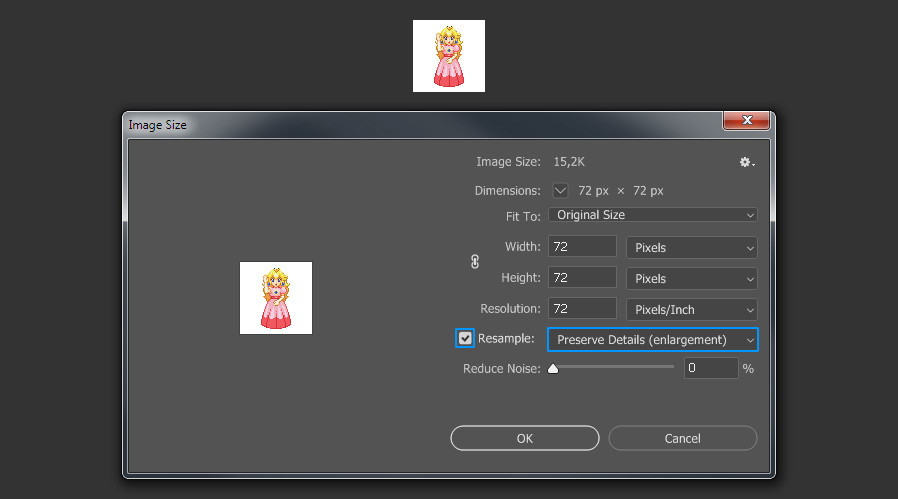
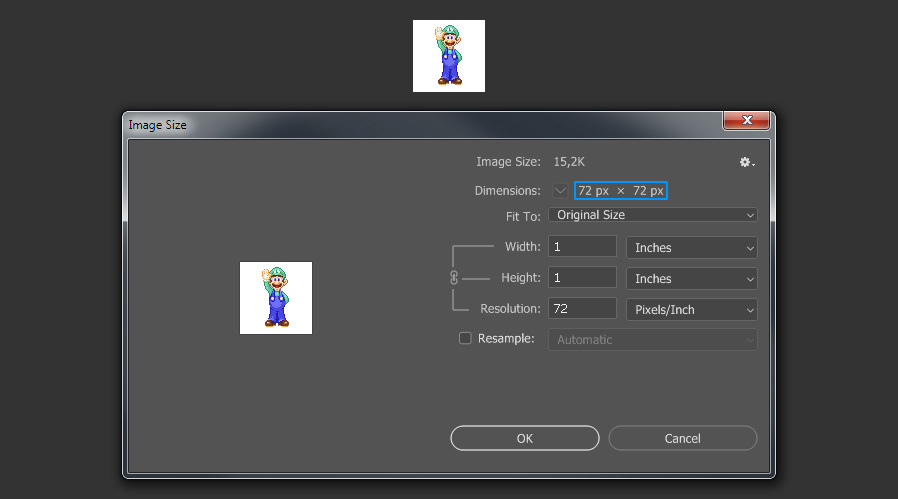
Open your pixel art image in Photoshop and go to Image > Image Size. In this case the image dimensions are 72 x 72 px.
Step 2
Check the Resample option, and from the dropdown menu select “Preserve Details (enlargement)”.
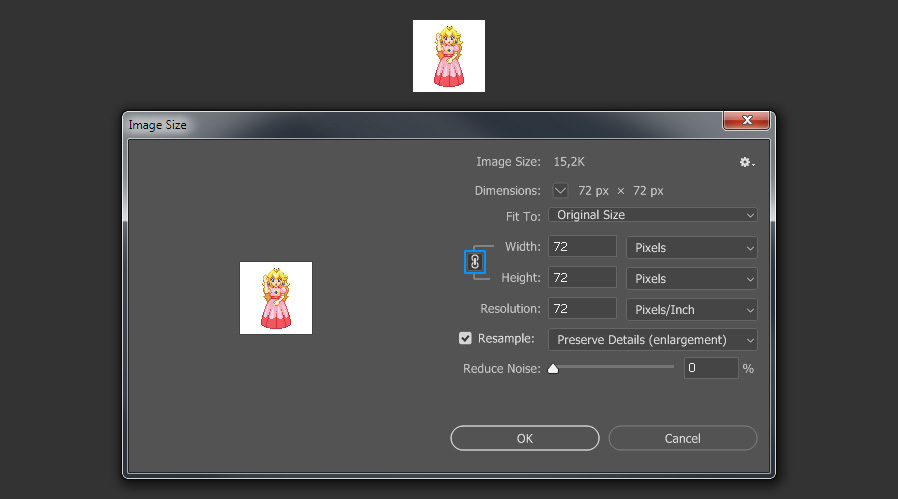
Step 3
Check the “Constrain Aspect Ratio” icon.
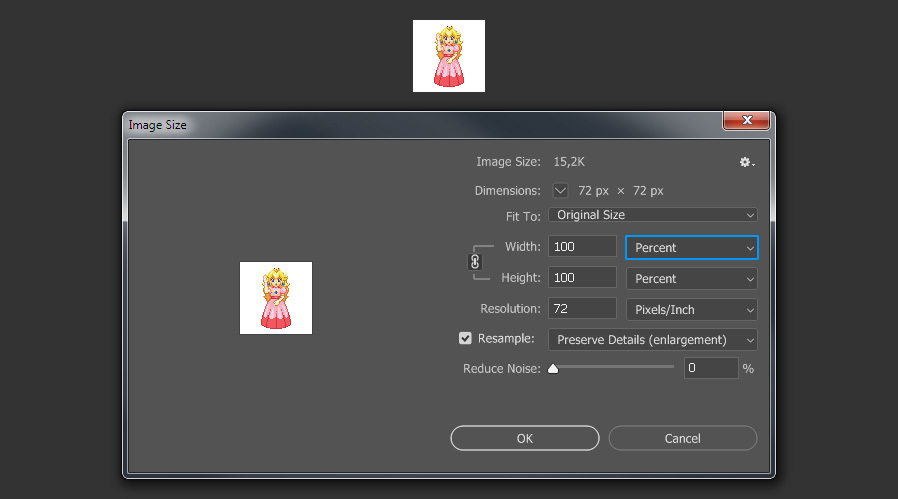
Step 4
Set the Width and Height to “Percent”.
Step 5
Finally, set the percentage Width to 1200 and click OK.
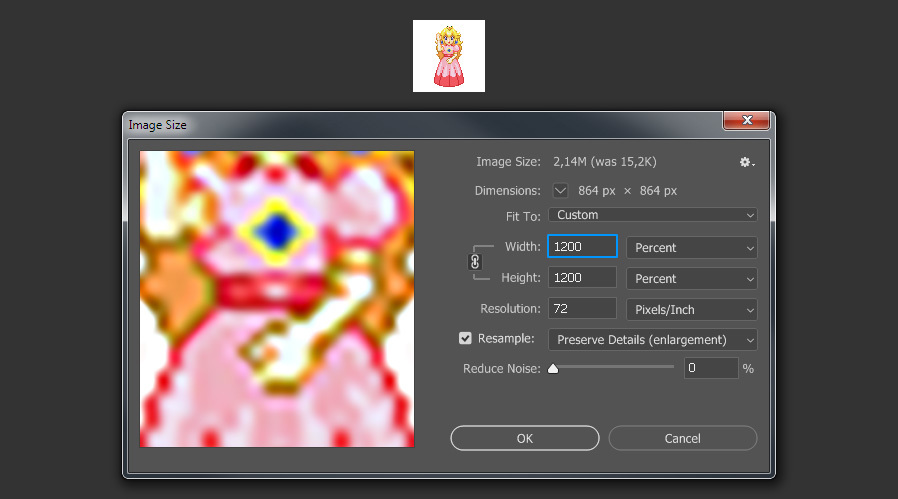
Step 6
As you may see again, the end result is not even close to be acceptable.
The Wrong Method 3
Step 1
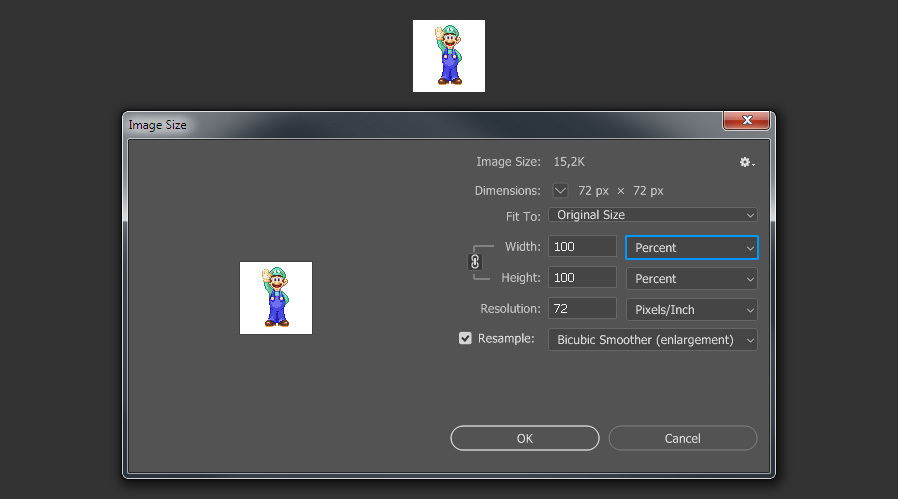
Open your pixel art image in Photoshop and go to Image > Image Size. In this case the image dimensions are 72 x 72 px.
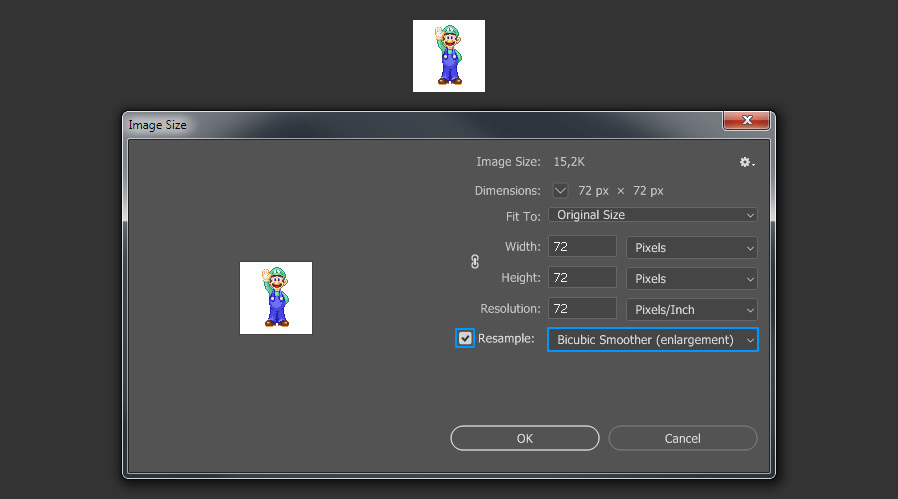
Step 2
Check the Resample option, and from the dropdown menu select “Bicubic Smoother (enlargement)”.
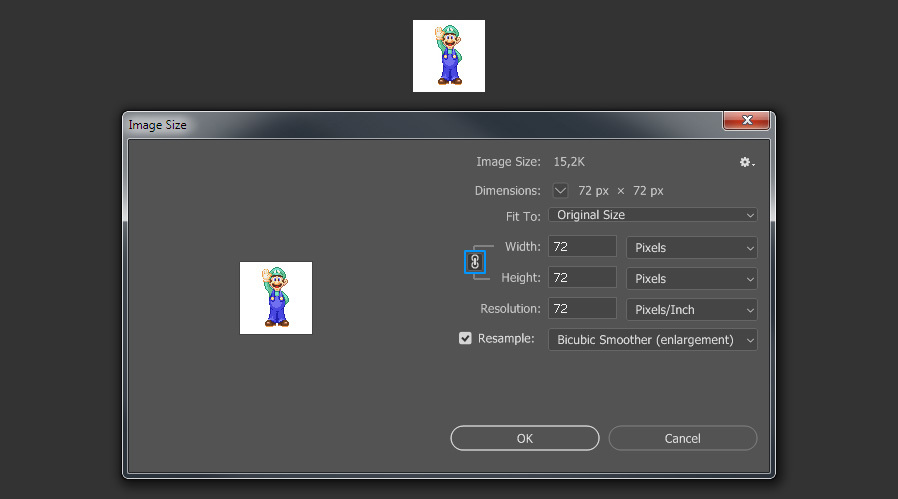
Step 3
Check the “Constrain Aspect Ratio” icon.
Step 4
Set the Width and Height to “Percent”.
Step 5
Finally, set the percentage Width to 1200 and click OK.
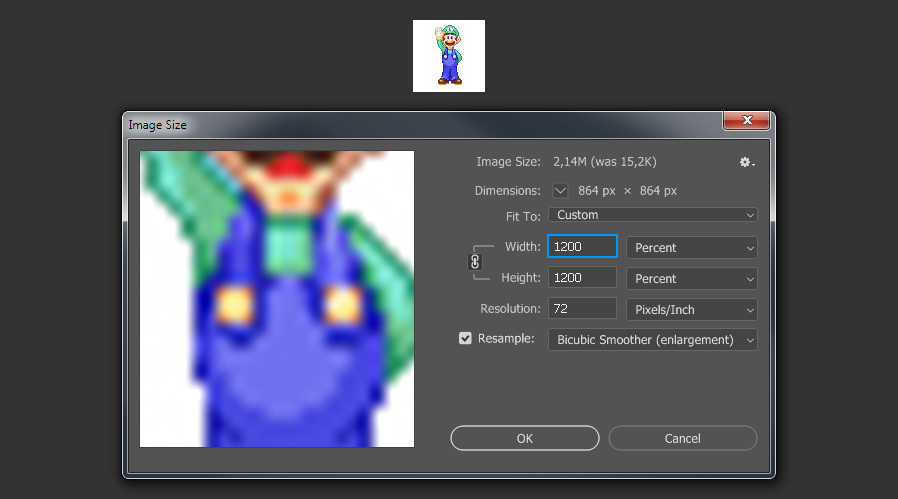
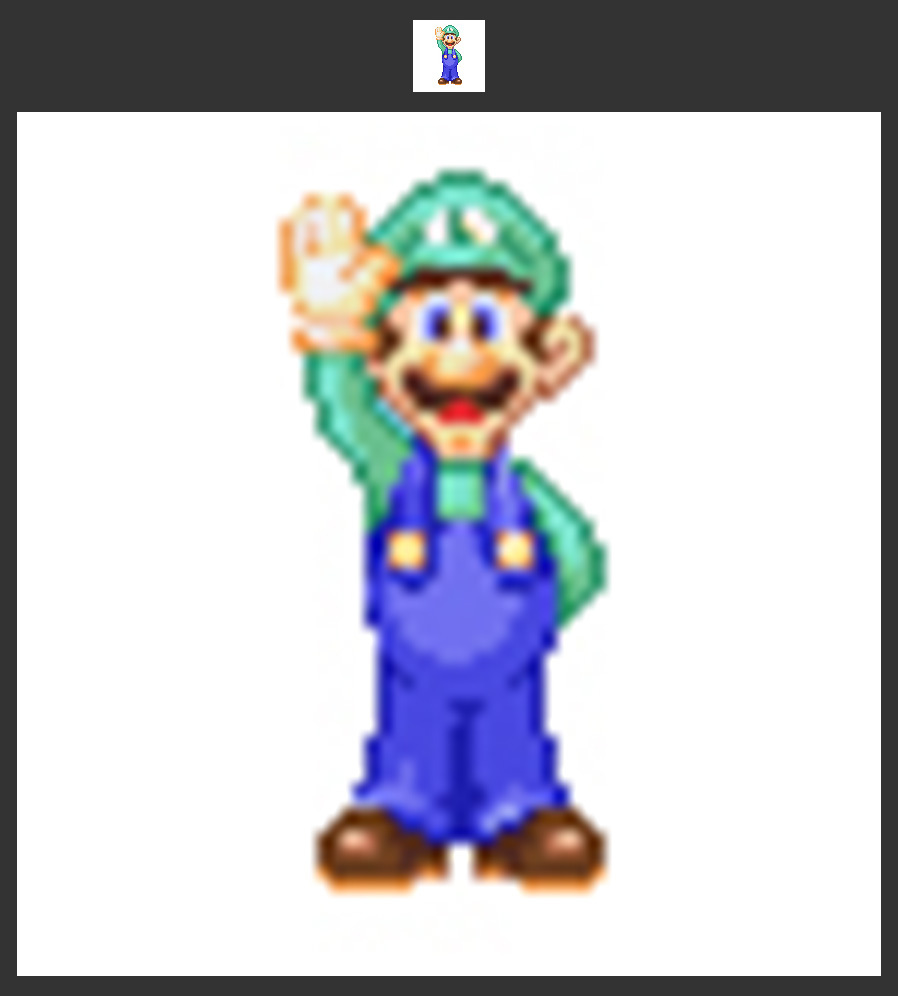
Step 6
Again the end result is not acceptable at all.
The Correct Method
Step 1
Open your pixel art image in Photoshop and go to Image > Image Size. In this case the image dimensions are 72 x 72 px.
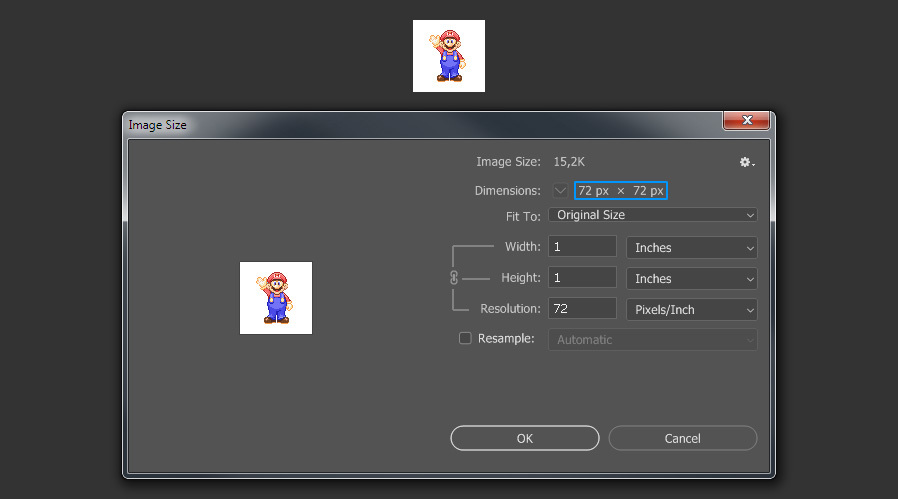
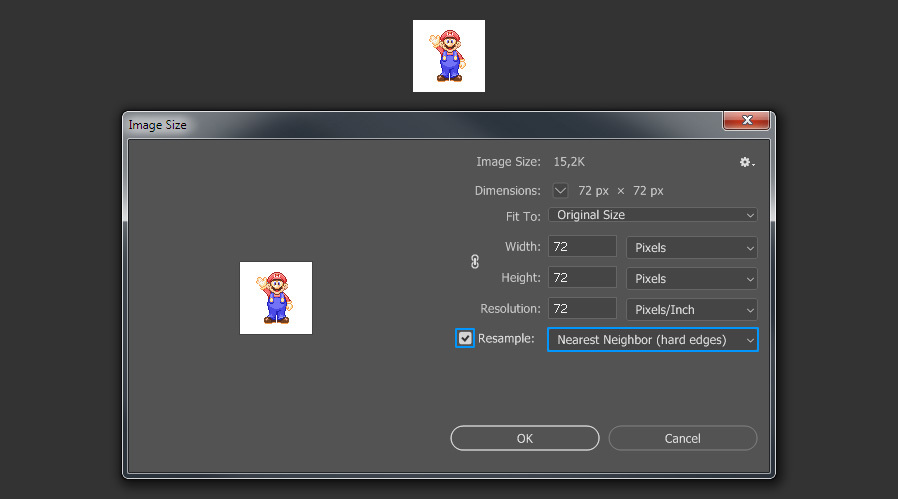
Step 2
Check the Resample option, and from the dropdown menu select “Nearest Neighbor (hard edges)”.
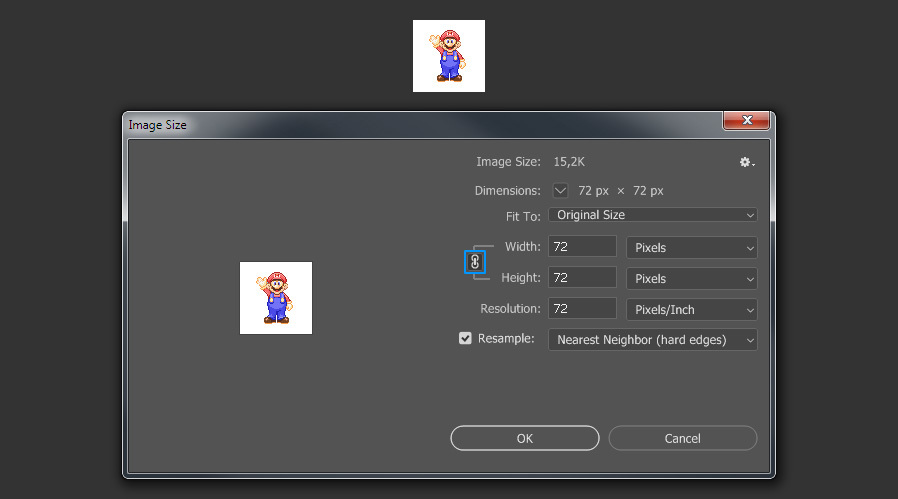
Step 3
Check the “Constrain Aspect Ratio” icon.
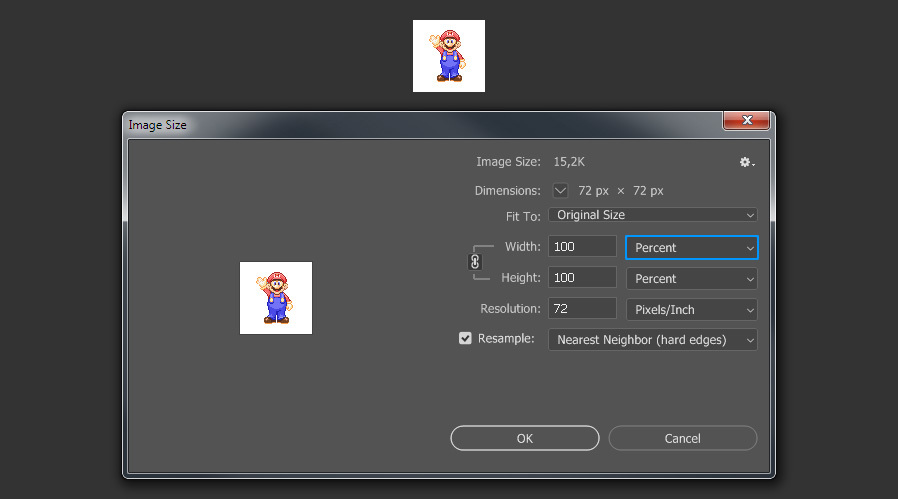
Step 4
Set the Width and Height to “Percent”.
Step 5
Finally, set the percentage Width to 1200 and click OK.
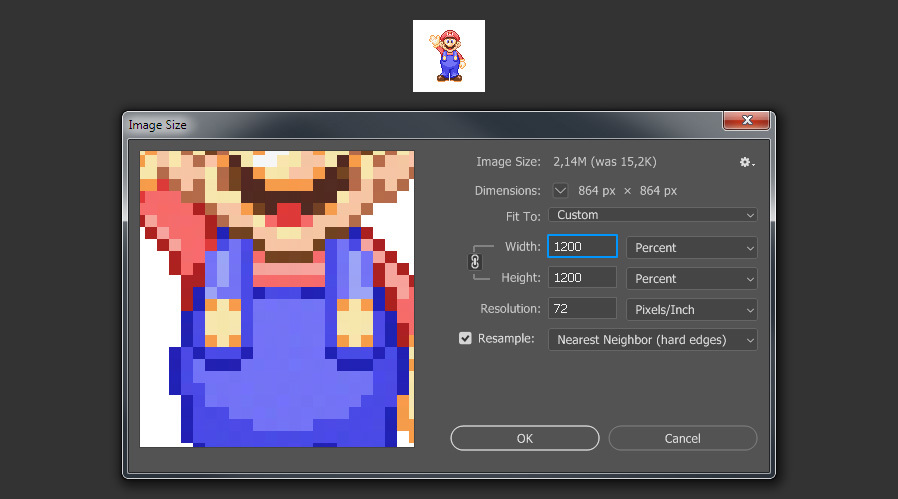
Step 6
This time the final result is exactly what we expect when we need to upscale our pixel art images.