How to Make Your Own Grain Brush in Illustrator

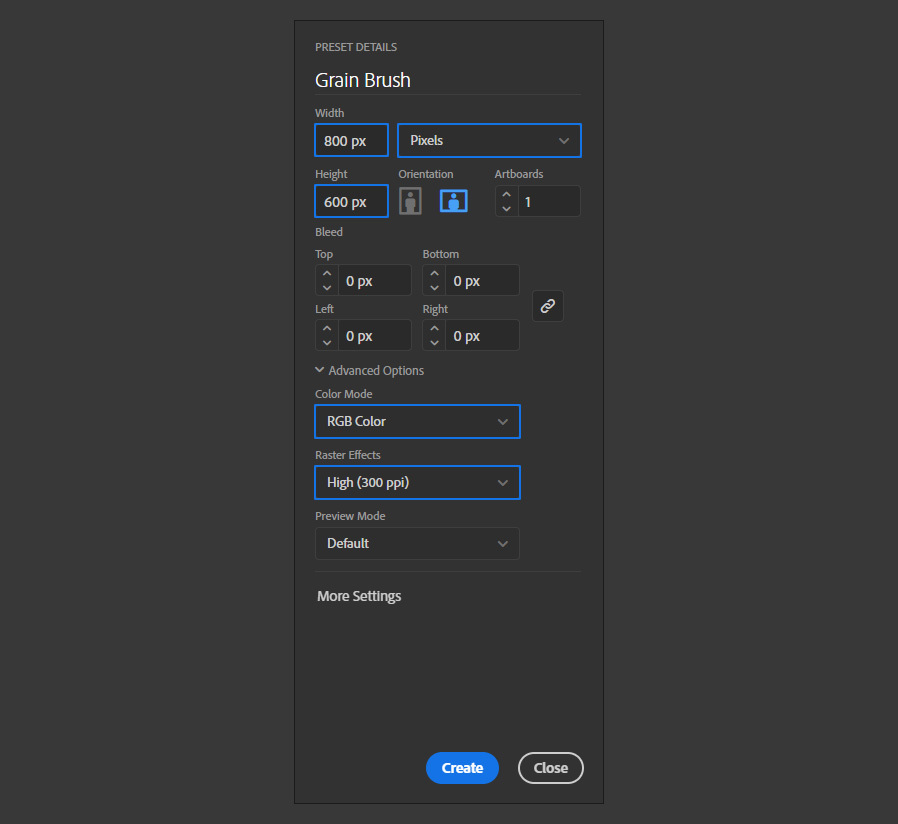
Step 1
Open Illustrator and make a new file at any size you want. In this case i will make mine at 800 x 600 px.
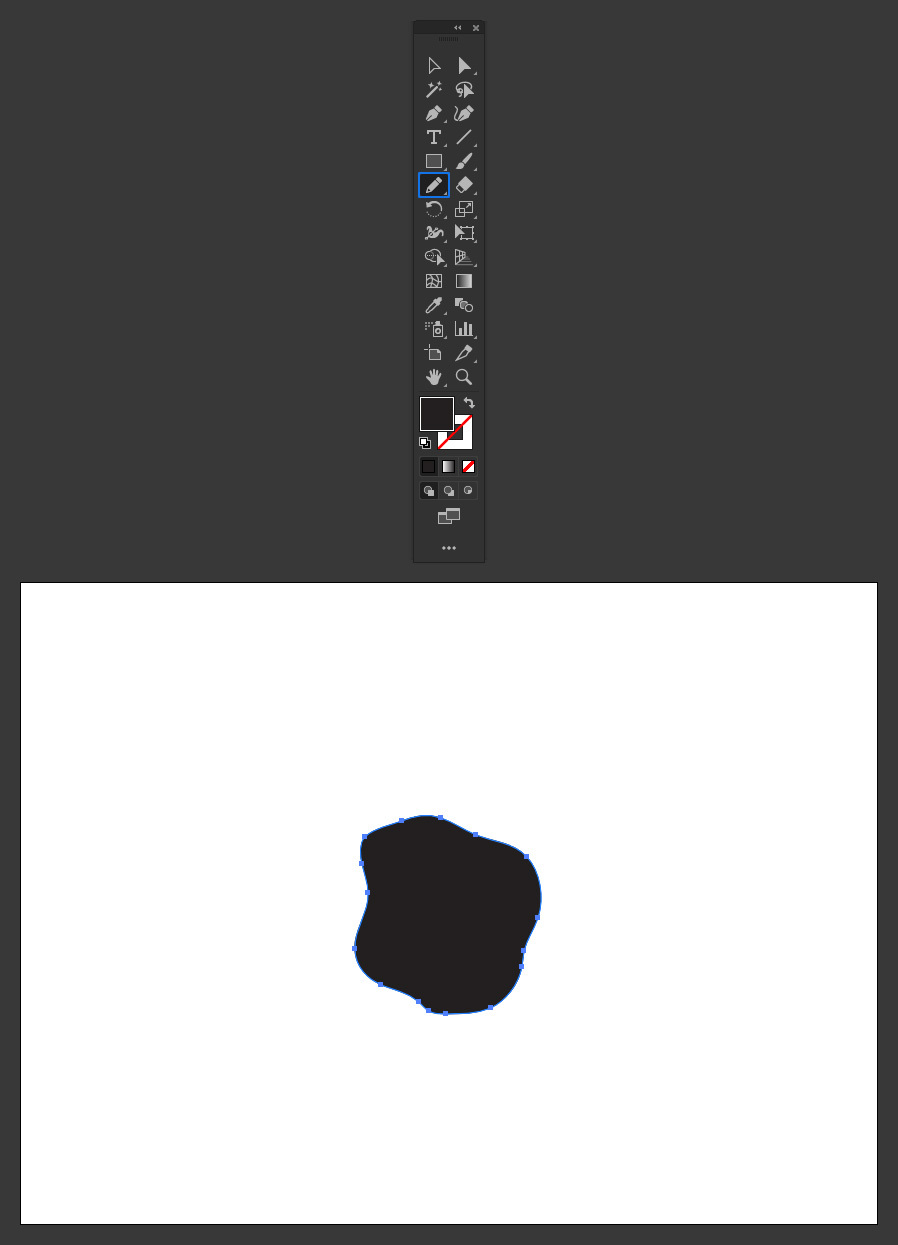
Step 2
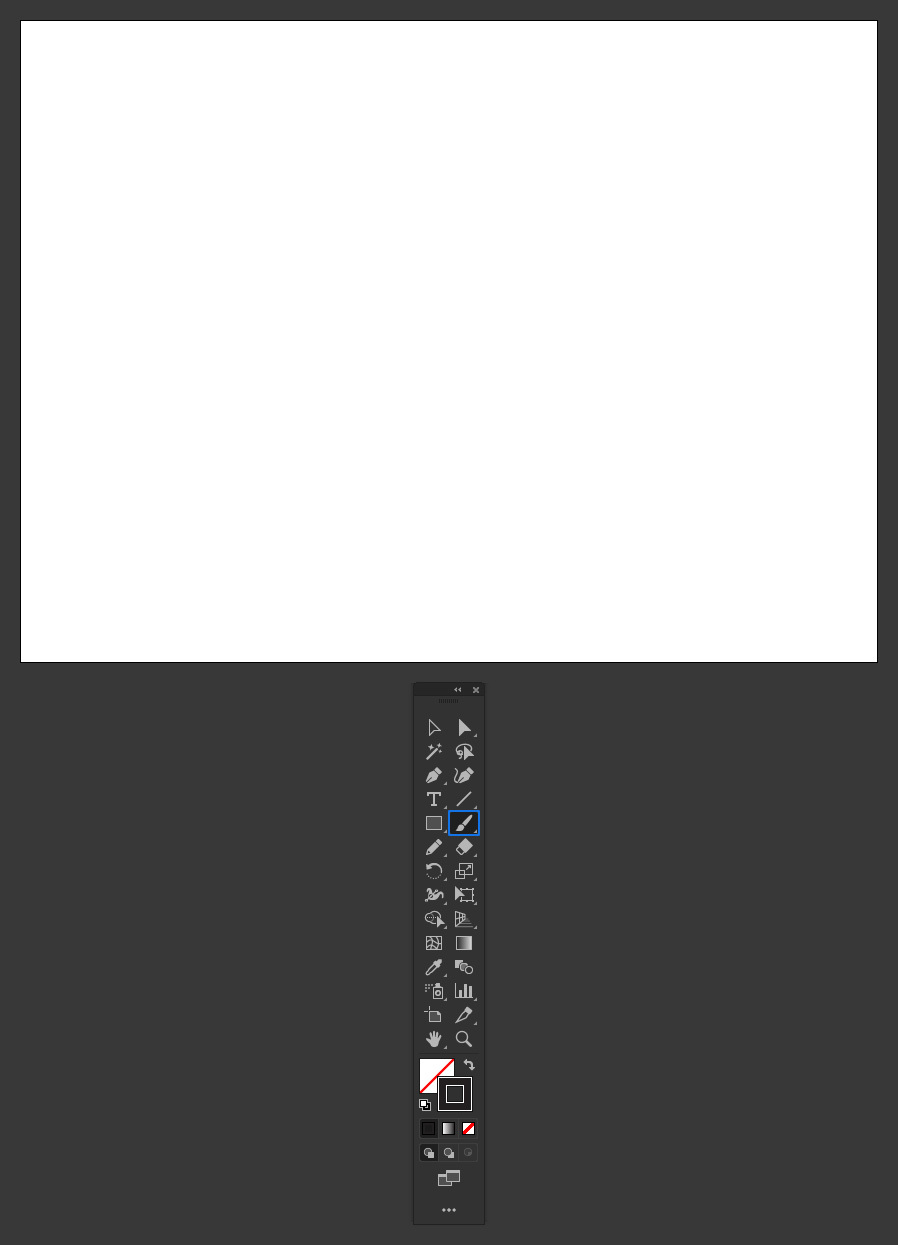
In the Tools Panel, select the Pencil Tool (N) and draw a random shape.
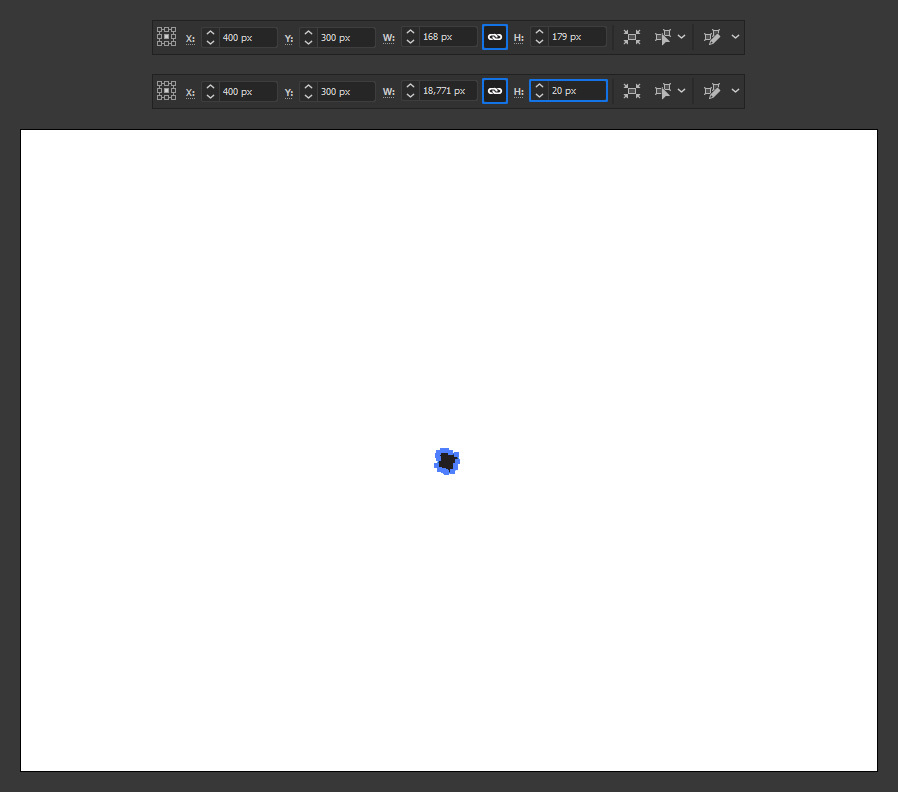
Step 3
In the top toolbar, be sure to have the “constrain” option active and set the larger size of the shape to about 20 px. In this case, as the Height is the bigger value, i will set it to 20 px.
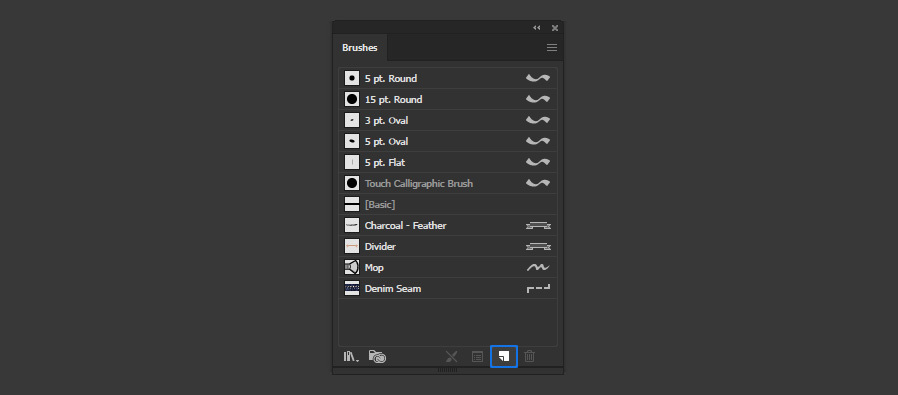
Step 4
With the shape selected go to Window > Brushes and click on the “New Brush” icon in the bottom right corner.
Step 5
Select “Scatter Brush” and click OK.

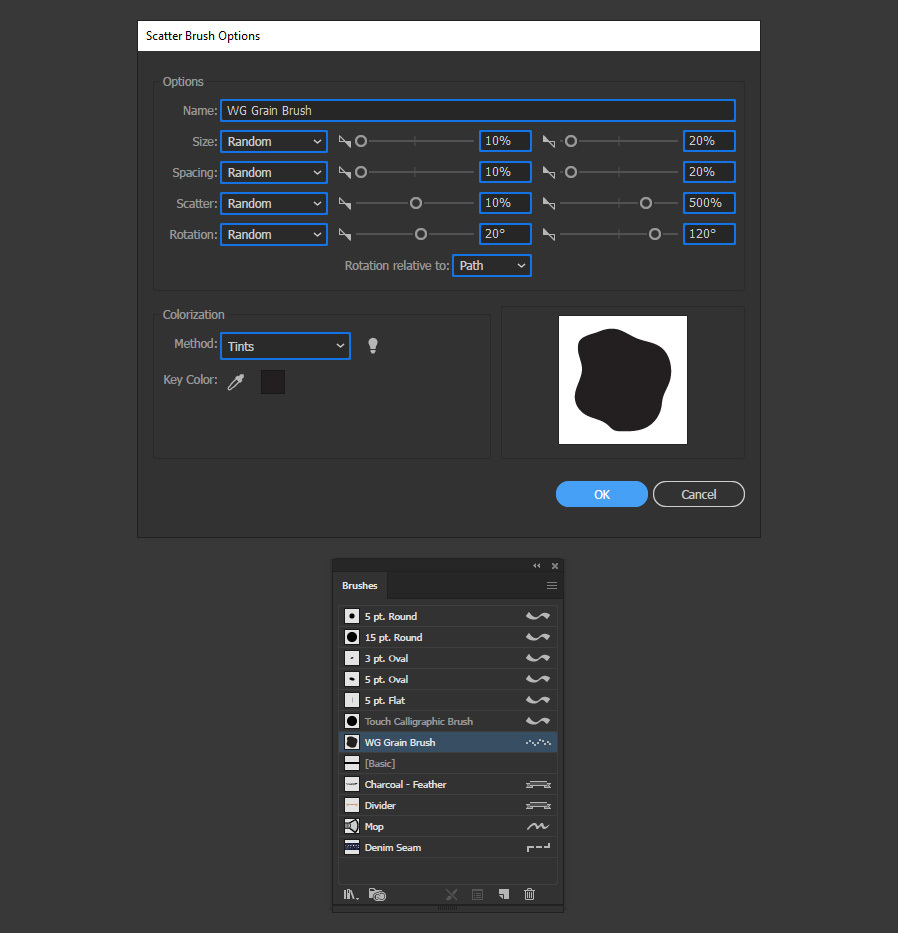
Step 6
Give the new brush a name, apply the following settings and click OK.
Step 7
Delete the shape we used for our brush and in the Tools Panel select the Brush Tool.
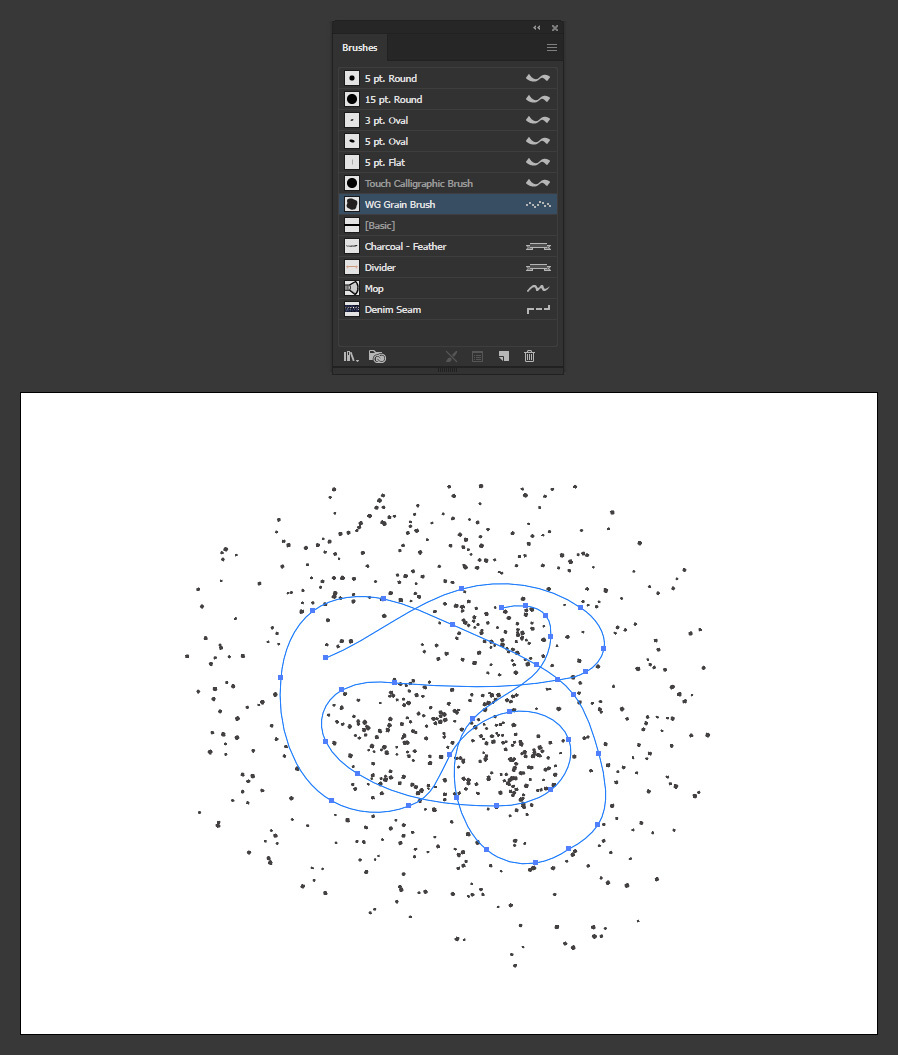
Step 8
Be sure to have the new brush selected in the Brushes window and paint over the artboard.
Step 9
If you want to make your brush larger or smaller, simply increase or decrease the stroke size in the Stroke window.


