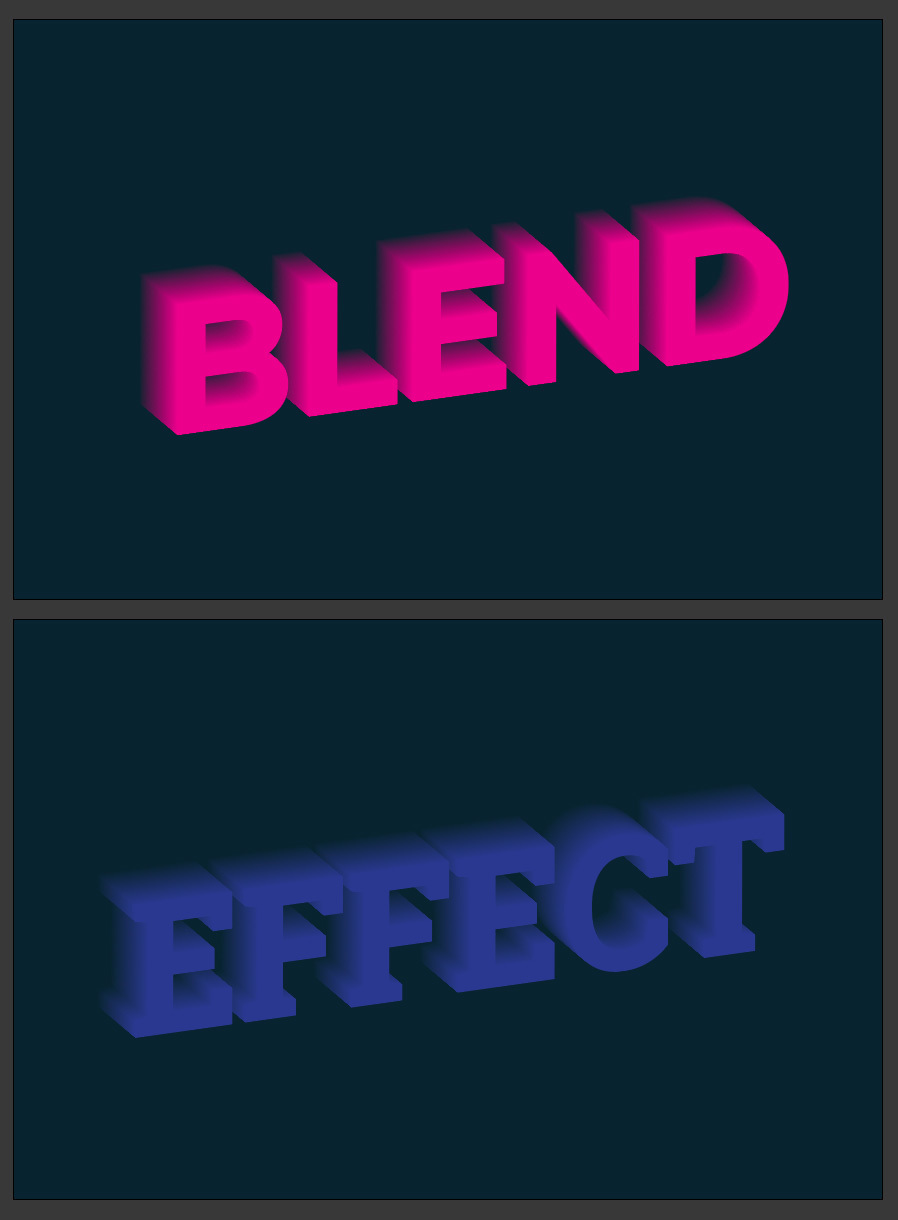
How to Make a 3D Blend Text Effect in Illustrator

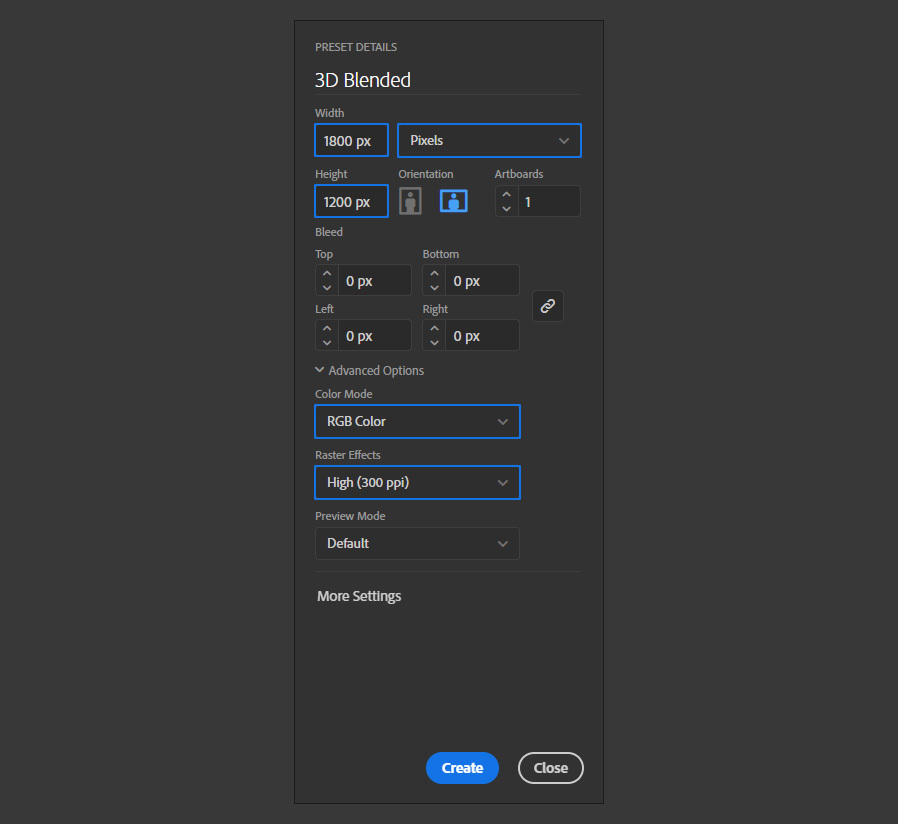
Open Illustrator and make a new file at any size you want. In this case i will make mine at 1800 x 1200 px.
Step 2
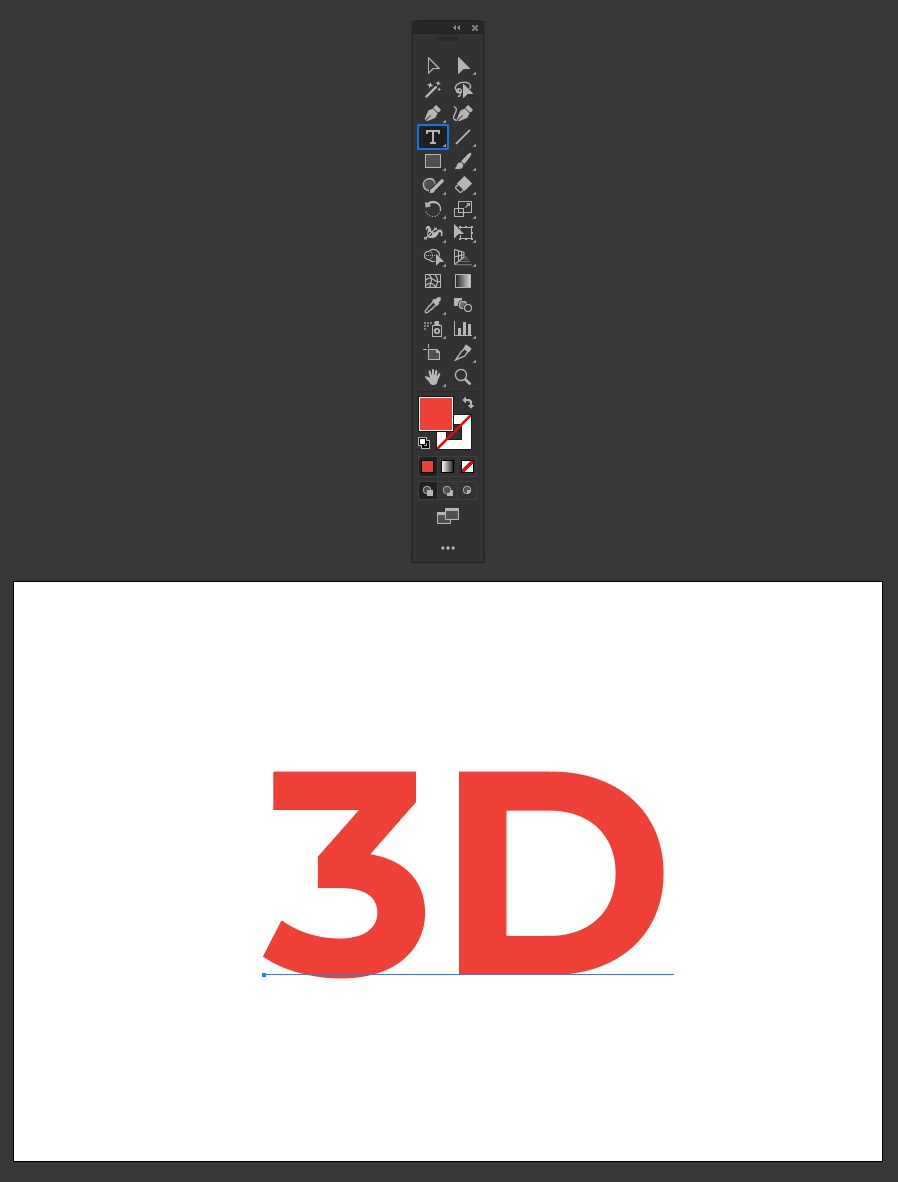
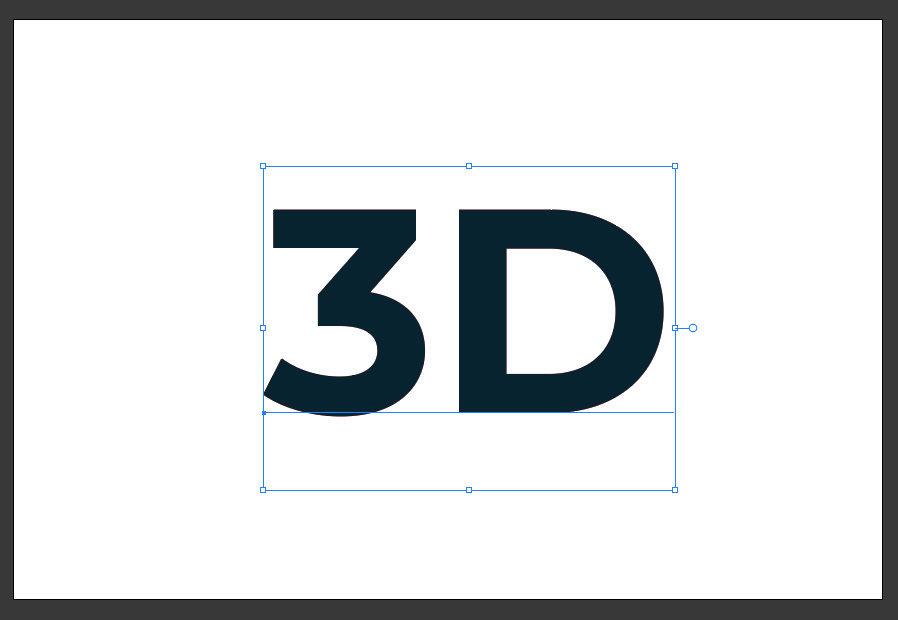
Select the Type Tool (T) and type your text. In this case, I will be using Montserrat Bold at 600pt with a dark orange color.
Step 3
With the text selected go to Edit > Copy and then to Edit > Paste in Place.
Step 4
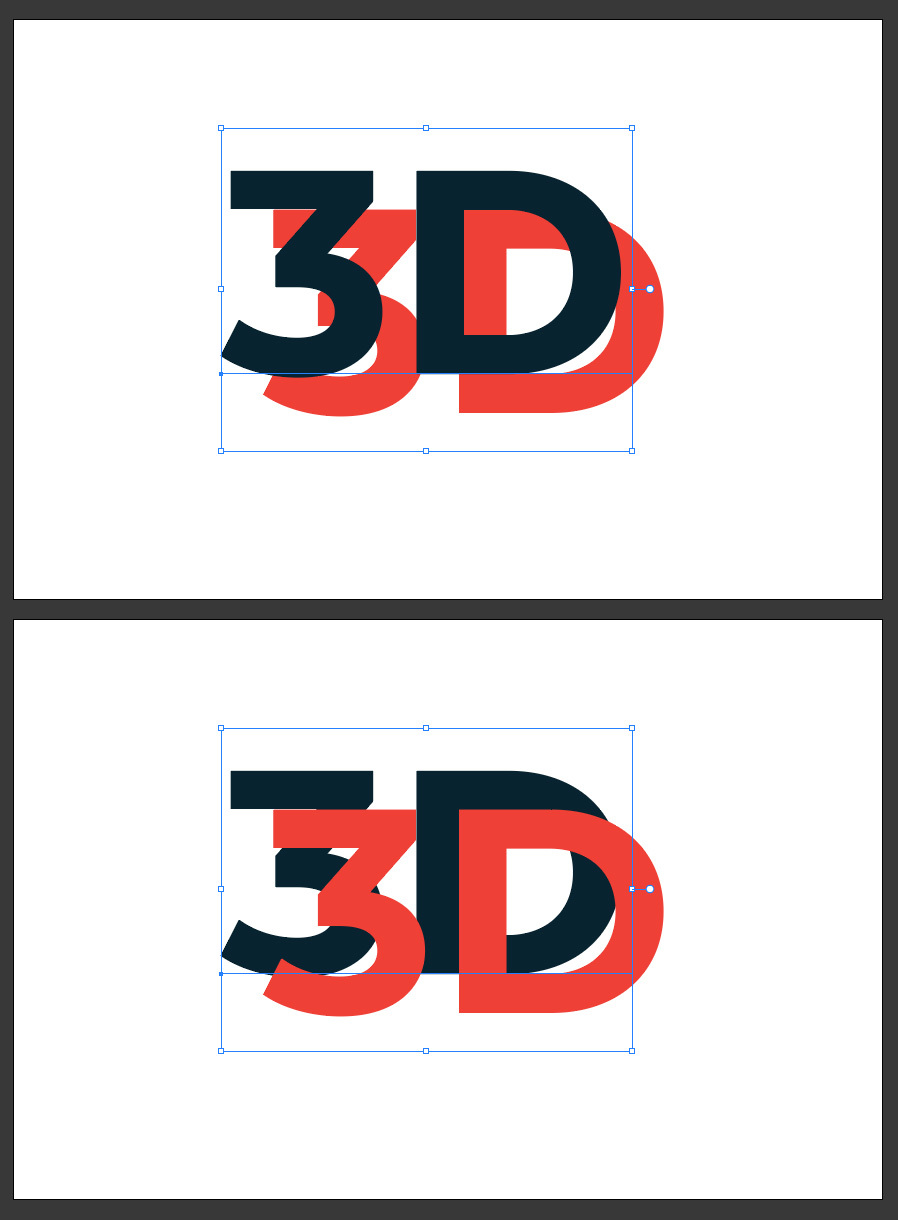
Set a different color for the copied text. In this case, i will be using a dark blue color.
Step 5
Move the copied text a bit up and to the left and then go to Object > Arrange > Send to Back.
Step 6
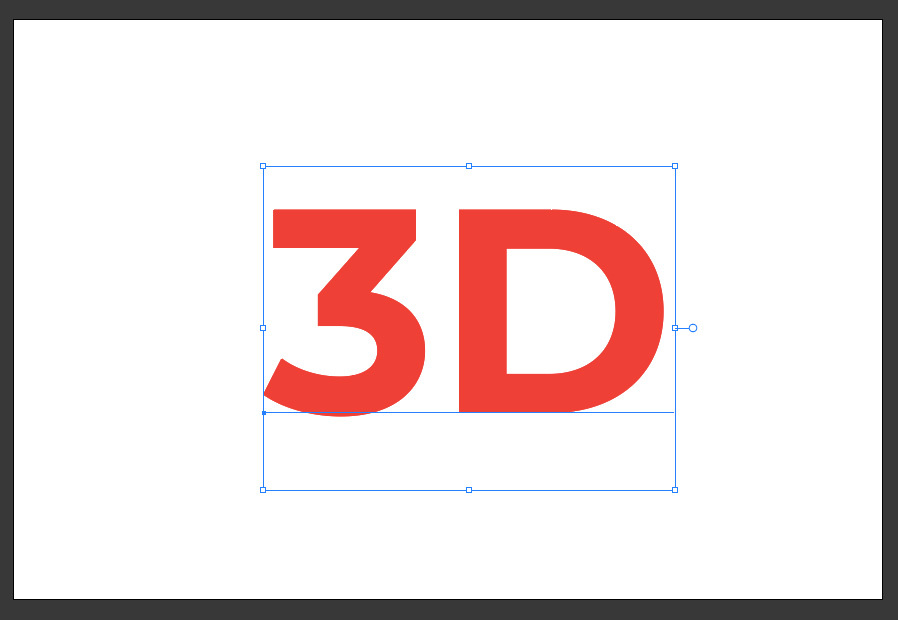
Using the Selection Tool (V) select both copies of the text.

Step 7
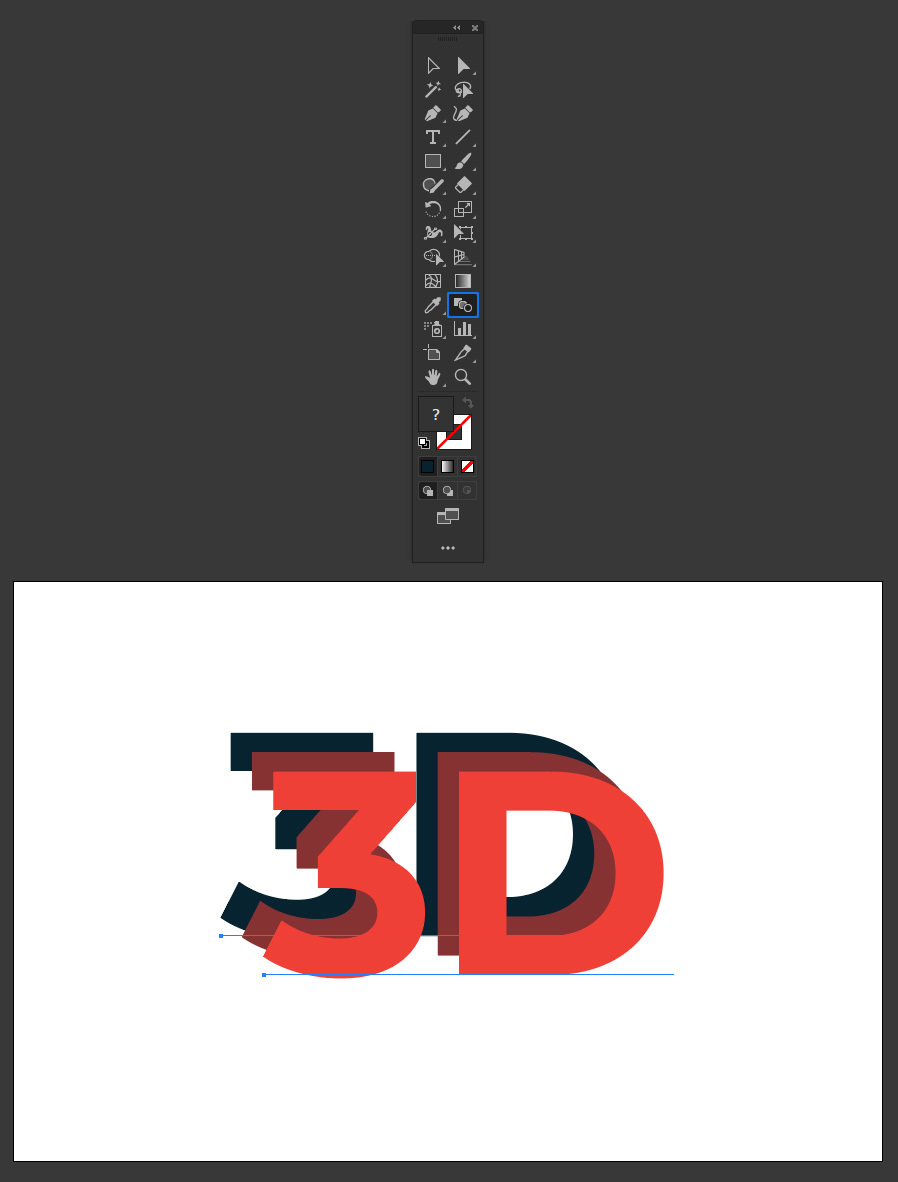
Select the Blend Tool and click once over the Front and once over the Back text.
Step 8
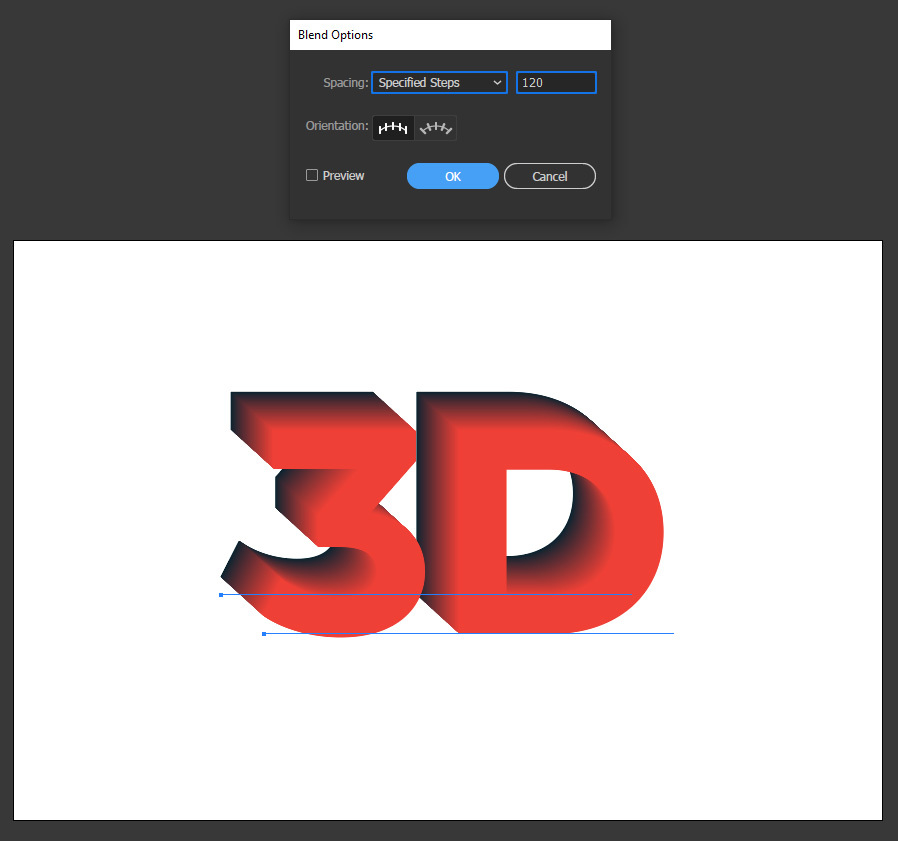
Double click on the Blend Tool icon to open the Blend Options window.

Step 9
Set the Spacing to “Specified Steps”, the amount to about 120 (to get a smooth transition) and click OK.
Step 10
With the text selected, go to Effect > 3D > Rotate.
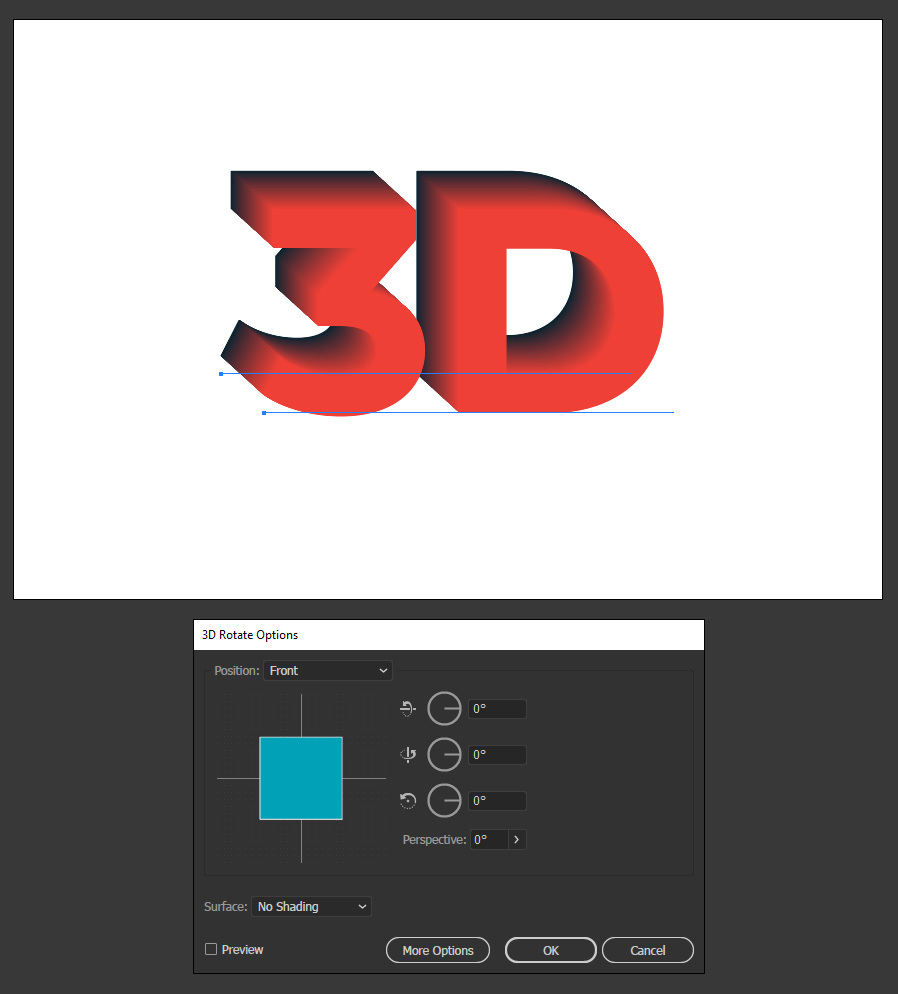
Step 11
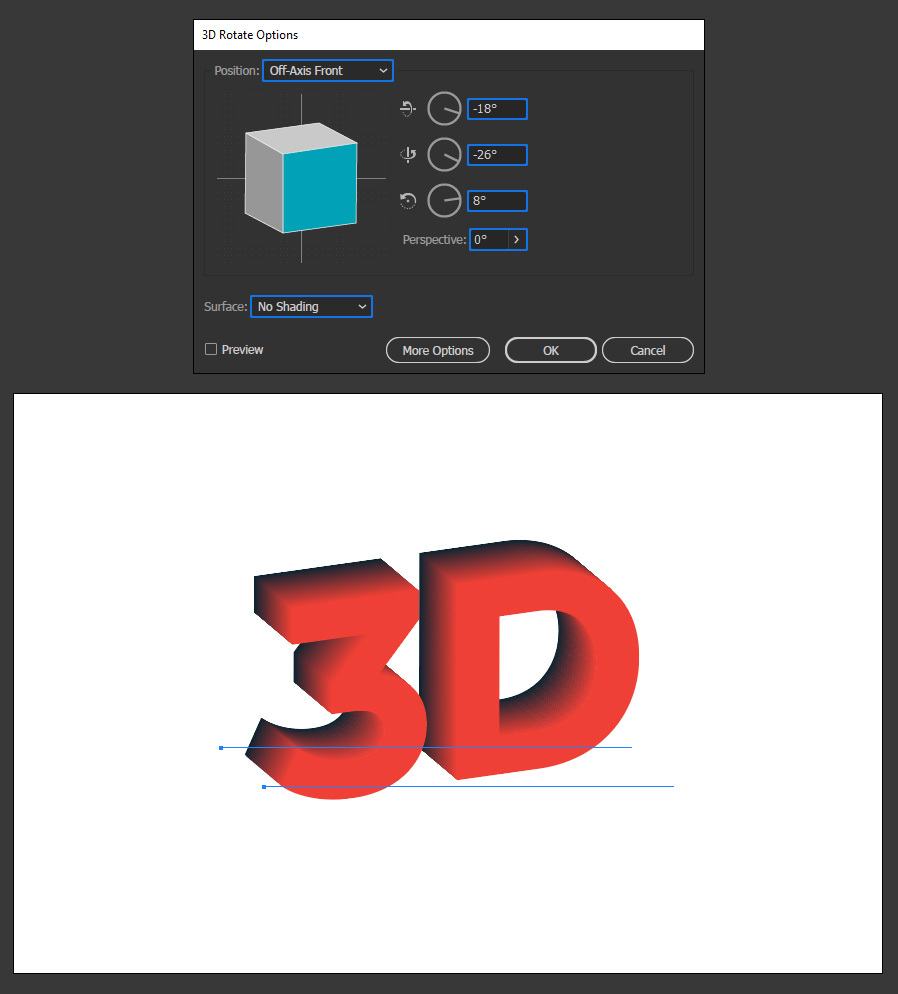
Apply the following settings and click OK.
Note: You may use any kind of rotation you want.
Step 12
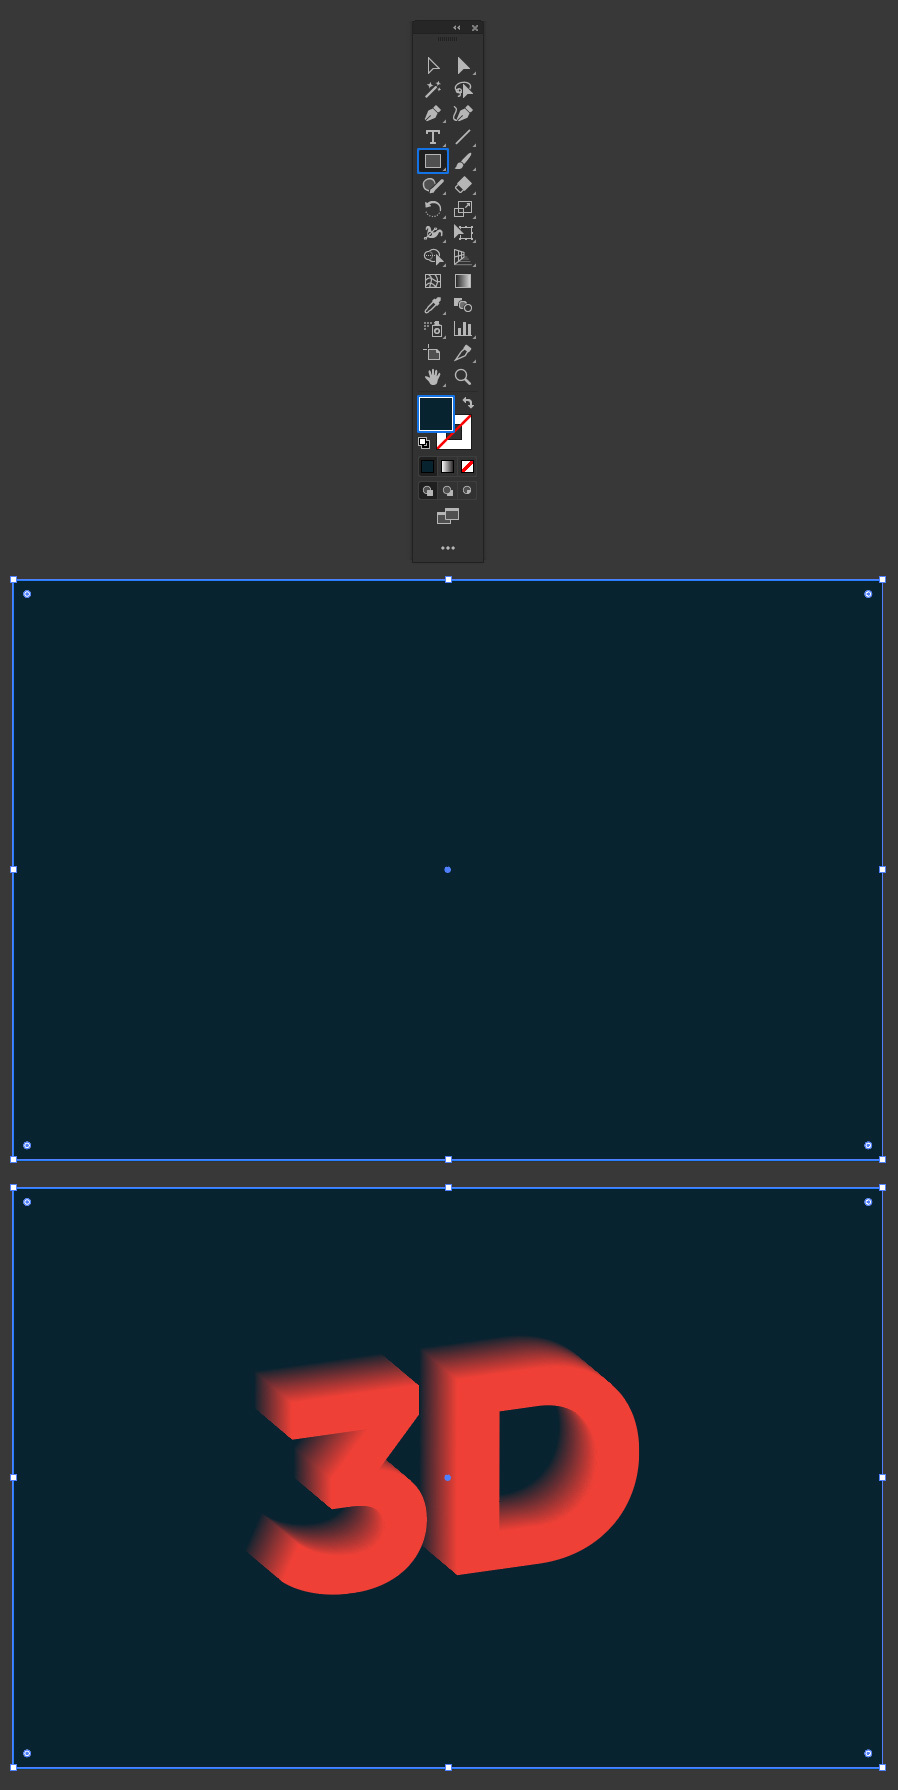
Lastly, using the Rectangle Tool (M) make a rectangle using the same color of the back text and go to Object > Arrange > Send to Back.
Some Final Notes
Now that you’ve learned how to make a 3D Blend Text Effect, you can freely edit the text by double clicking on it, change the color, position and size and the Blend effect will still be applied without making the whole process again.