How to Easily Improve a Urban Image in Photoshop

Step 1
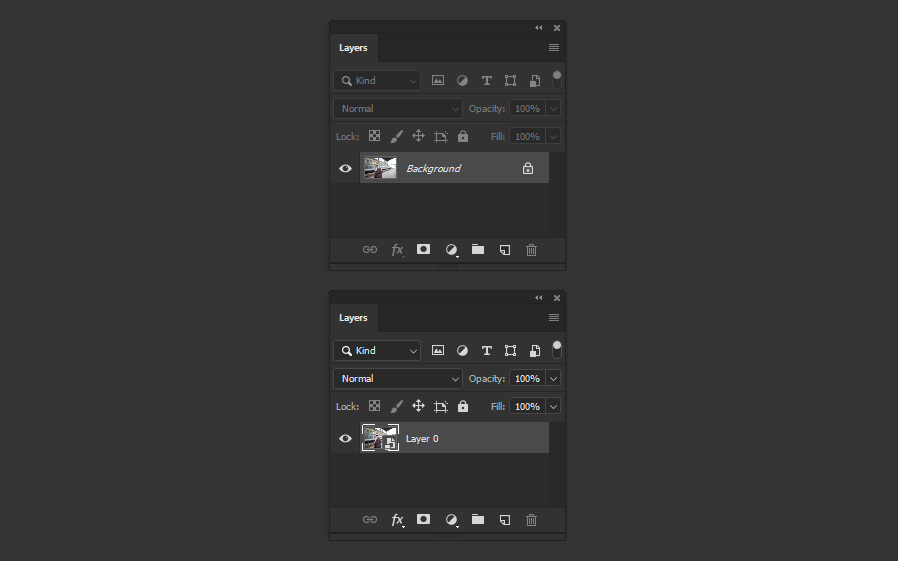
Open your image in Photoshop.
Step 2
Go to Layer > Smart Objects > Convert to Smart Object.
Note: We only do this just in case you want to go back and change some settings after the effect has been applied.
Step 3
Go to Filter > Camera Raw Filter.
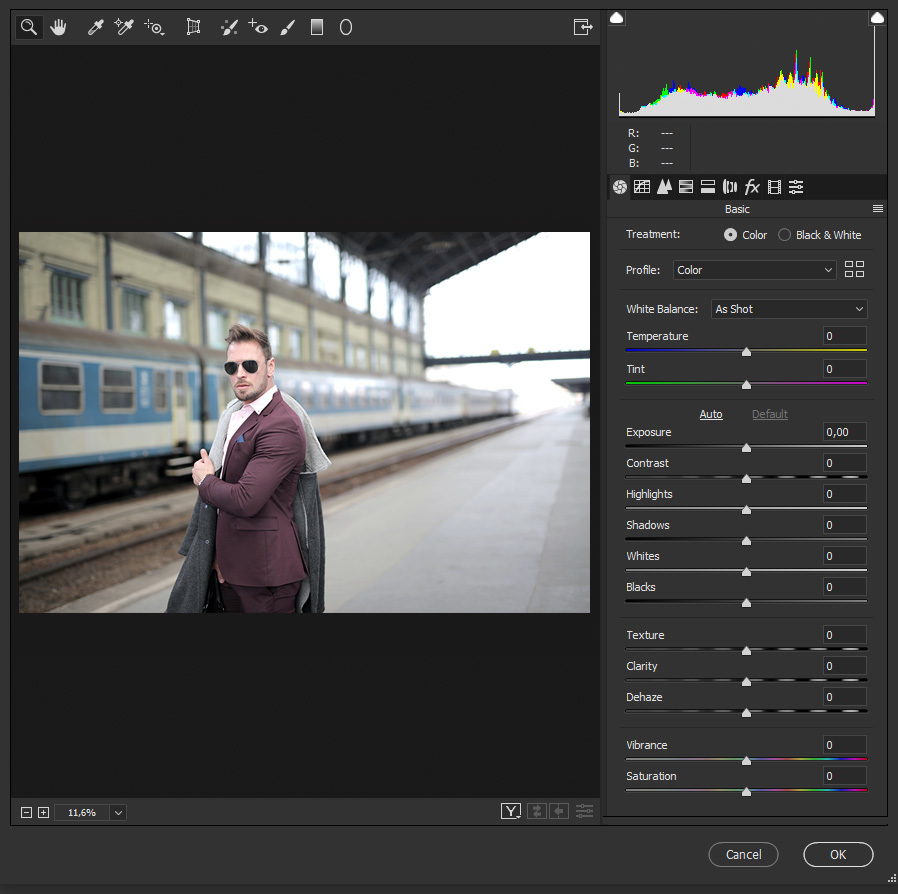
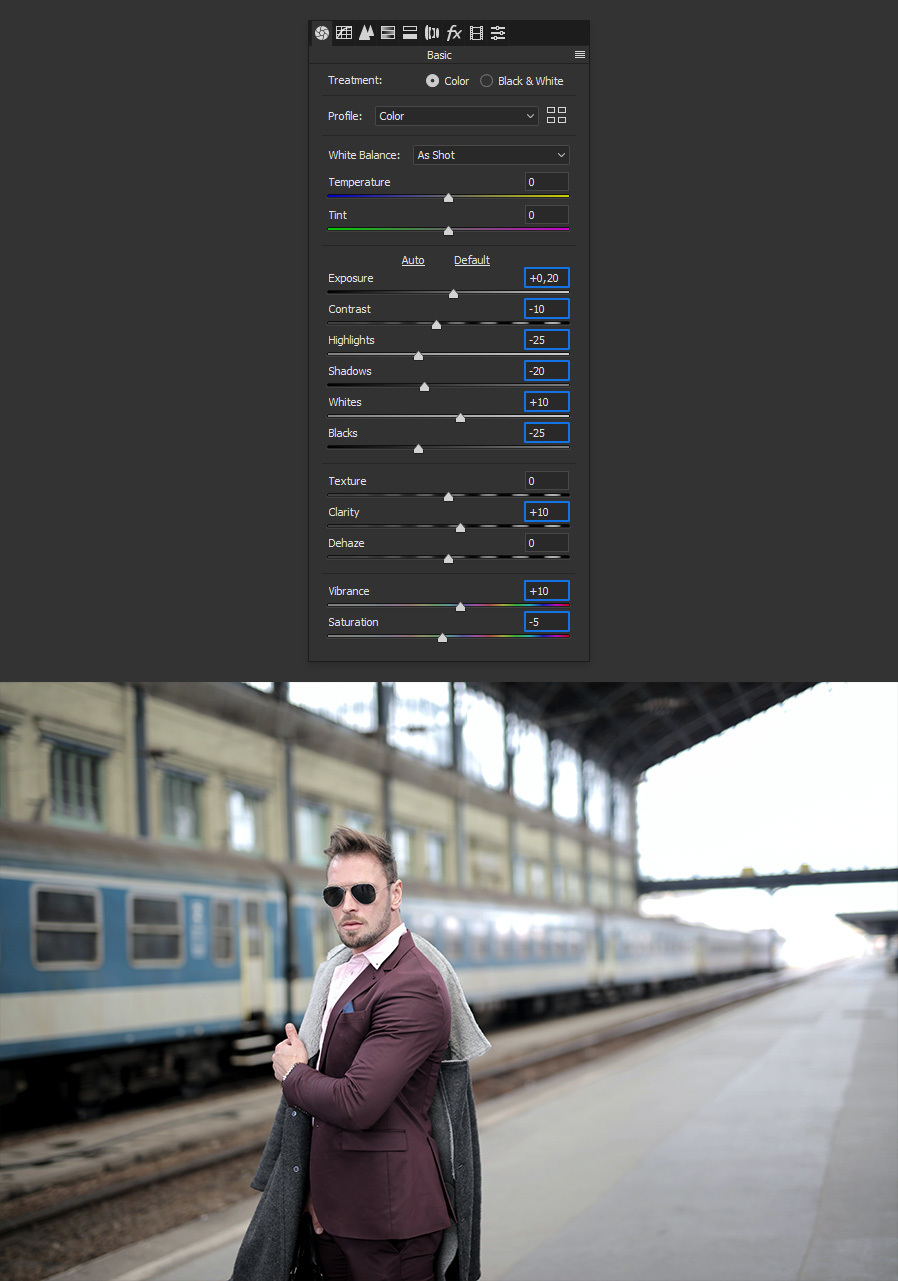
Step 4
In the Basic tab, apply the following values.
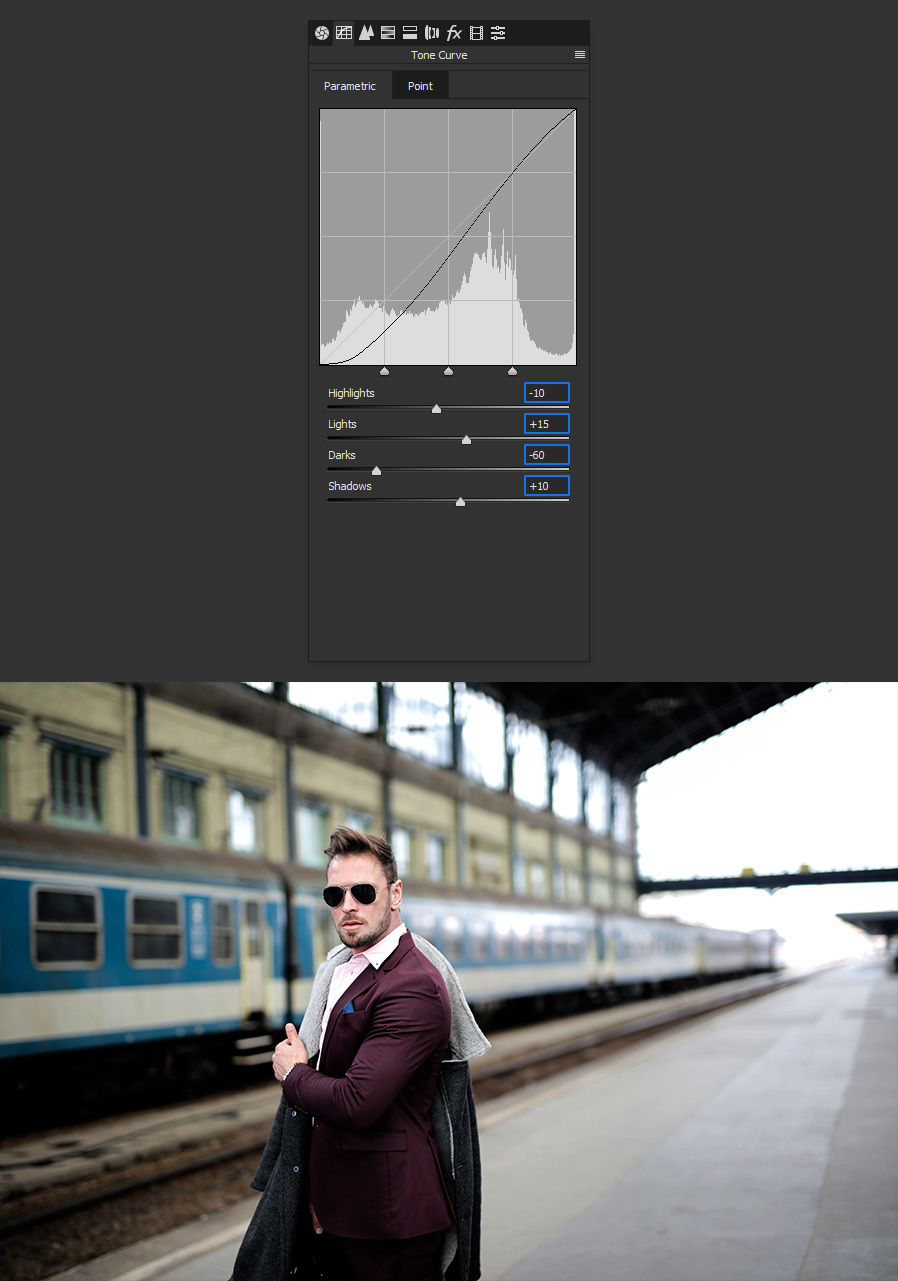
Step 5
Go to the Tone Curve tab, and under Parametric apply the following settings.
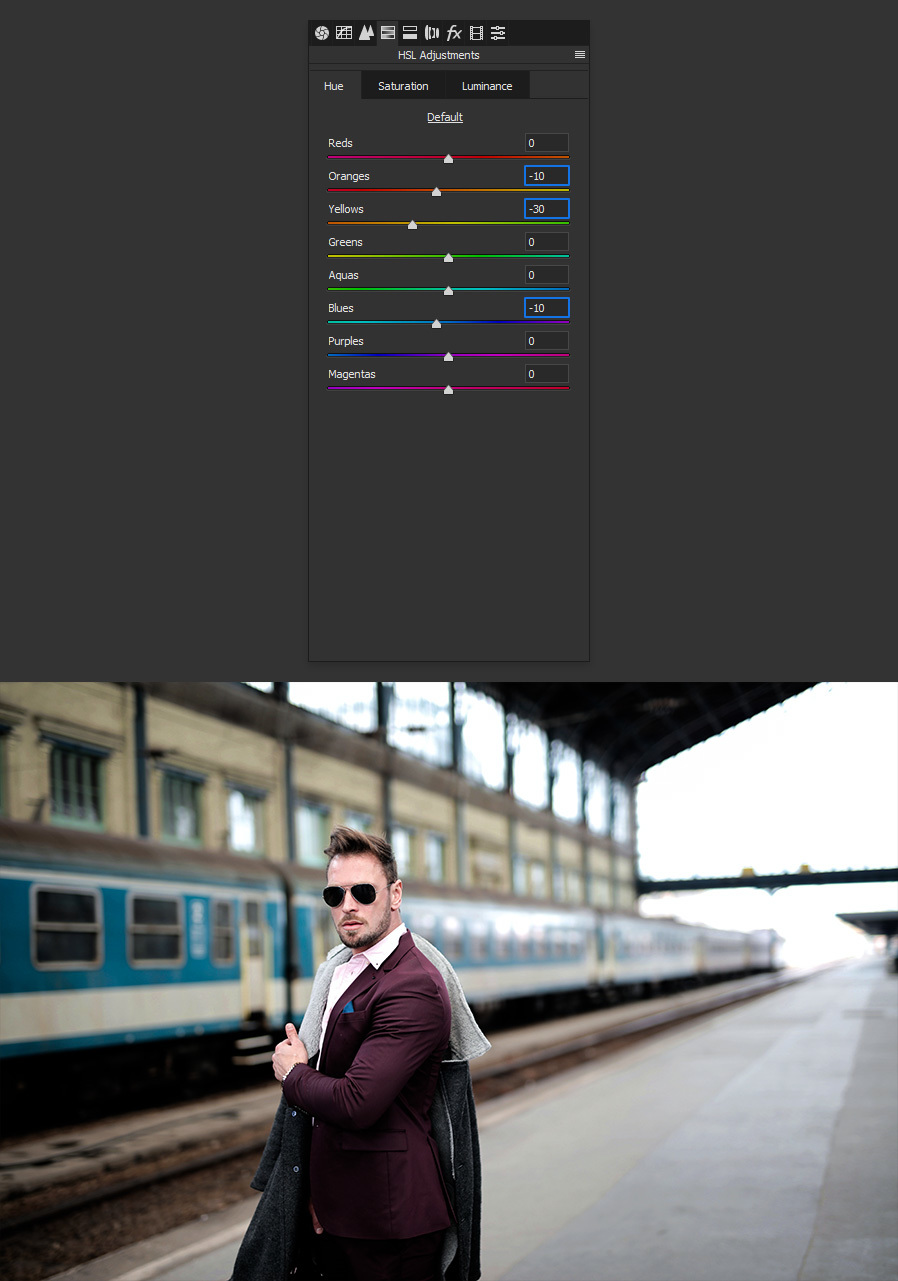
Step 6
Go to the HSL Adjustments tab and under Hue apply the following values.
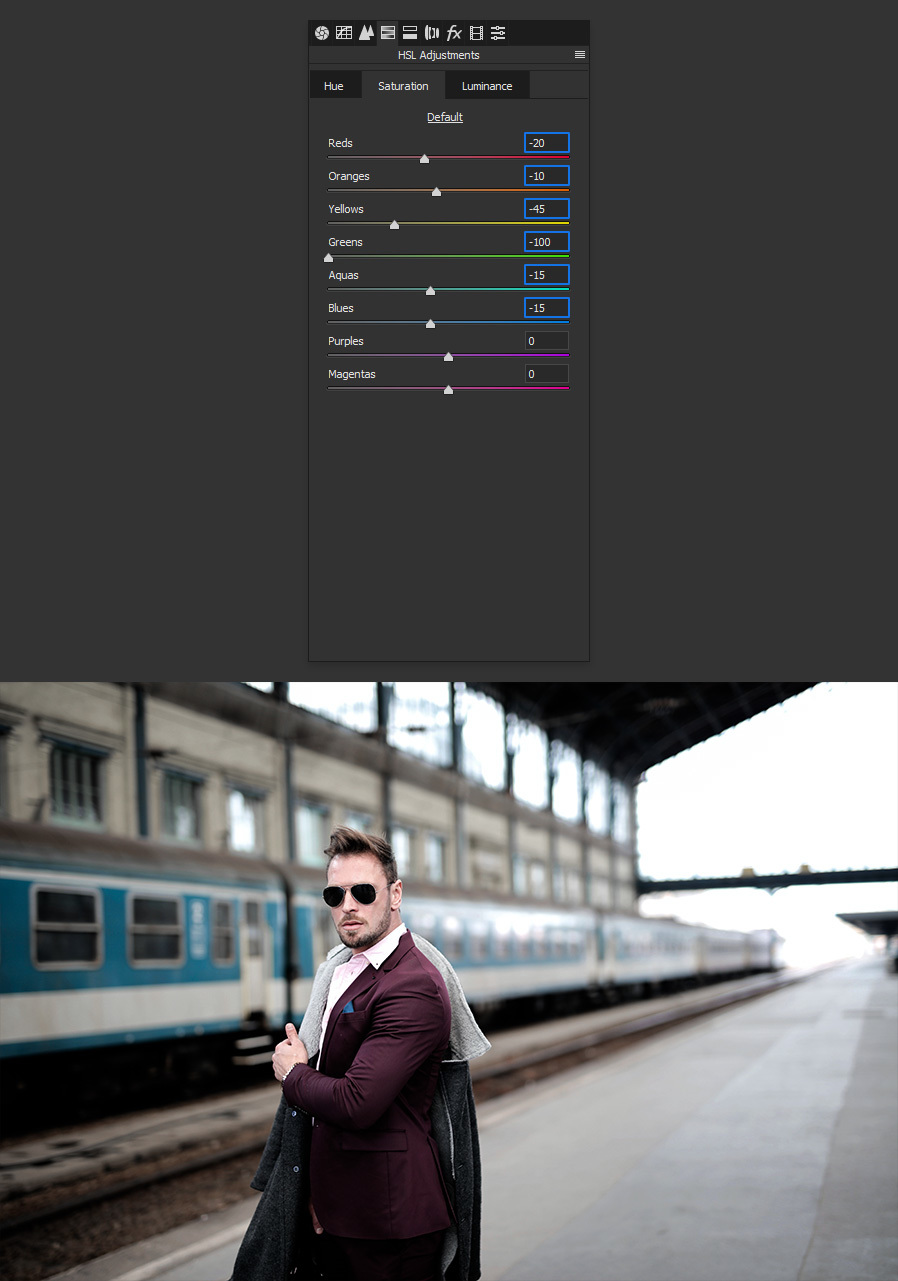
Step 7
Now, click on the Saturation tab under the HSL Adjustments and apply the following values.
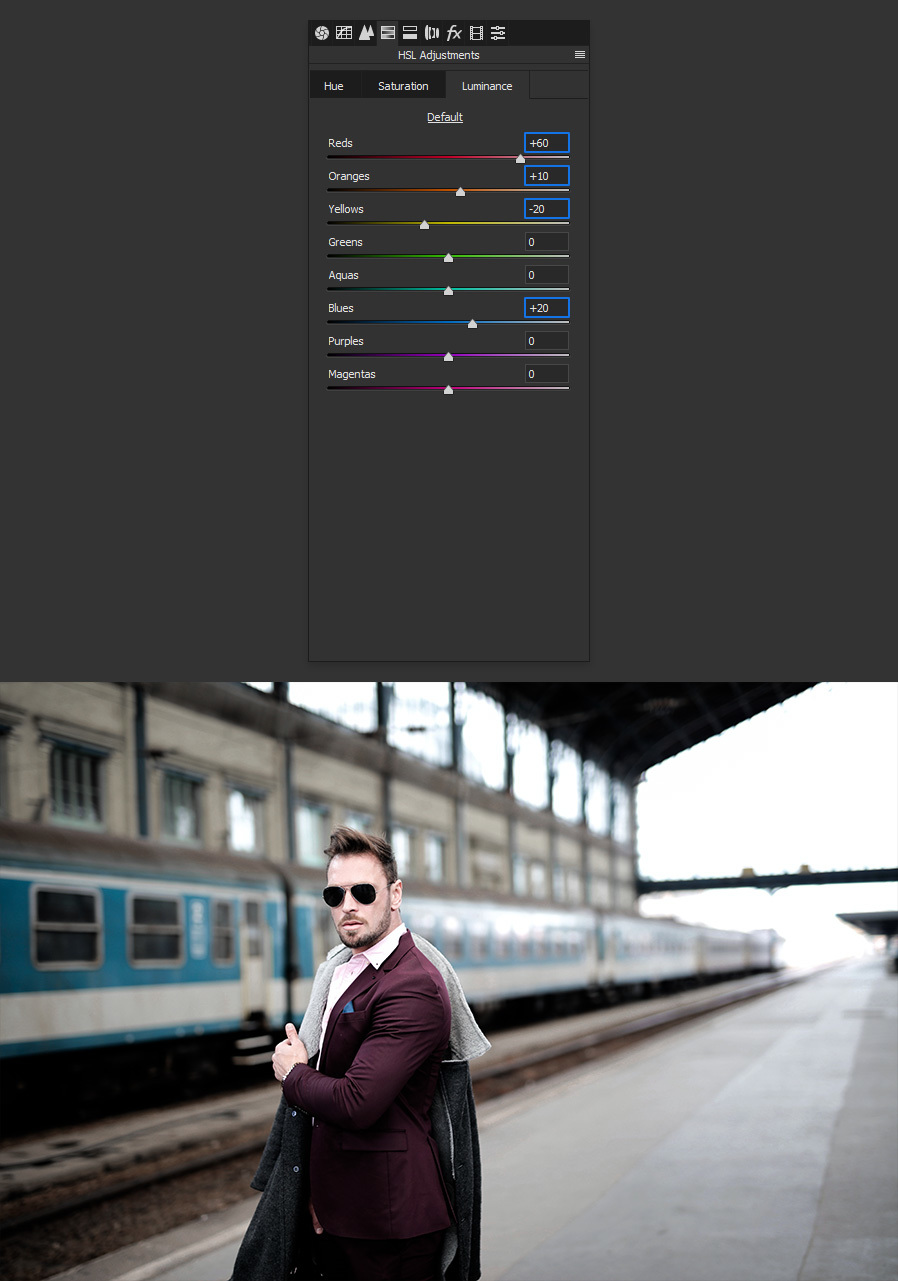
Step 8
Still in the HSL Adjustments tab, go to Luminance and apply the following values.
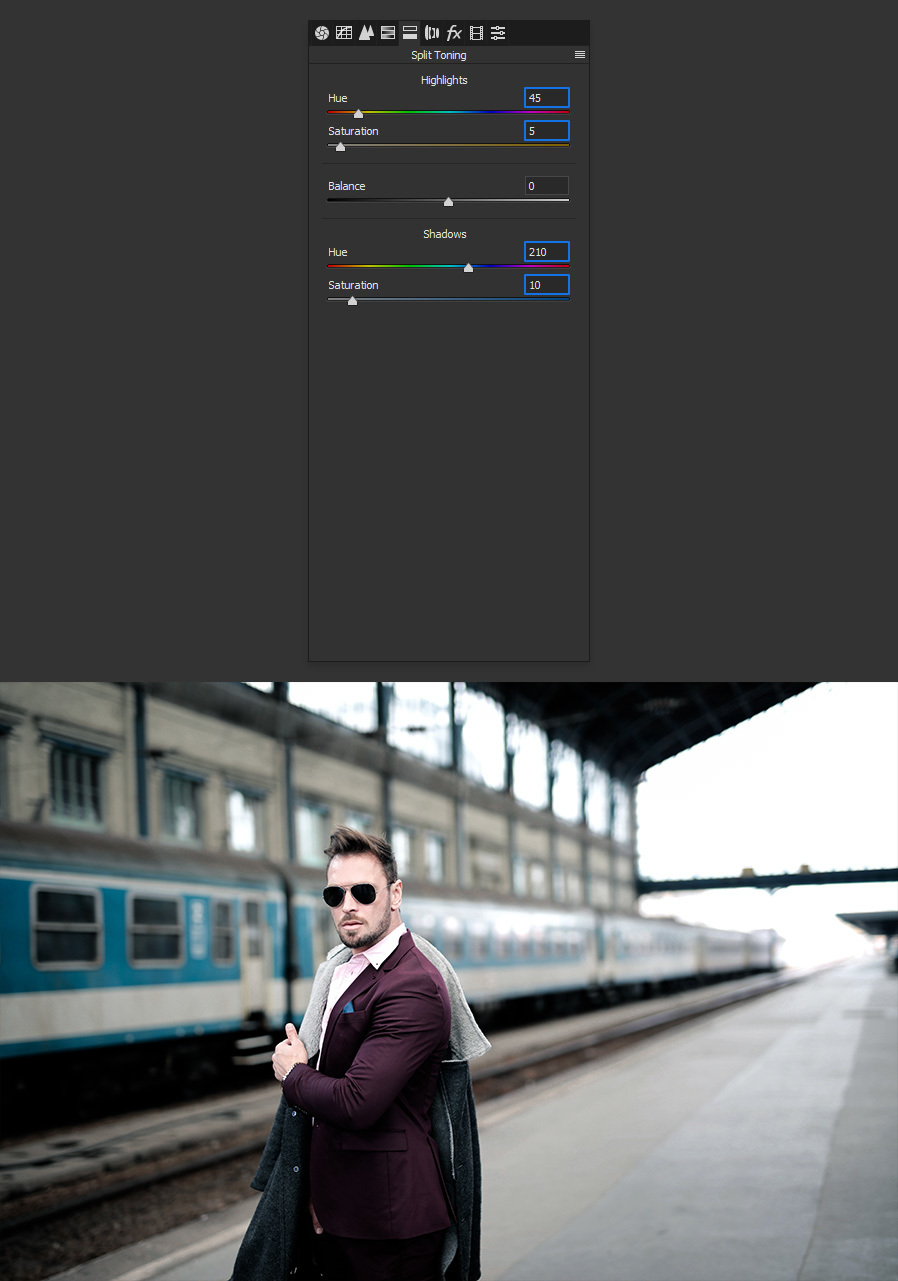
Step 9
Go to the Split Toning tab and apply the following values.
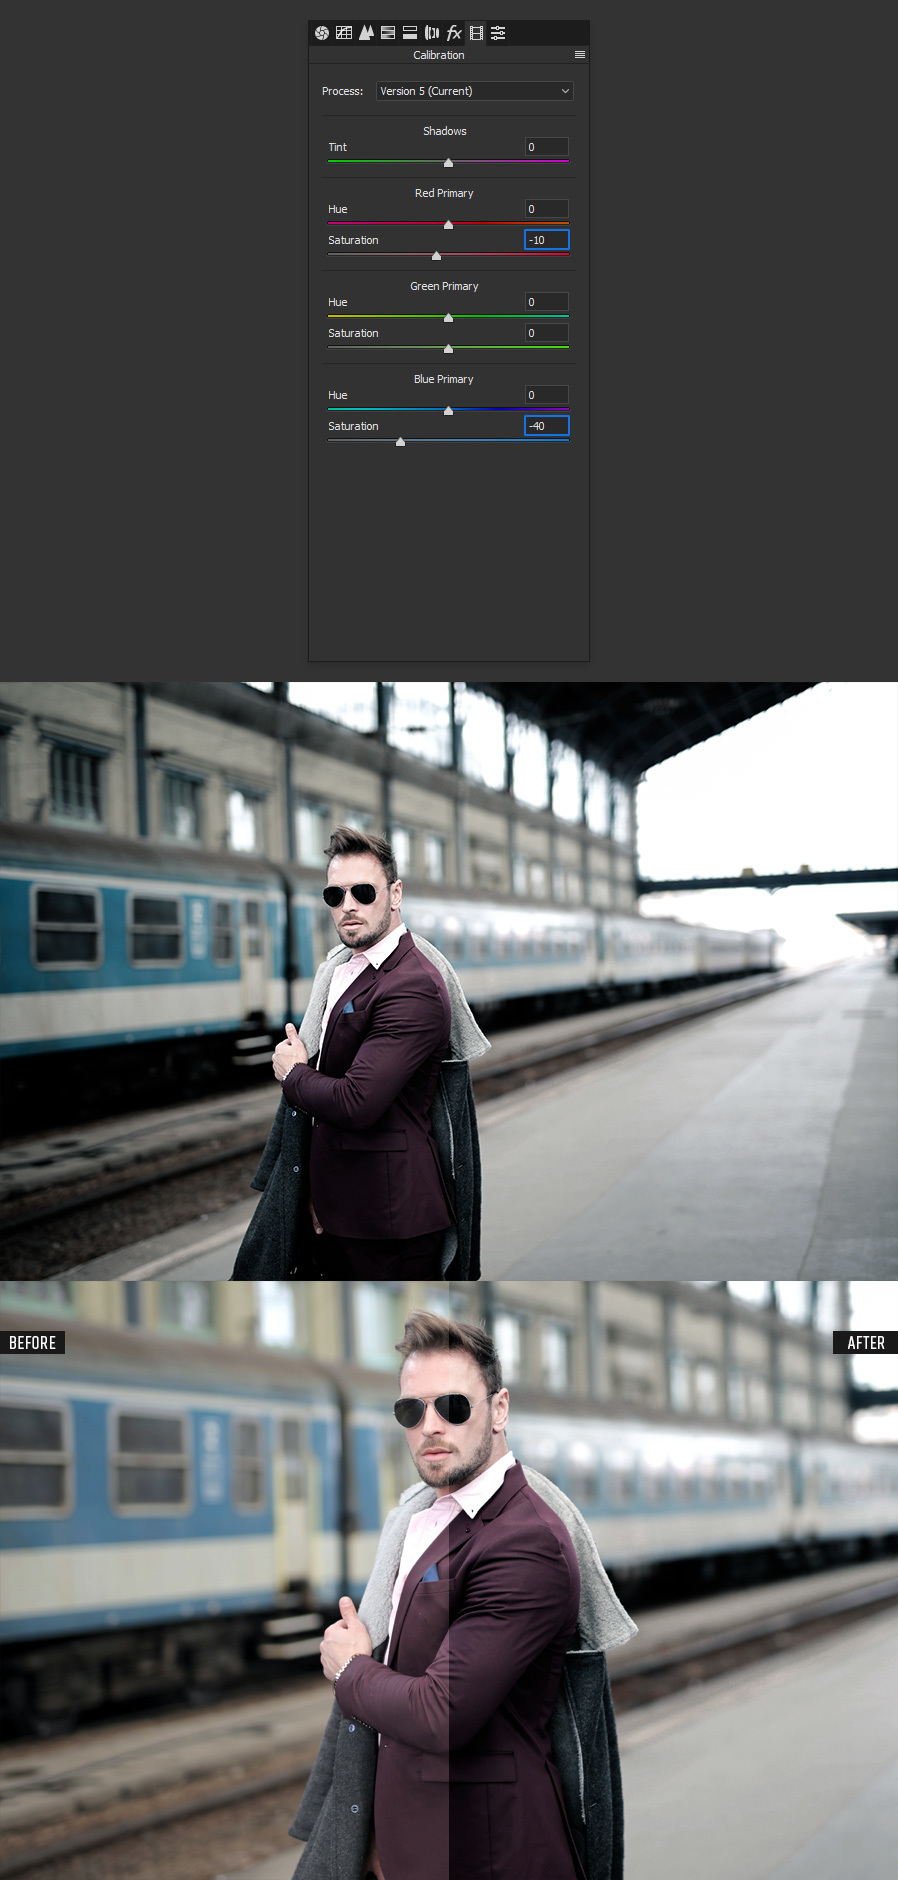
Step 10
Go to the Calibration tab and set the Saturation of the Red Primary to -10 and the Saturation of the Blue Primary to -40.
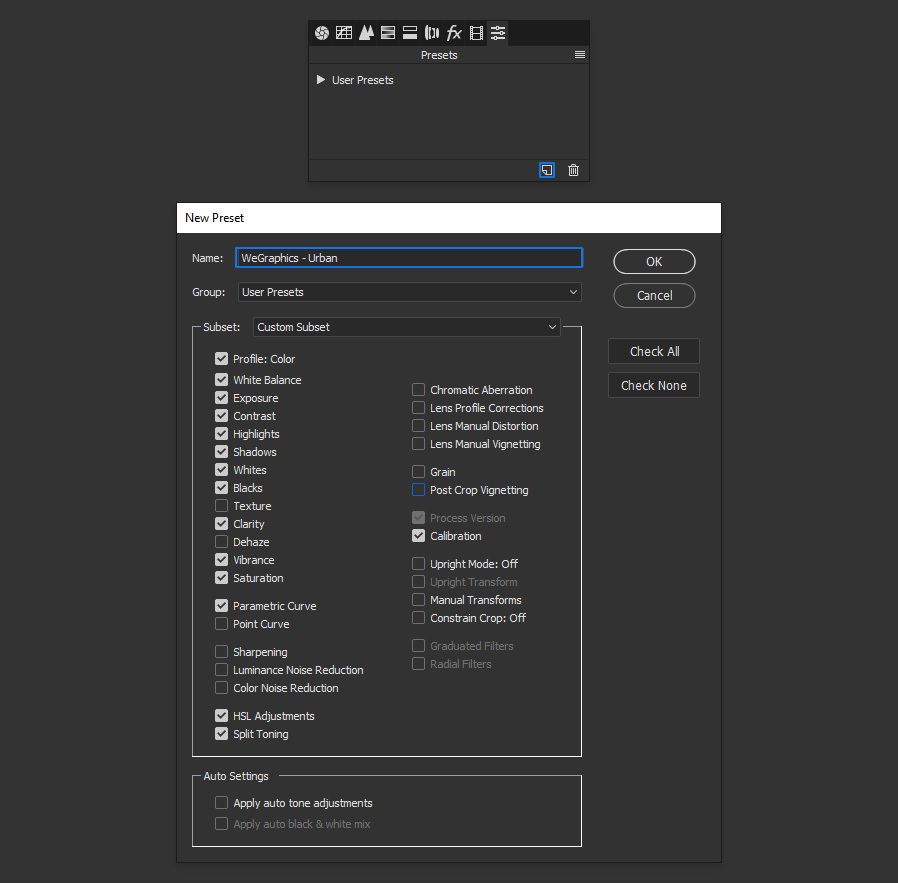
Step 11
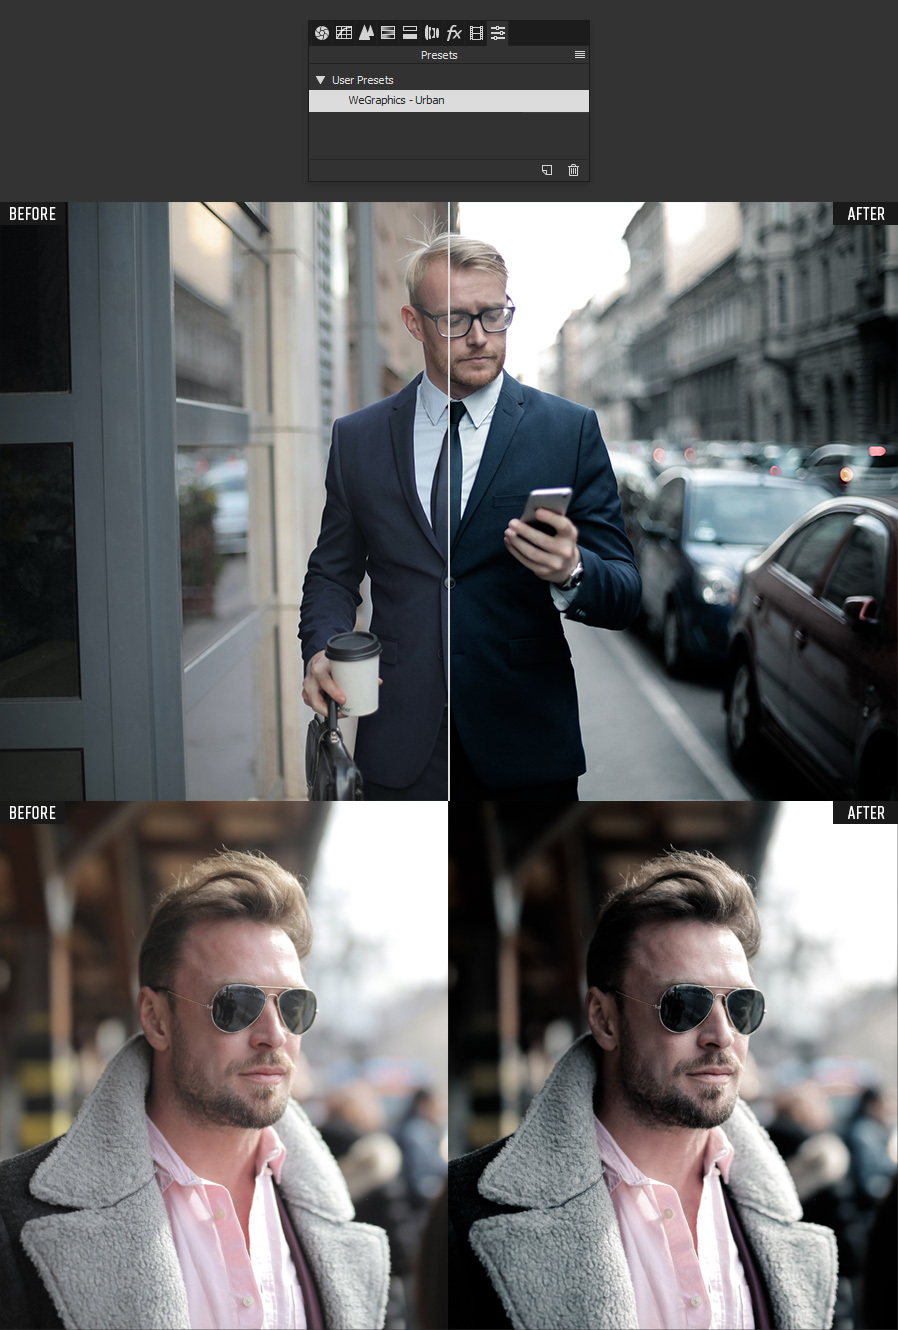
Lastly, and if you plan to use this effect on various pictures, a good idea is to save it as a preset. To do that, simply go to the Presets tab and click on the “New Preset” icon. Give the preset a name, be sure to check the modified values and click OK.
Step 12
The next time you want to use this effect on a picture, simply open the image, go to the Camera Raw Filter, go to the Presets tab, and under “User Presets” click on the new created preset to apply it like I did in the following one.