The Most Effective Way to Create a Vector Texture with Photoshop and Illustrator

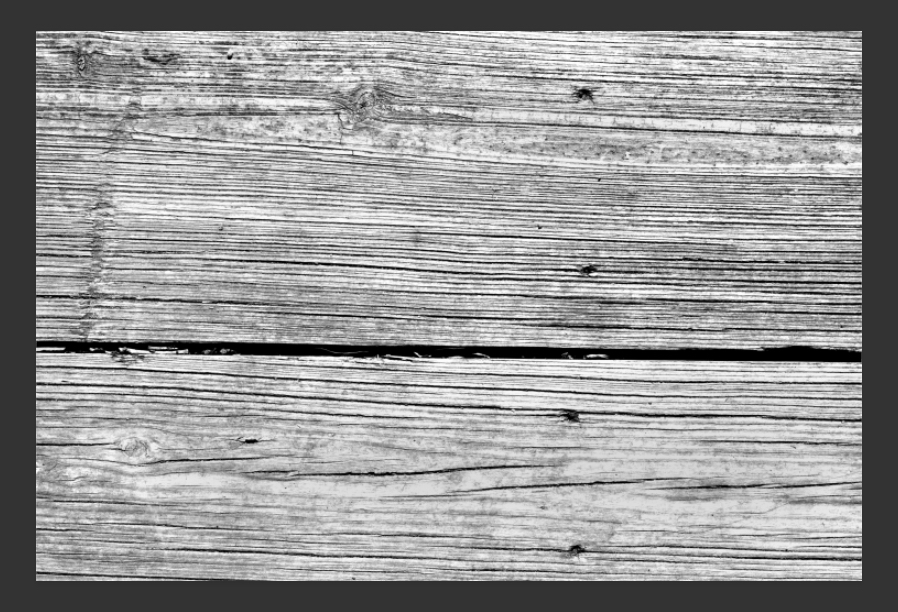
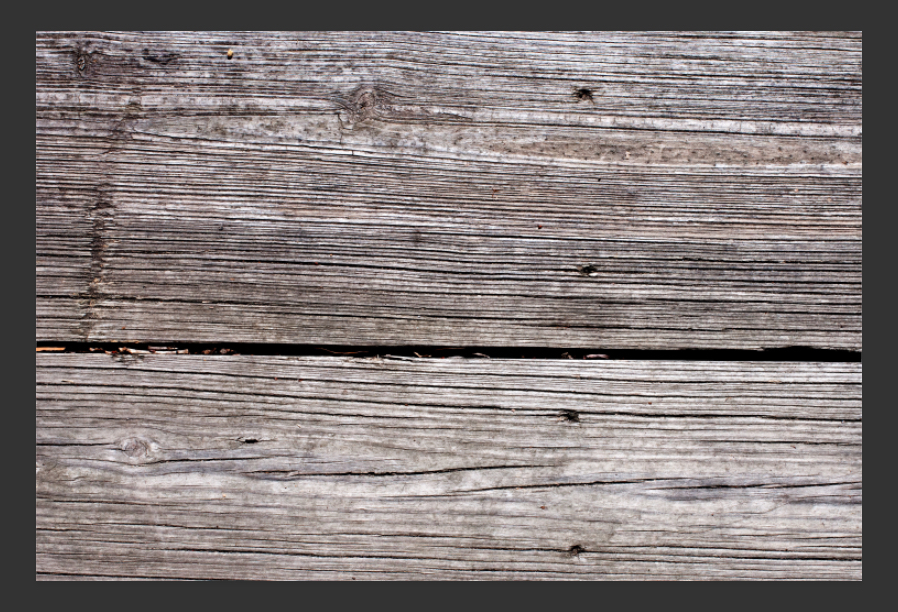
The first step is to open your original bitmap texture in Photoshop. For this tutorial I am using a texture from the Old Wood Plank Textures. If you are not a member, here is a free sample you can download for this tutorial.
Step 2
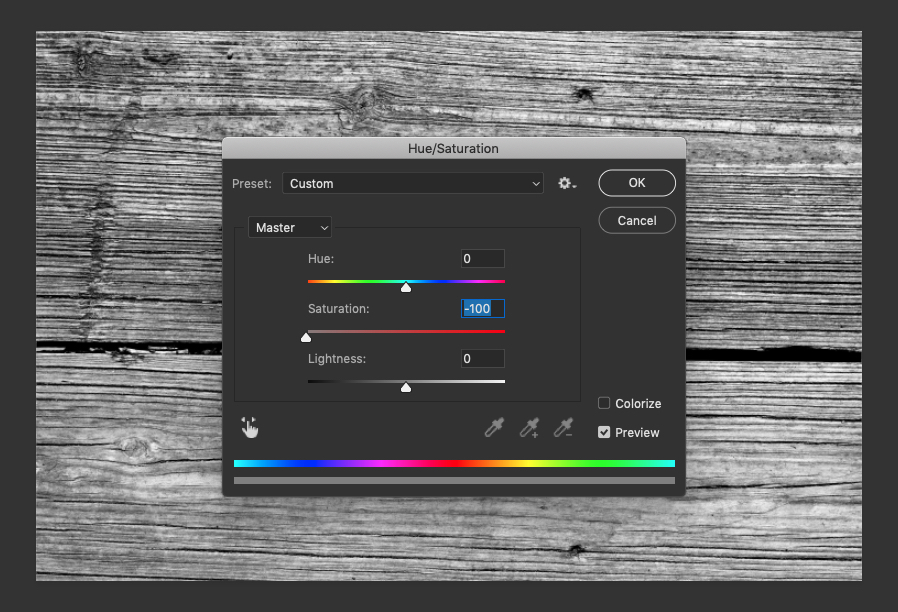
Go to Image > Adjustments > Hue/Saturation and reduce the Saturation to 0. Or use the shortcut CMD+SHIFT+U on Mac or CTRL+SHIFT+U on Windows.
Step 3
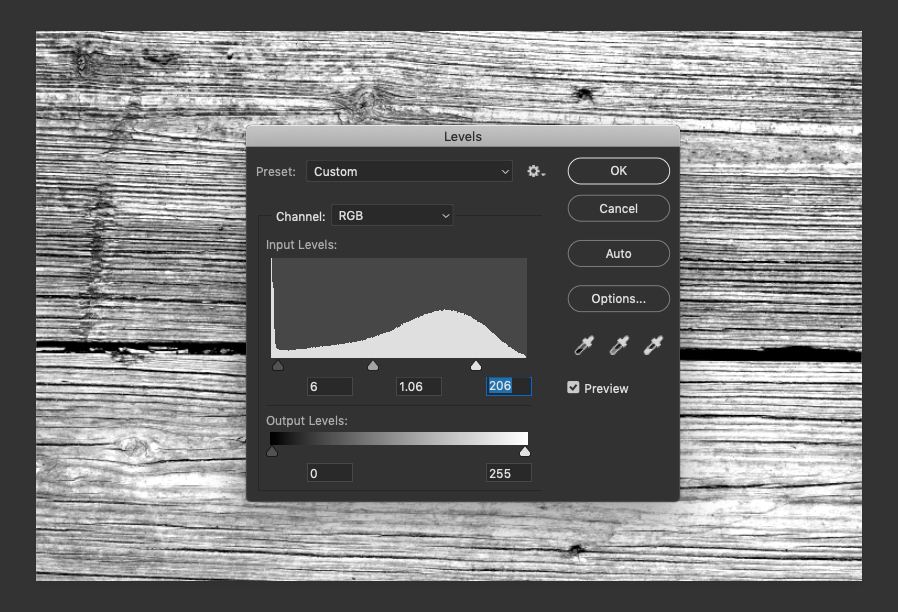
Go Image > Adjustments > Levels… (CMD+L or CTRL+L) and adjust the levels so that there is more contrast.
- Highlight input level: 206
- Midtone input level: 1.06
- Shadow input level: 6
Depending on the image, these values will different but the overall goal is to bring out more contrast between the dark and light sections of the image without losing detail.
Step 4
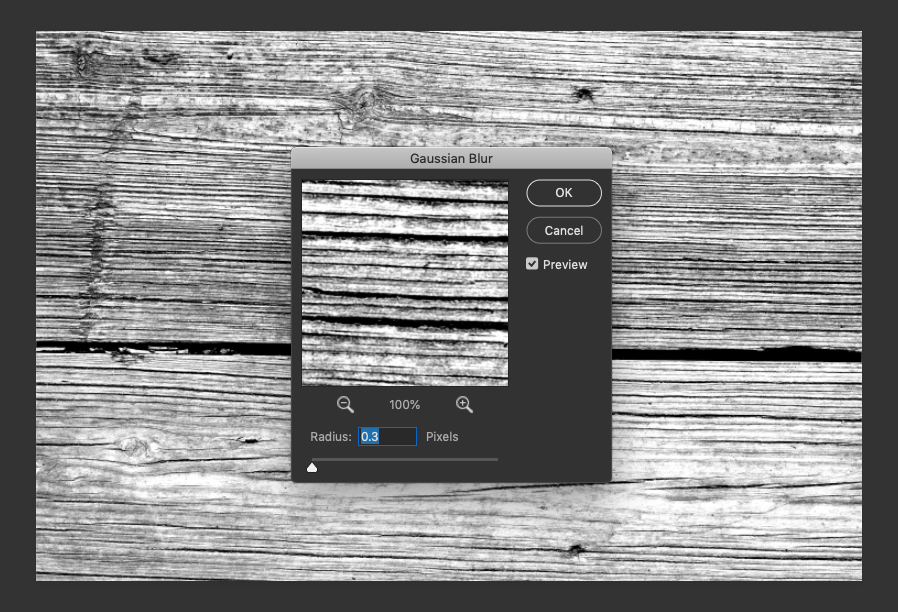
Apply a very subtle Gaussian Blur, typically between 0.2 and 0.5 pixels. This is to soften the image slightly and make tracing easier later on.
Step 5
Now for some manual adjustments. Take a look at the image and determine which areas are darker or lighter than average. Then select either the Dodge or Burn tool, set the Range to Midtones and Exposure to 20% and with a soft round brush dodge the dark areas and burn the light areas.
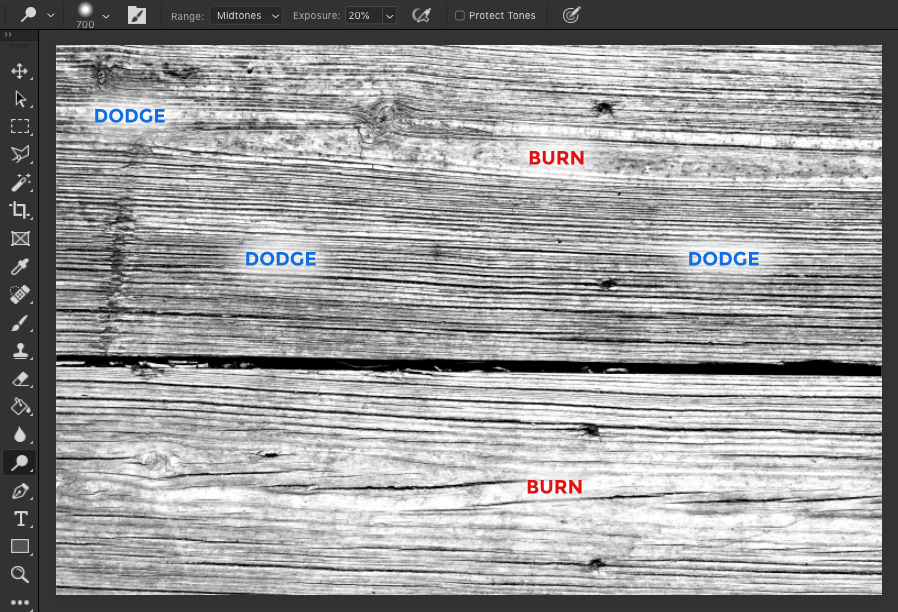
The result should be a much flatter, more even image. This will help significantly with tracing later on.