How to Perfectly Replicate a Sky Gradient in Photoshop

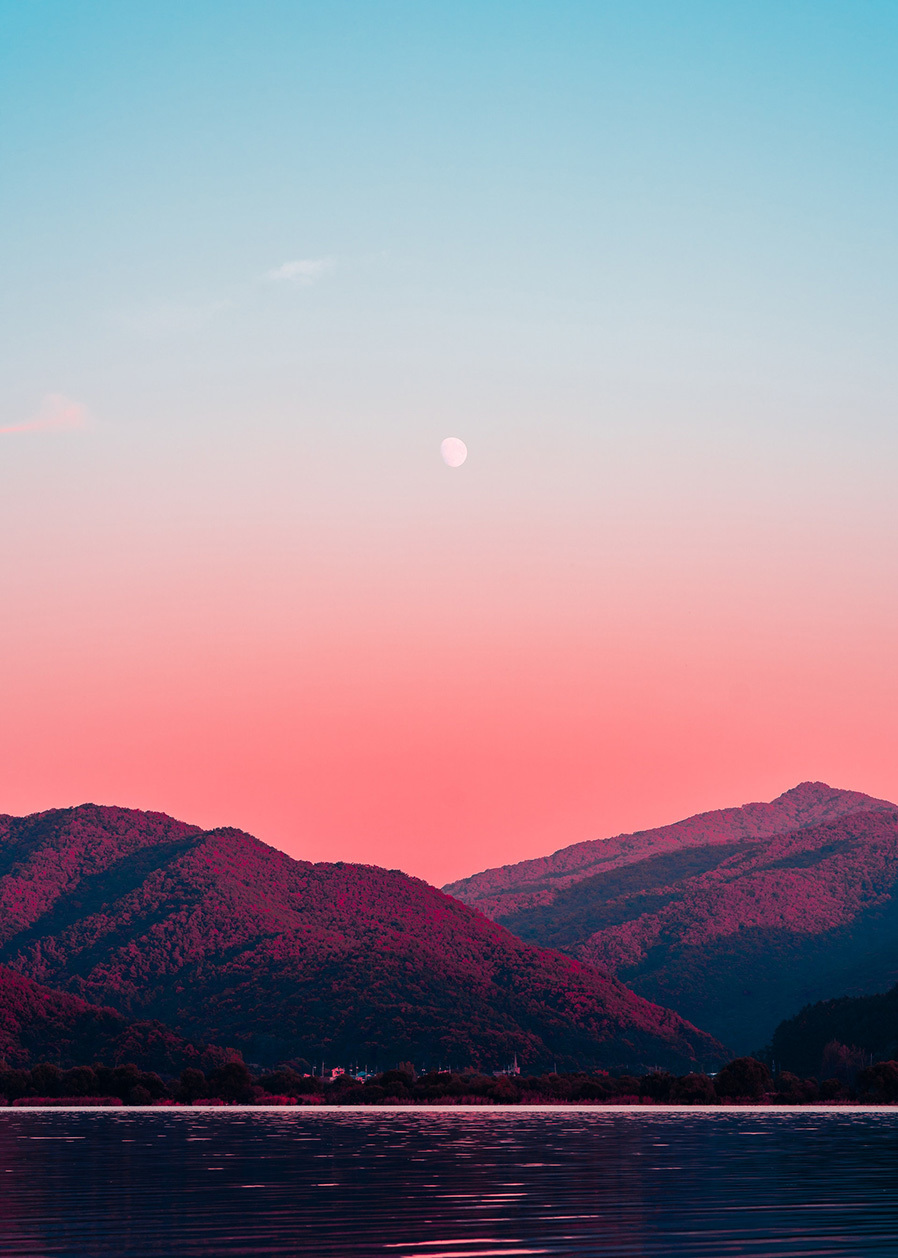
Open the base image containing the sky you want to replicate in Photoshop.
Step 2
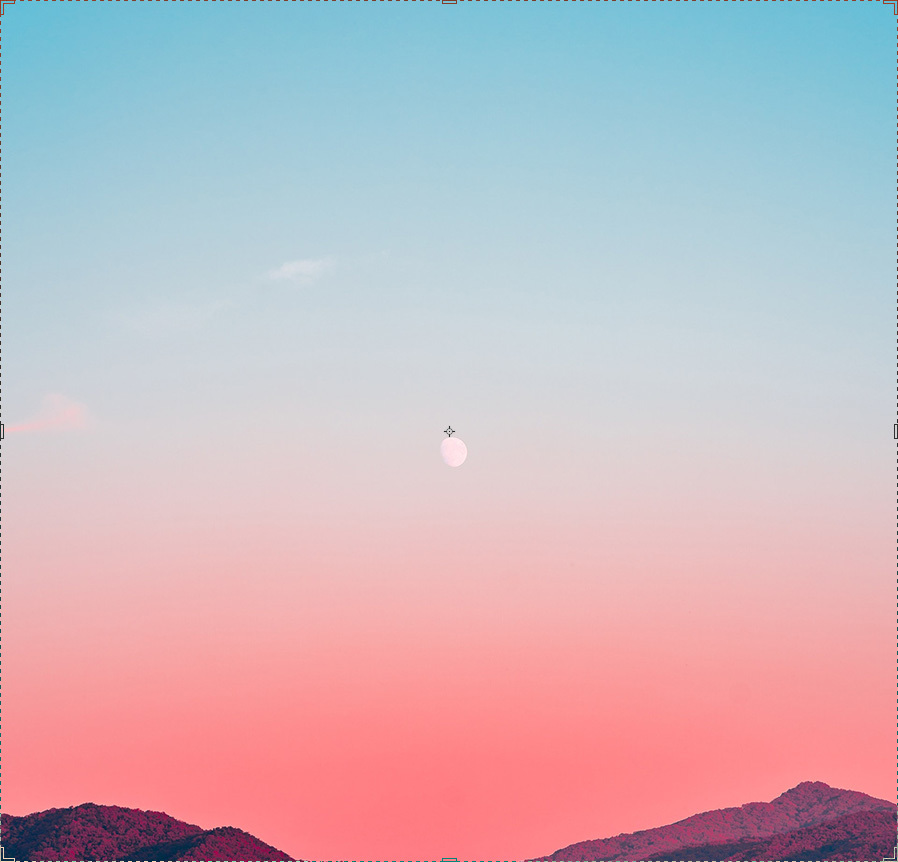
Select the Crop Tool (C) and crop the image in a way that you have the lower portion of the sky touching the bottom side of your canvas and the top portion of the sky touching the top of your canvas.
Step 3
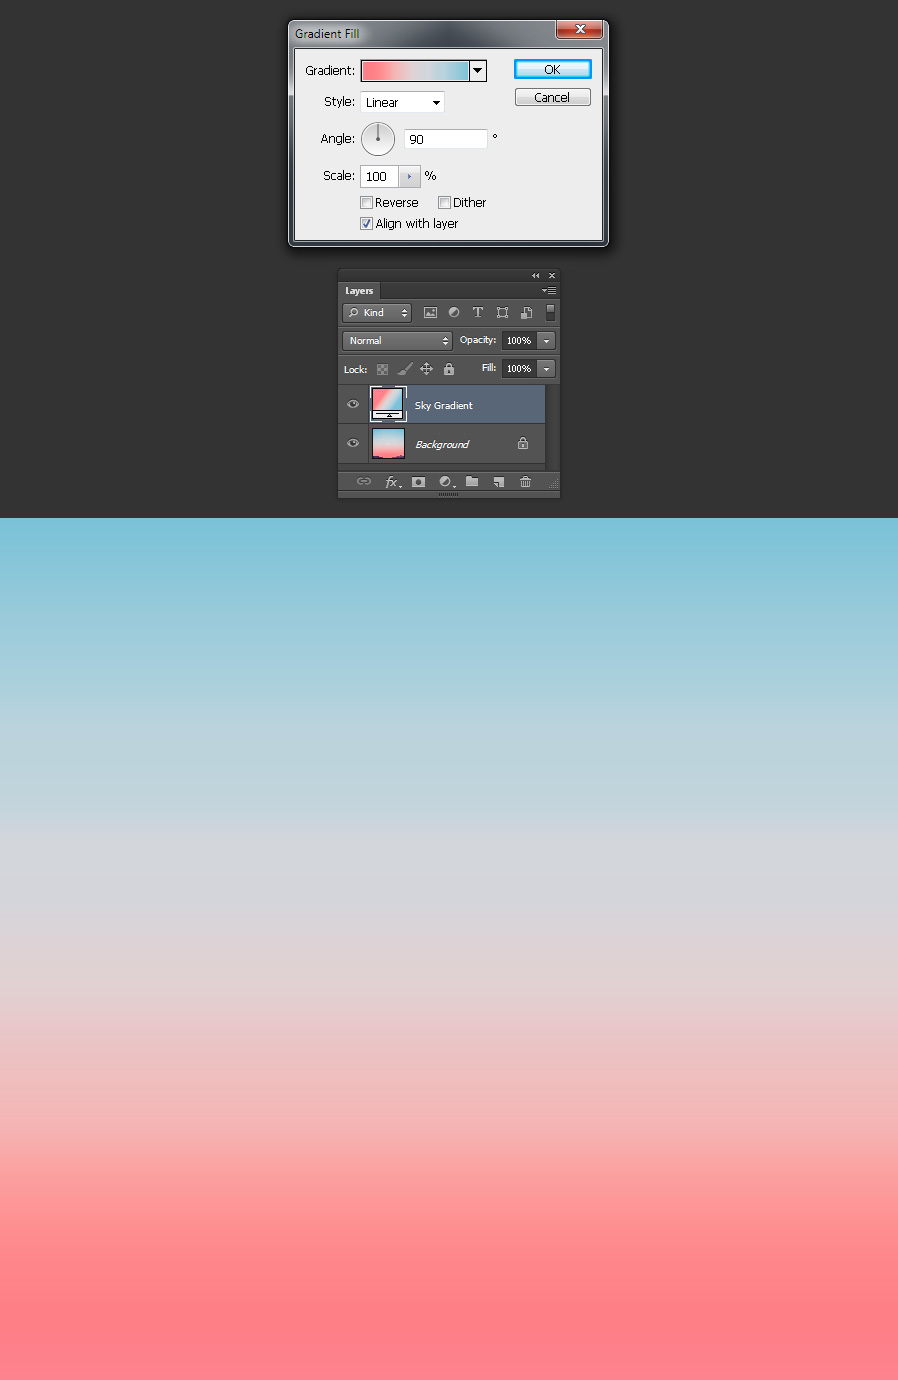
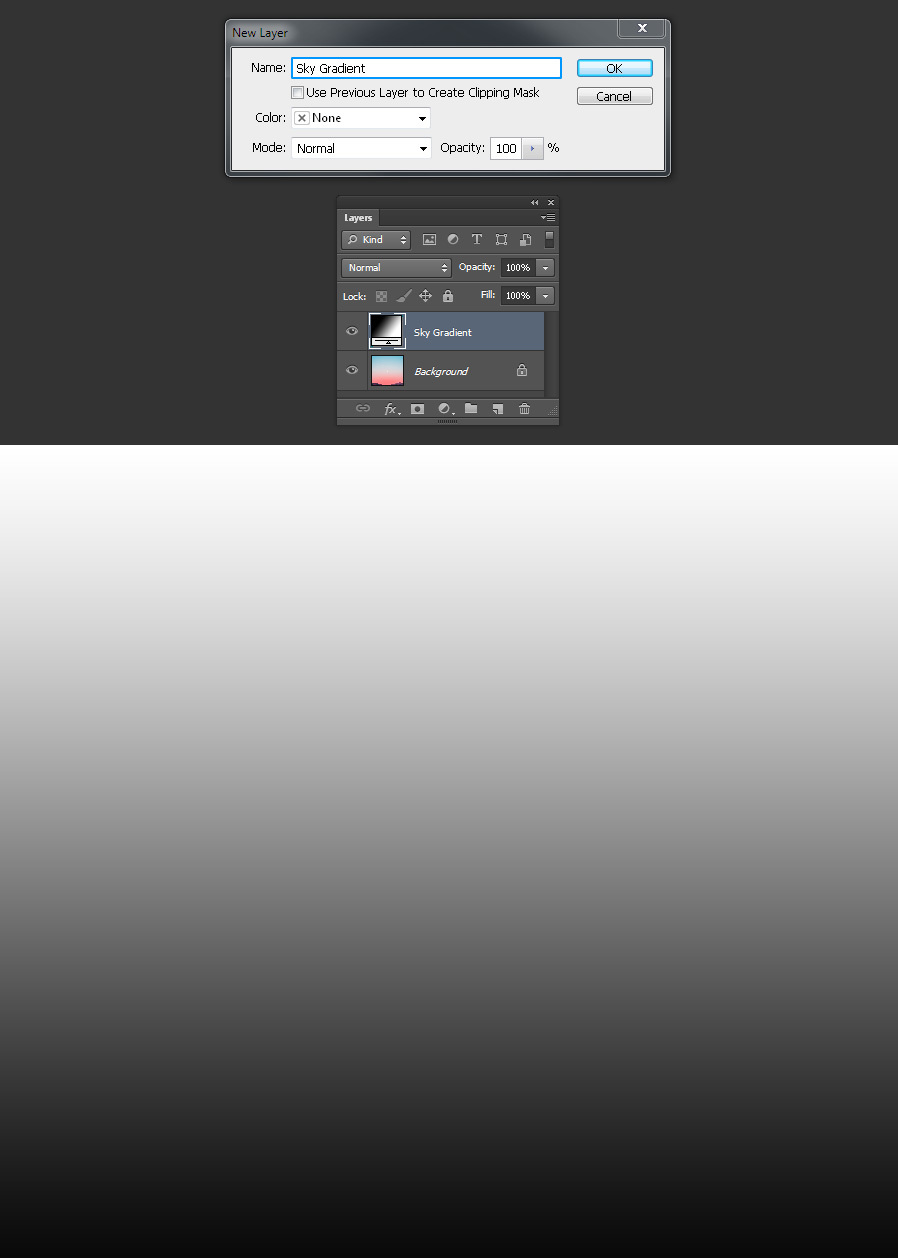
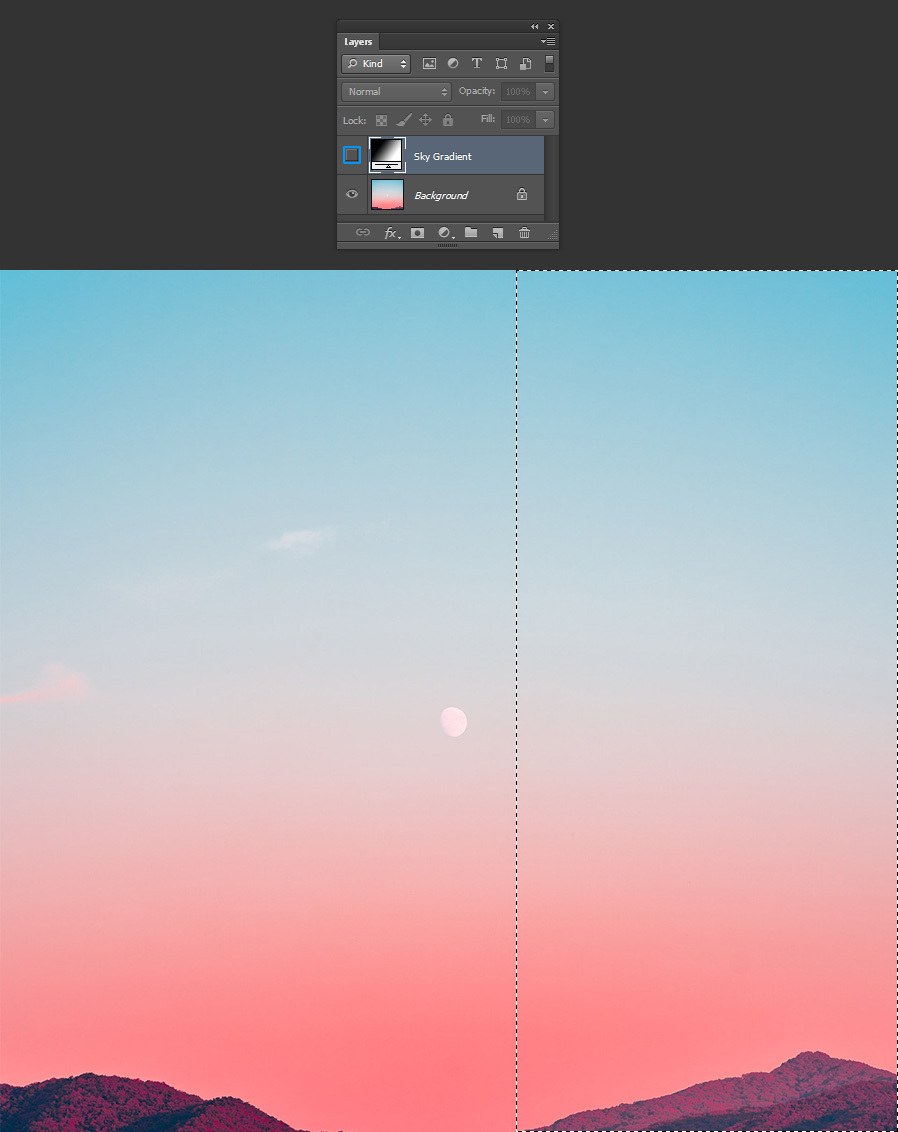
Go to Layer > New Fill Layer > Gradient. Name this layer as “Sky Gradient” and click OK.
Step 4
Hide the “Sky Gradient” layer and using the Rectangular Marquee Tool (M) draw a selection as shown.
Step 5
Make the “Sky Gradient” layer visible again and in the Layers Panel click on the “Add Layer Mask” icon.
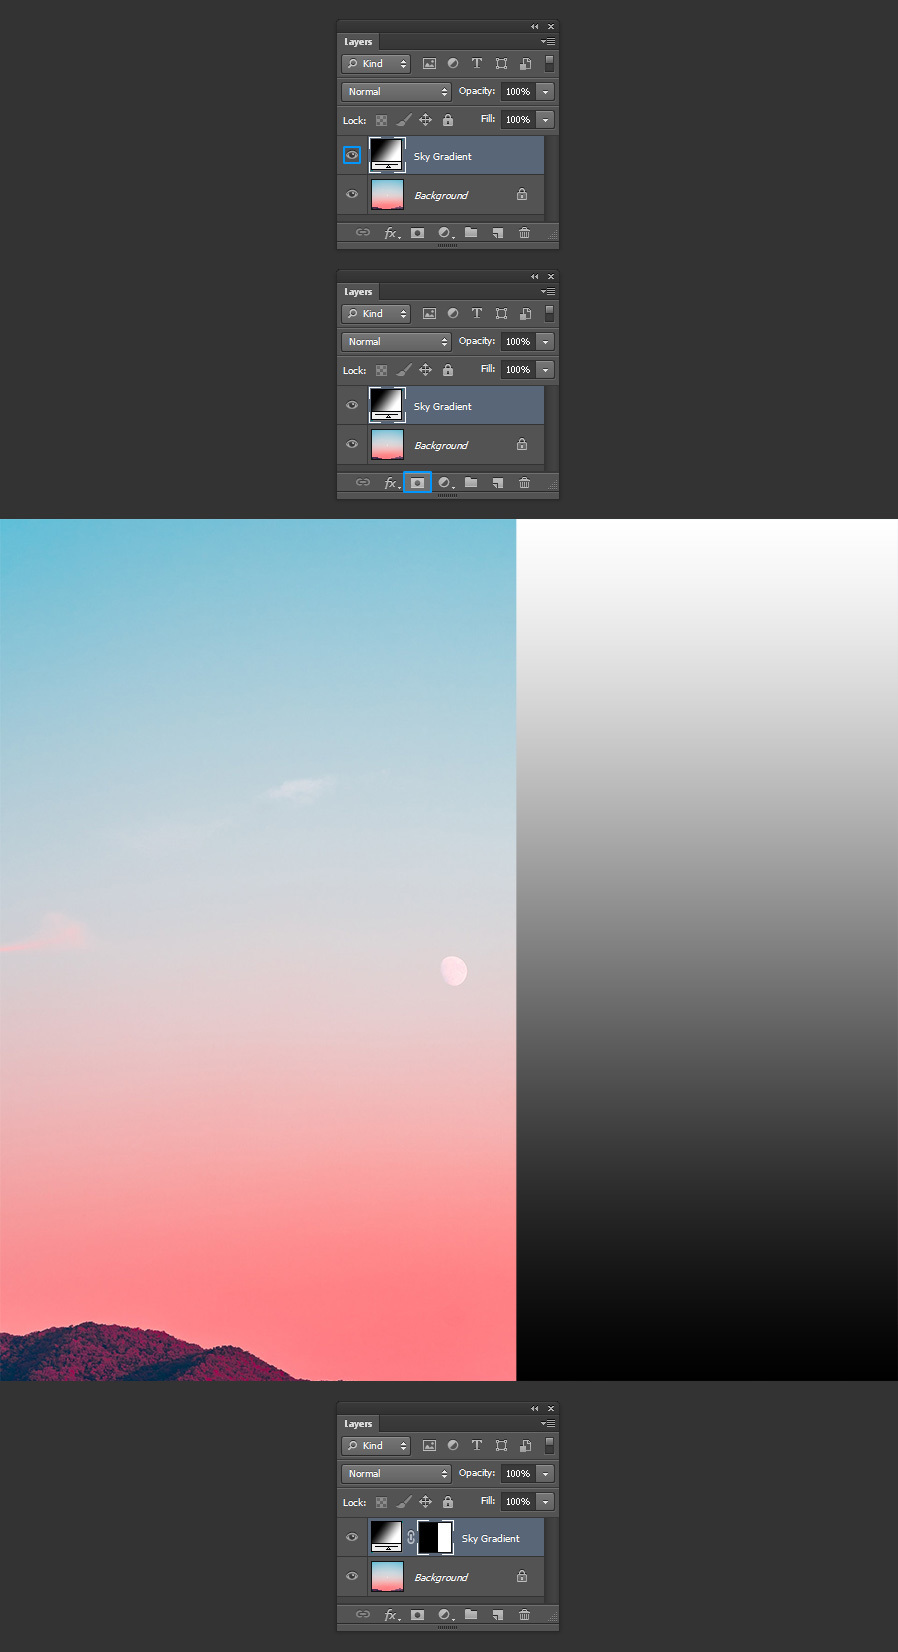
Step 6
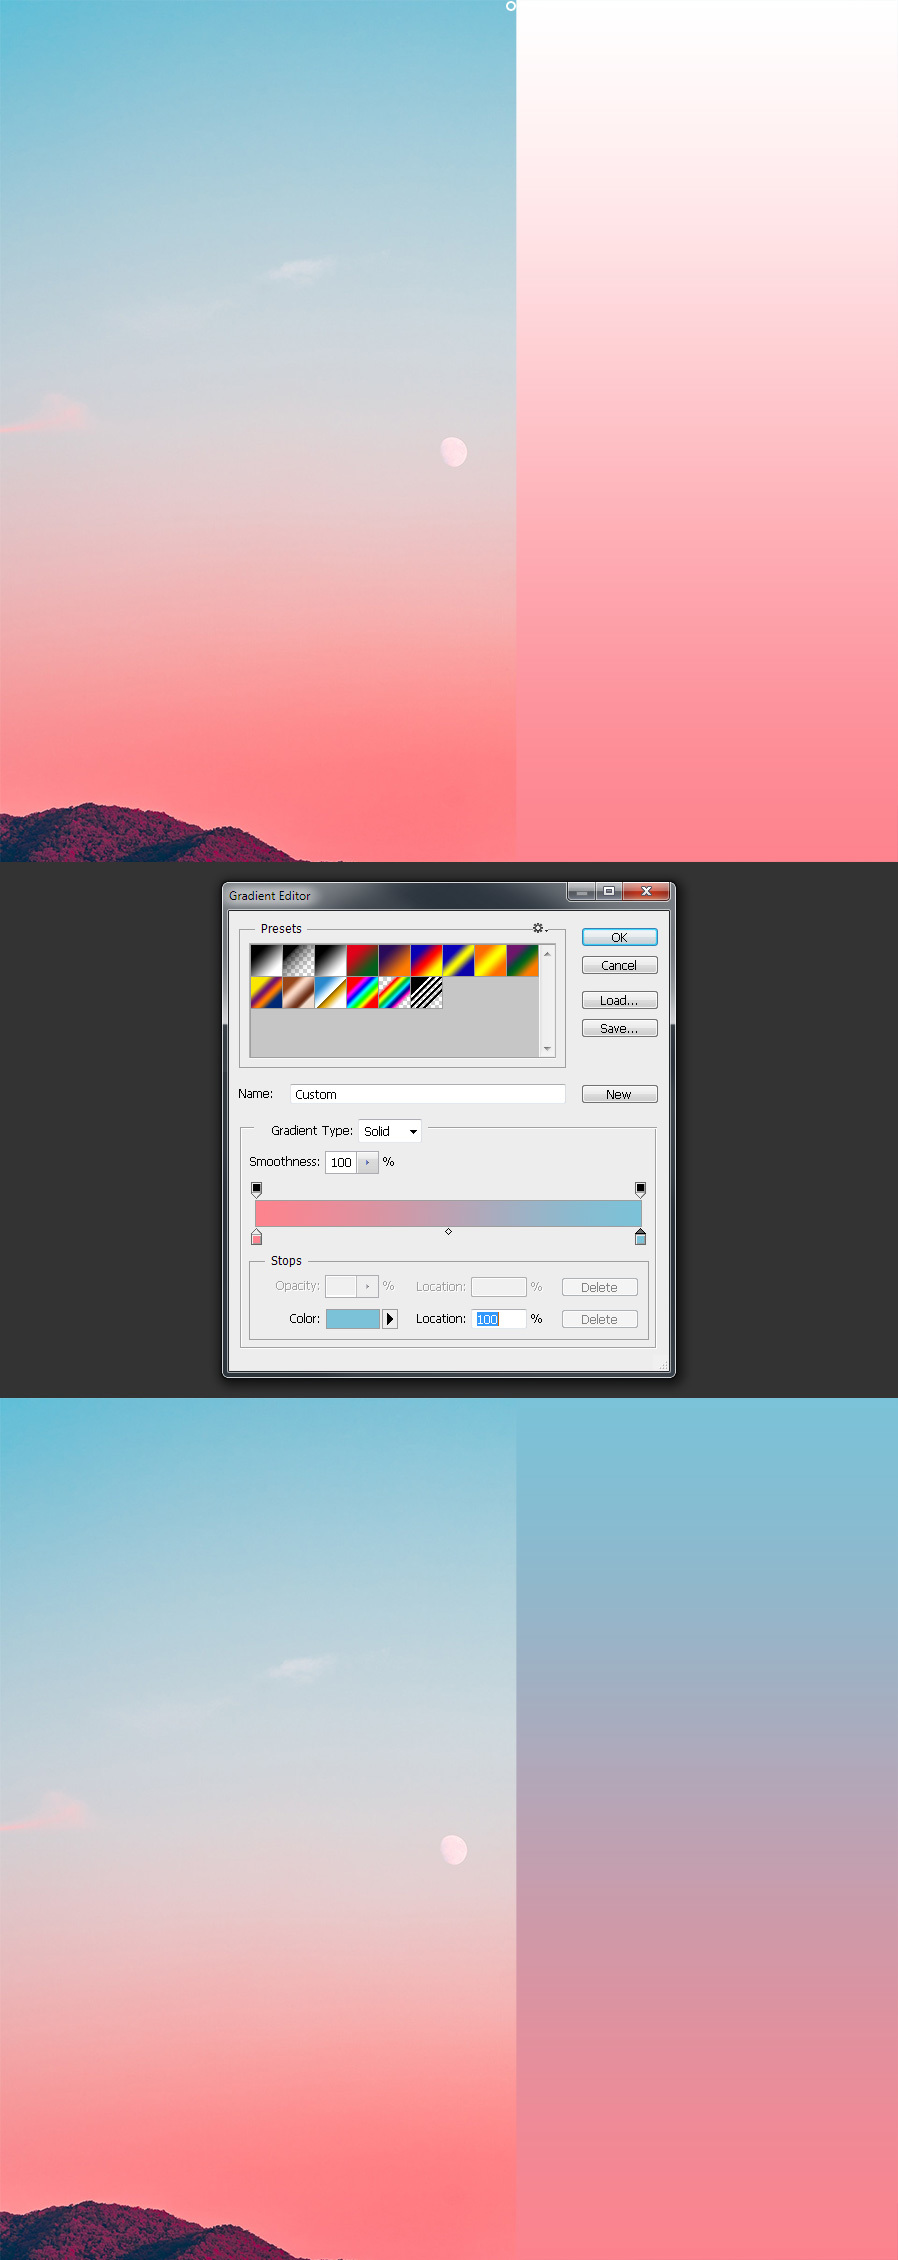
Double click on the “Sky Gradient” layer thumbnail and in the Gradient Fill window, click over the Gradient to display the Gradient Editor.
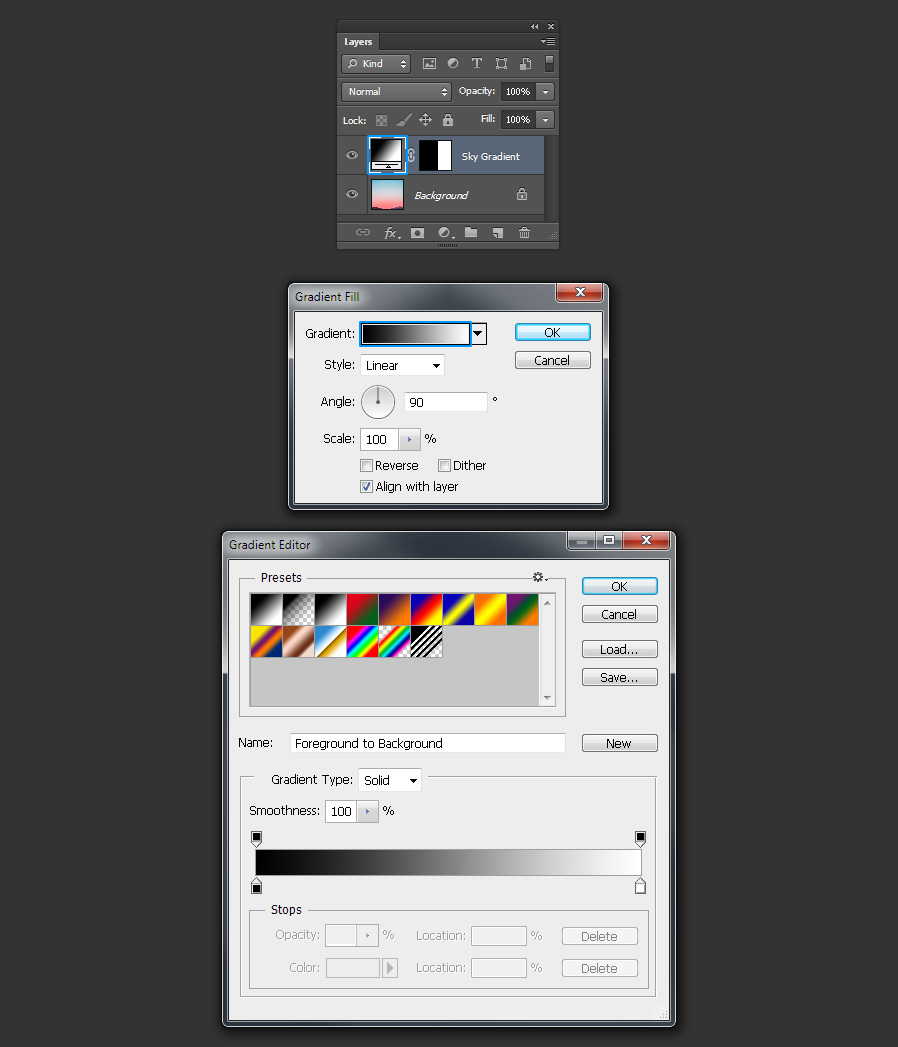
Step 7
In the Gradient Editor, click on the black color stop to select it.

Step 8
Click on the lower part of your sky image to pick that color and apply it to our new gradient.
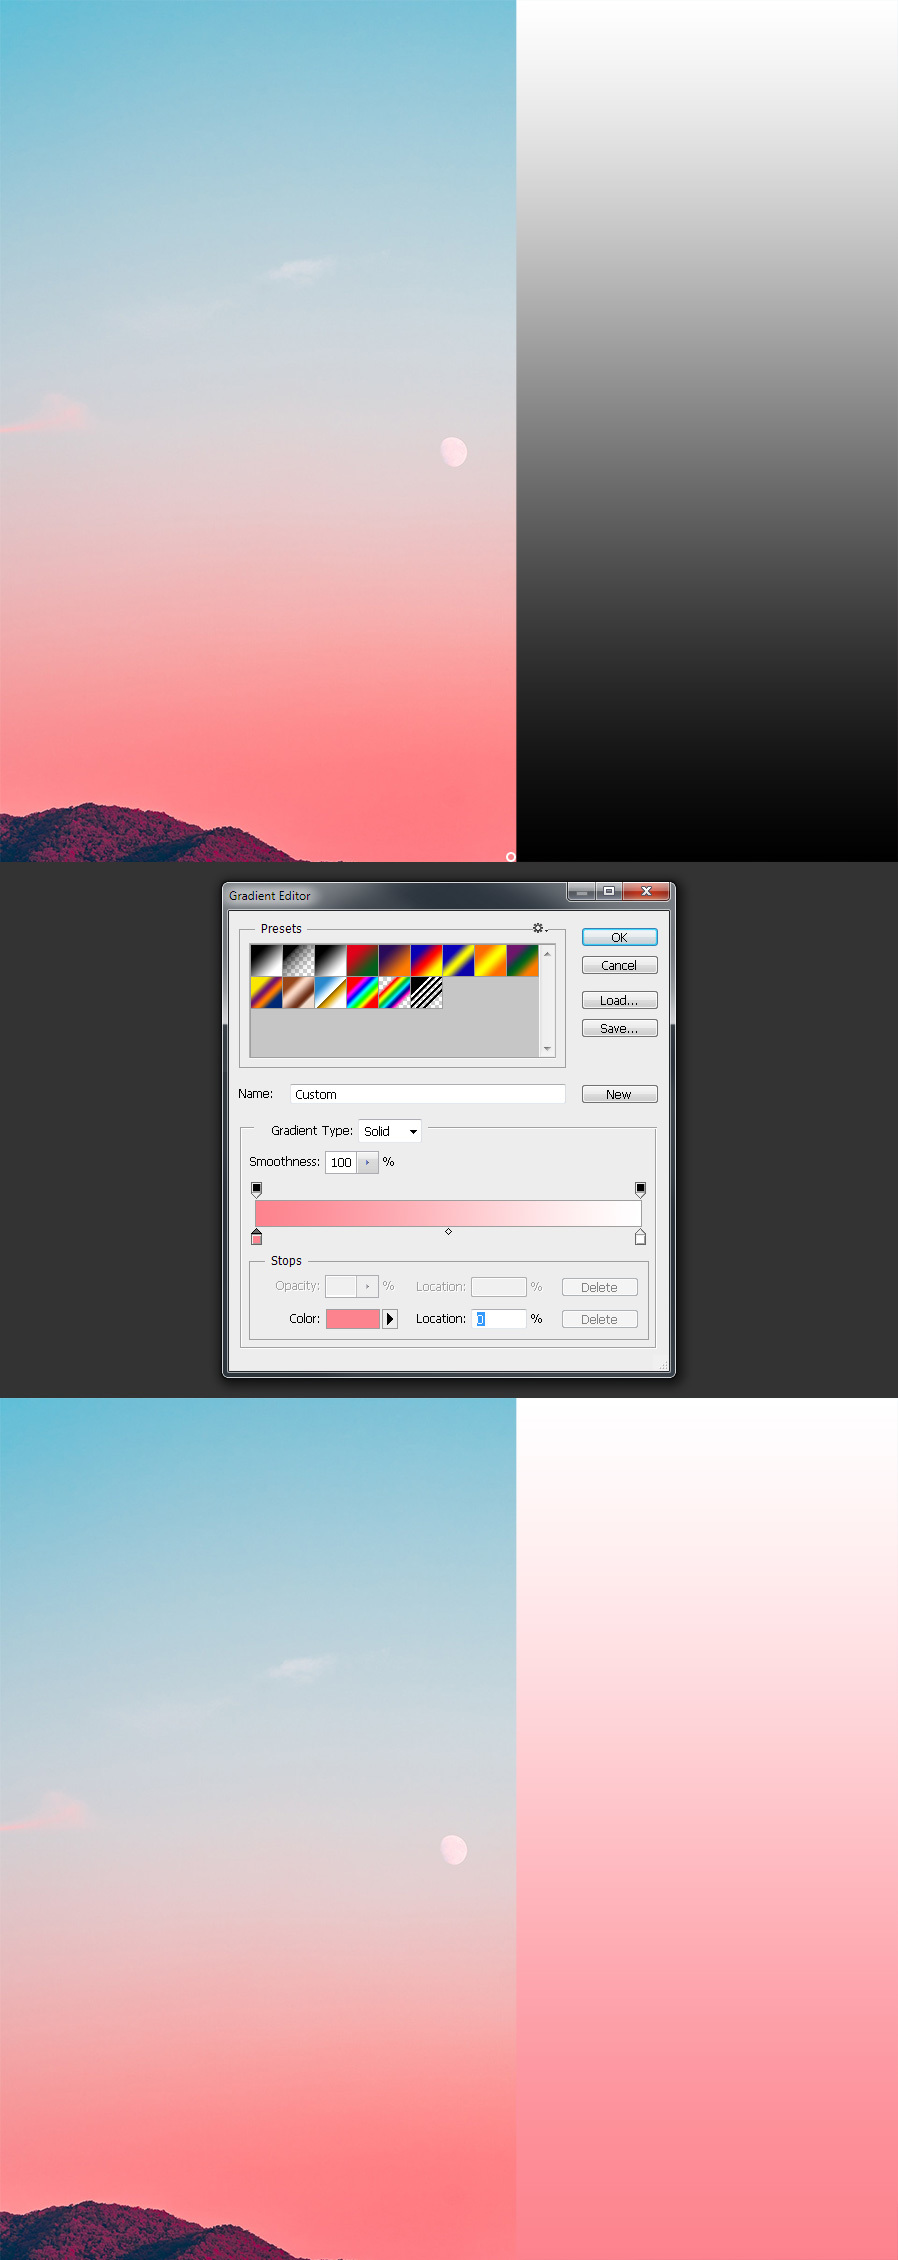
Step 9
In the Gradient Editor, click on the white color stop to select it.

Step 10
Now click on the top part of your sky image to pick that color and apply it to our new gradient.
Step 11
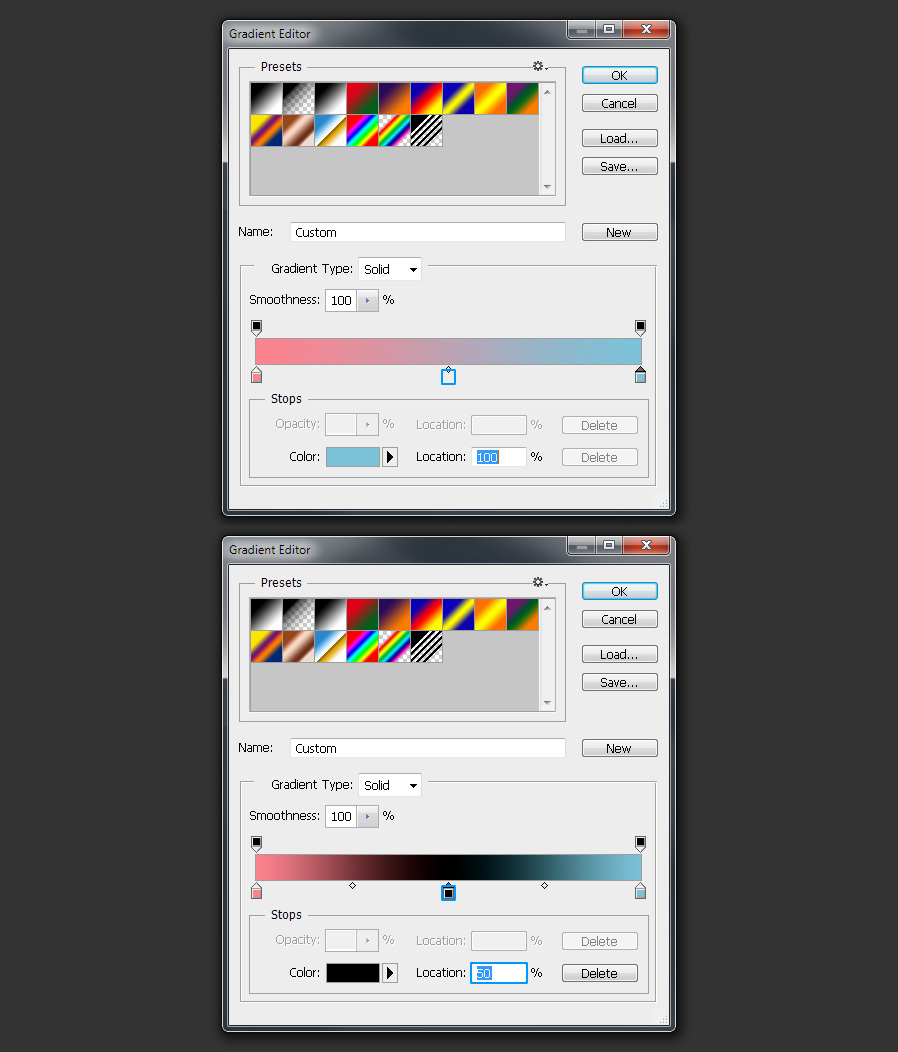
In the Gradient Editor, add a new Color Stop by clicking on the lower portion of the gradient rectangle. Be sure to have the Location of the Color Stop at 50%.
Step 12
With the new color stop added selected, click in the middle of your sky gradient to add that color to the gradient.
Step 13
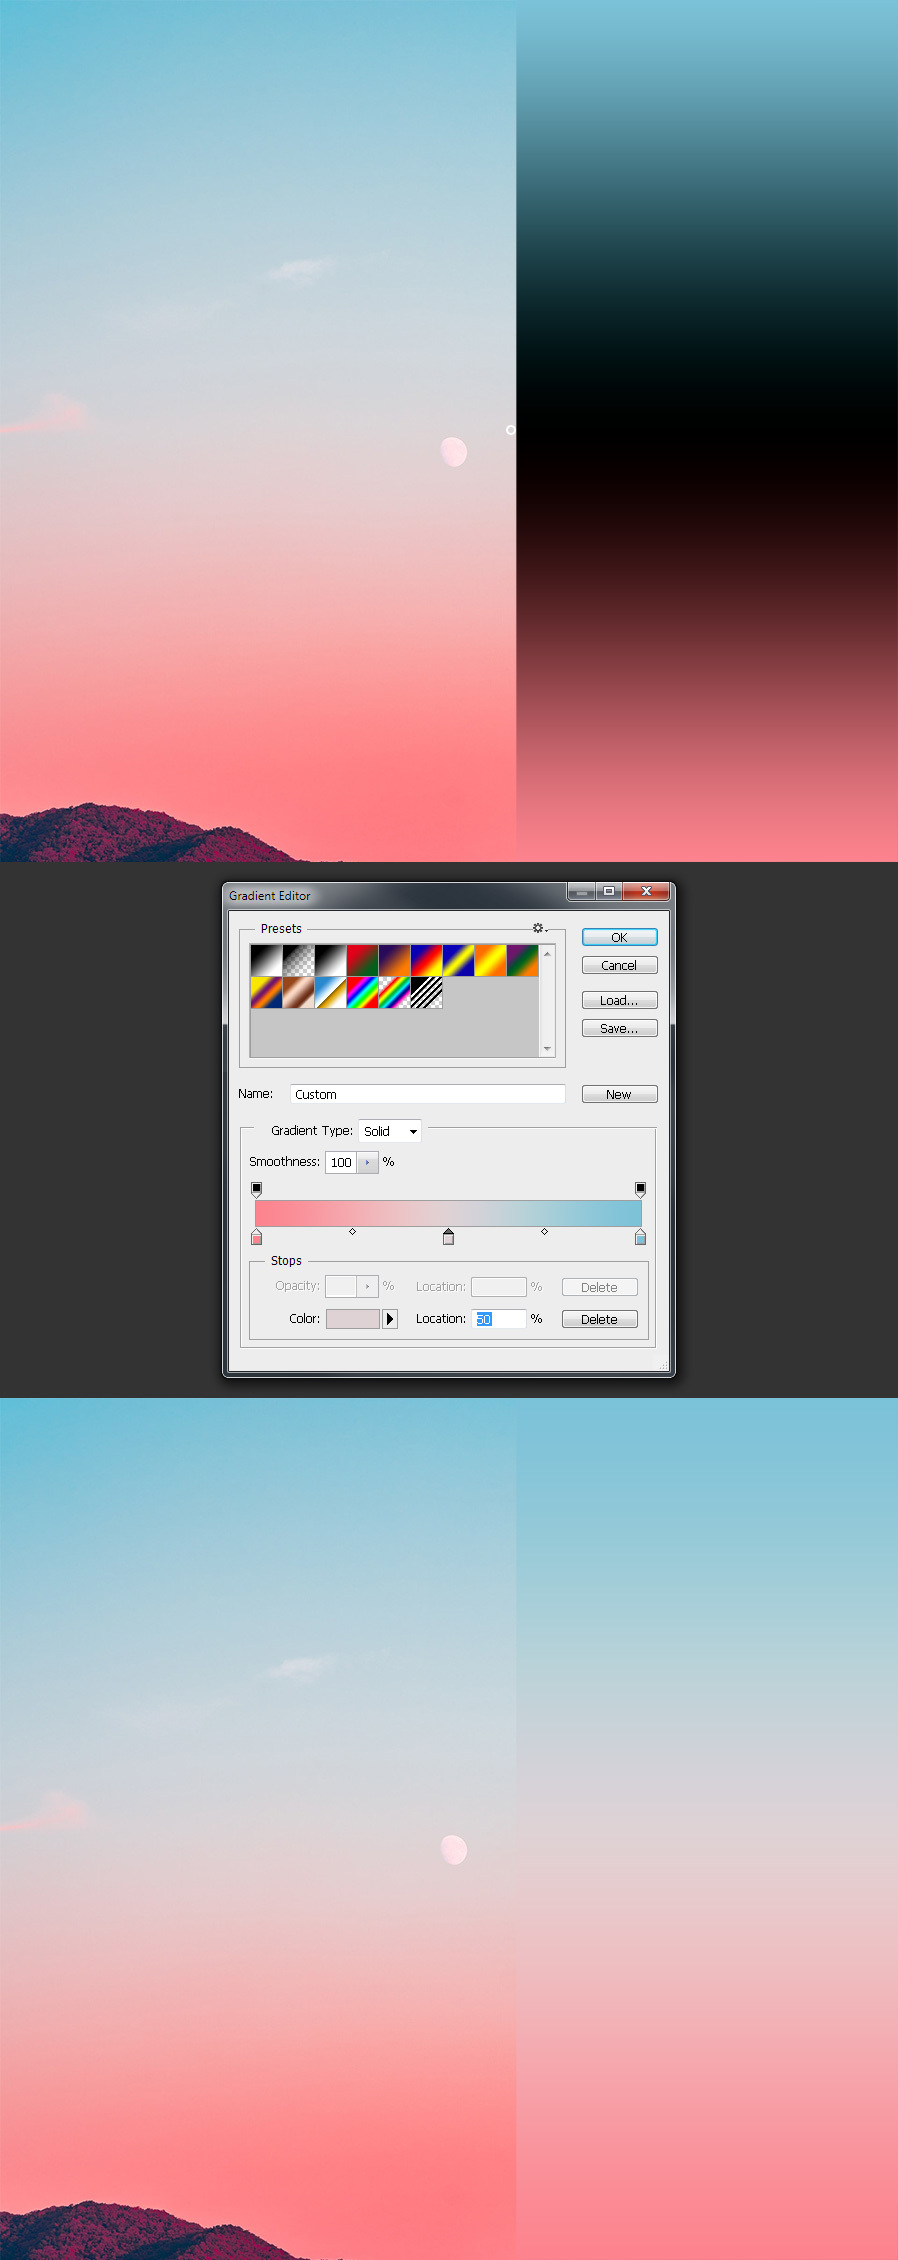
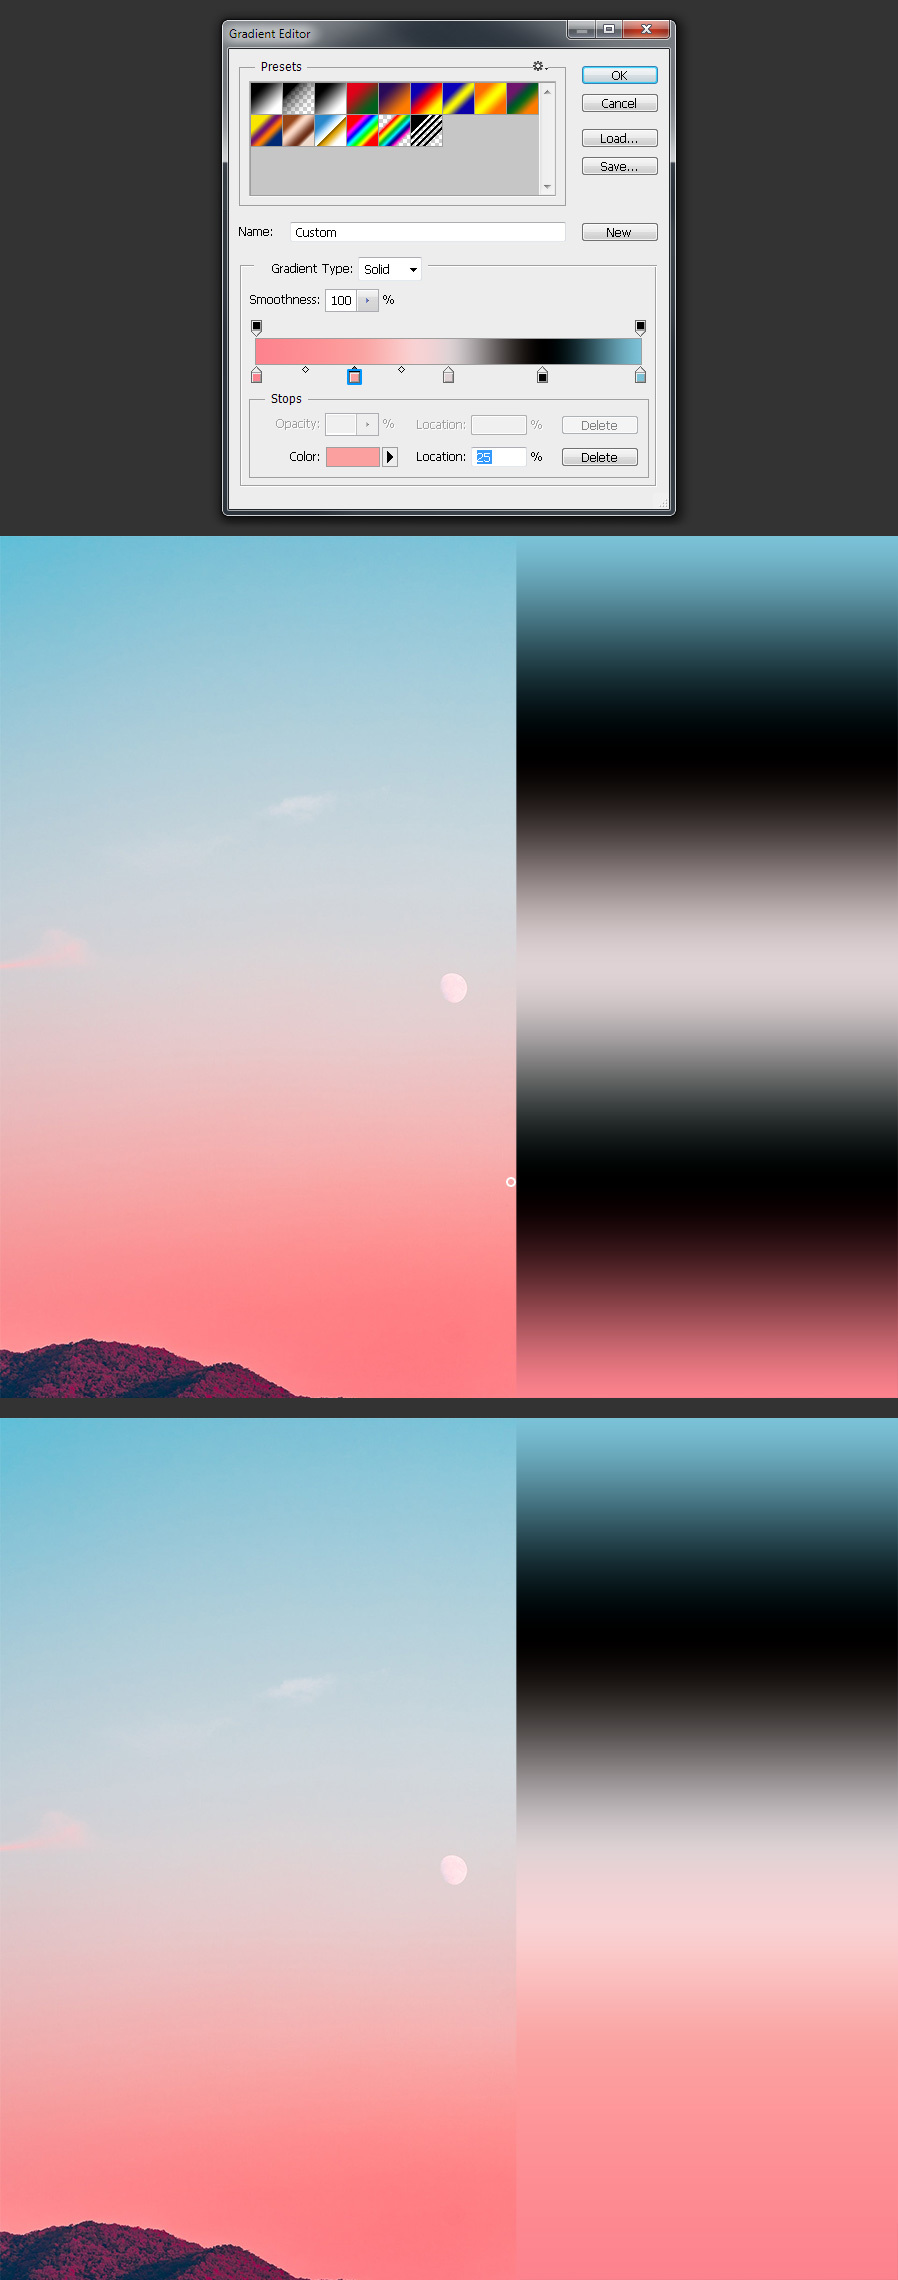
Add two new color stops in the Gradient Editor in a location near to the 25% and 75%.
Step 14
Select the one at 25% and click over your sky gradient image at approximately that location to add that color to the gradient.
Step 15
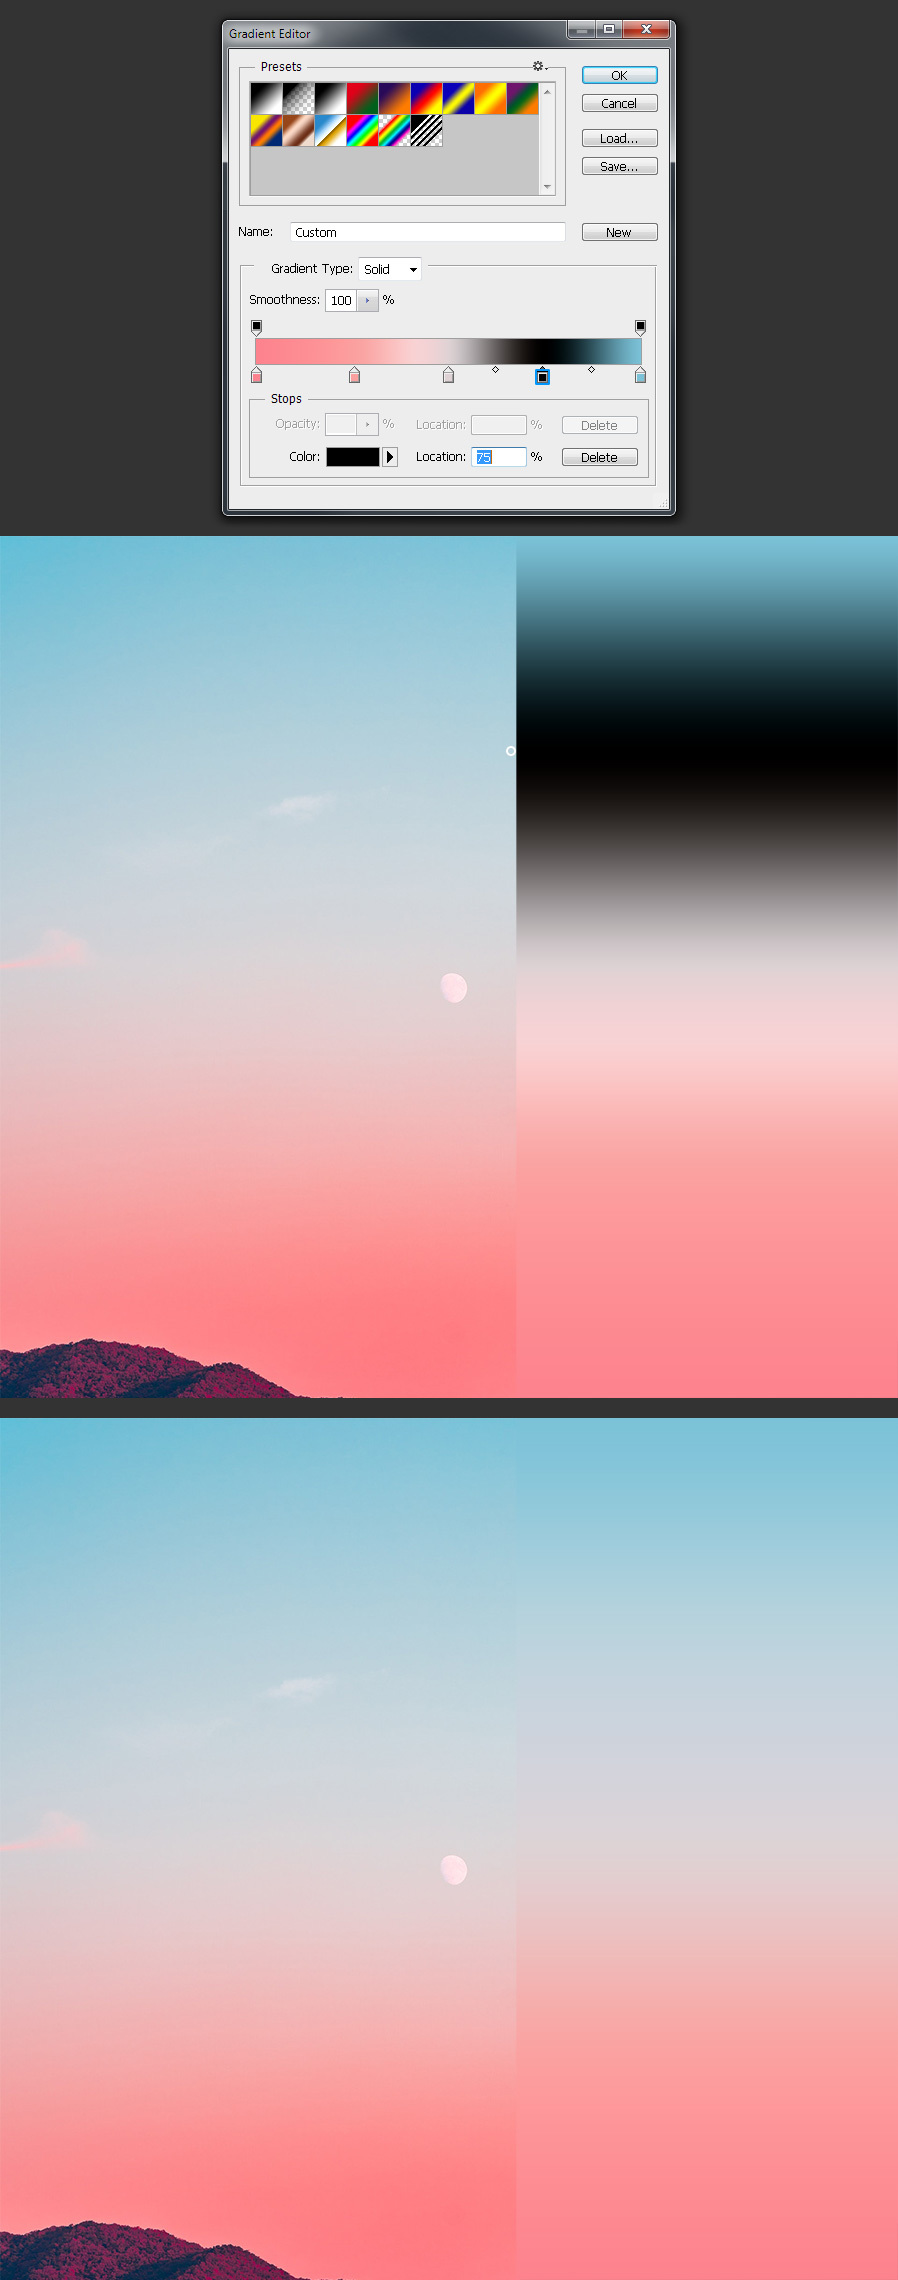
Now select the one at 75% and again click over your sky gradient image at approximately that location to add that color to the gradient.
Step 16
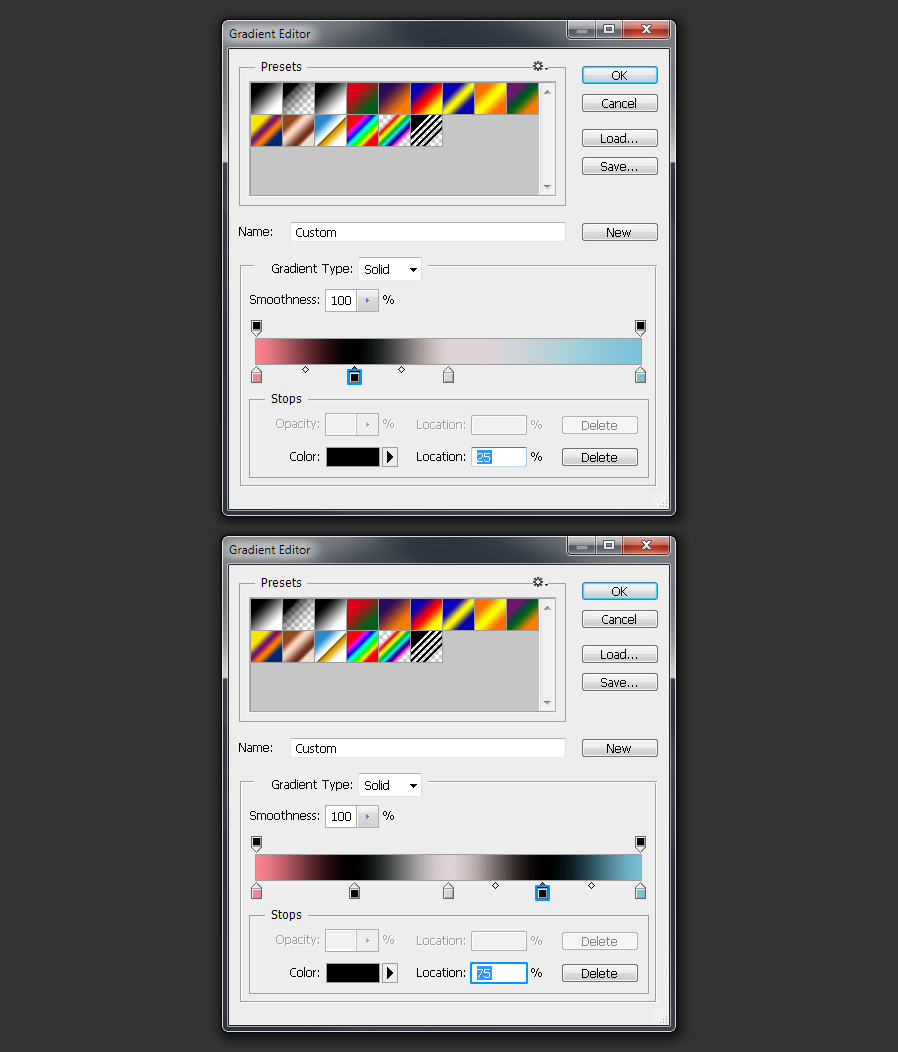
Now simply repeat this process adding as many Color Stops as you wish and clicking on your sky image to add those colors to the gradient.

Step 17
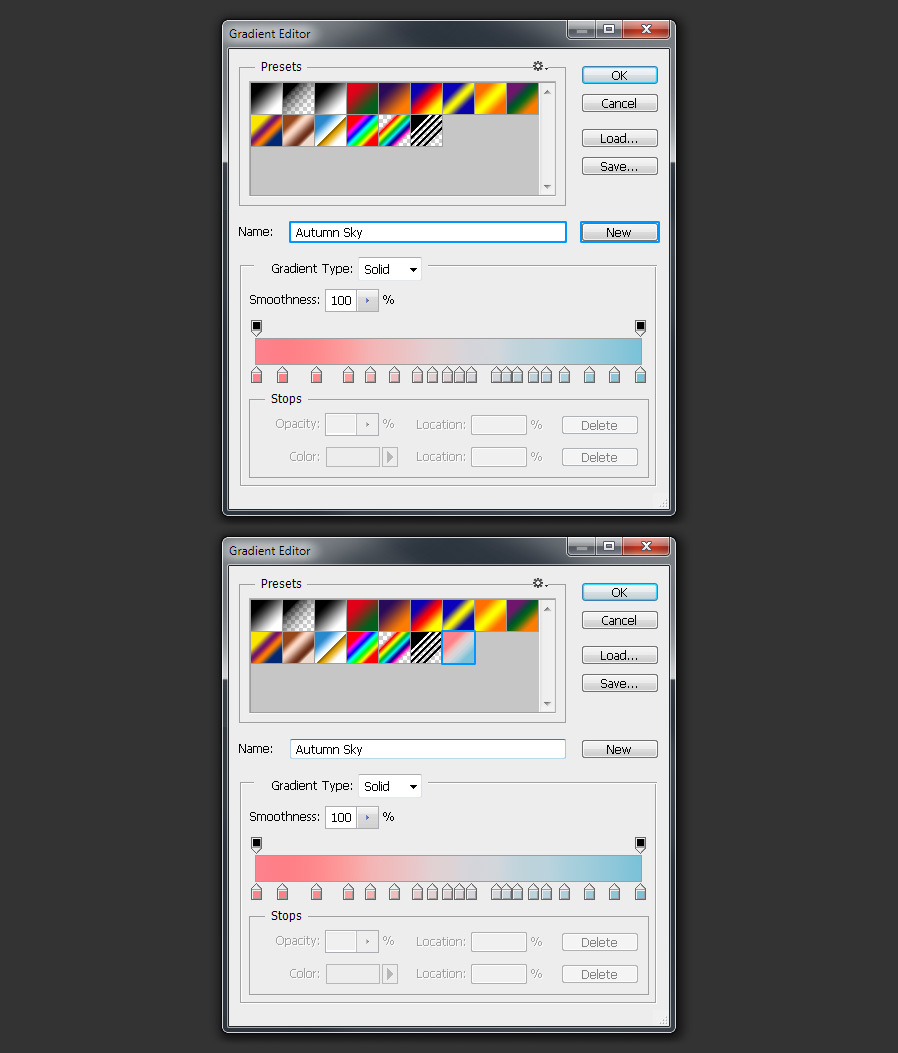
When finished, give this gradient a name (in this case I will name it as “Autumn Sky”), click on the “New” button in the Gradient Editor and the click OK.
Step 18
Again, click OK in the Gradient Fill window to apply the gradient to the “Sky Gradient” layer and delete the layer mask.