How to Easily Make a Soundwave in Photoshop
![](https://photoshopwizards.com/wp-content/uploads/2023/09/image-19-1024x640.png)
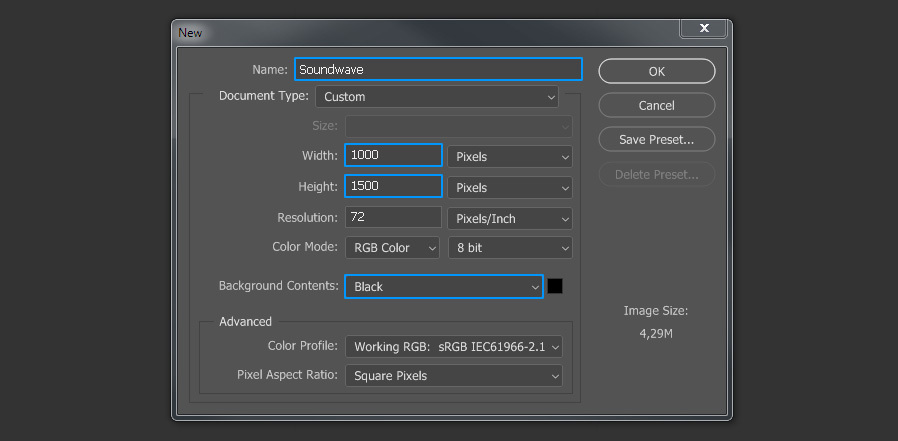
Open Photoshop and make a new file at any size you want, but set the Background color to Black. In this case I will set my canvas size to 1000 x 1500 (in a Vertical orientation, which later we will rotate).
![](https://s3.medialoot.com/blog-images/How-to-Easily-Make-a-Soundwave-in-Photoshop/01.jpg?mtime=20190523120403)
Step 2
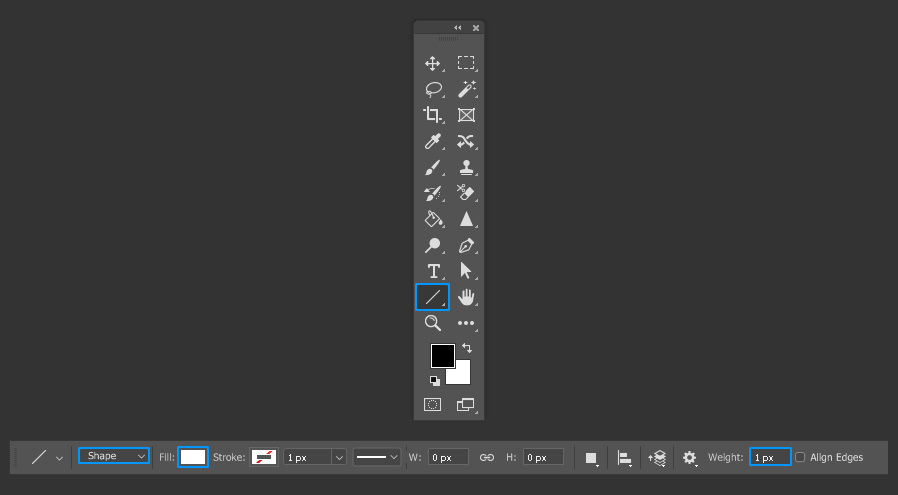
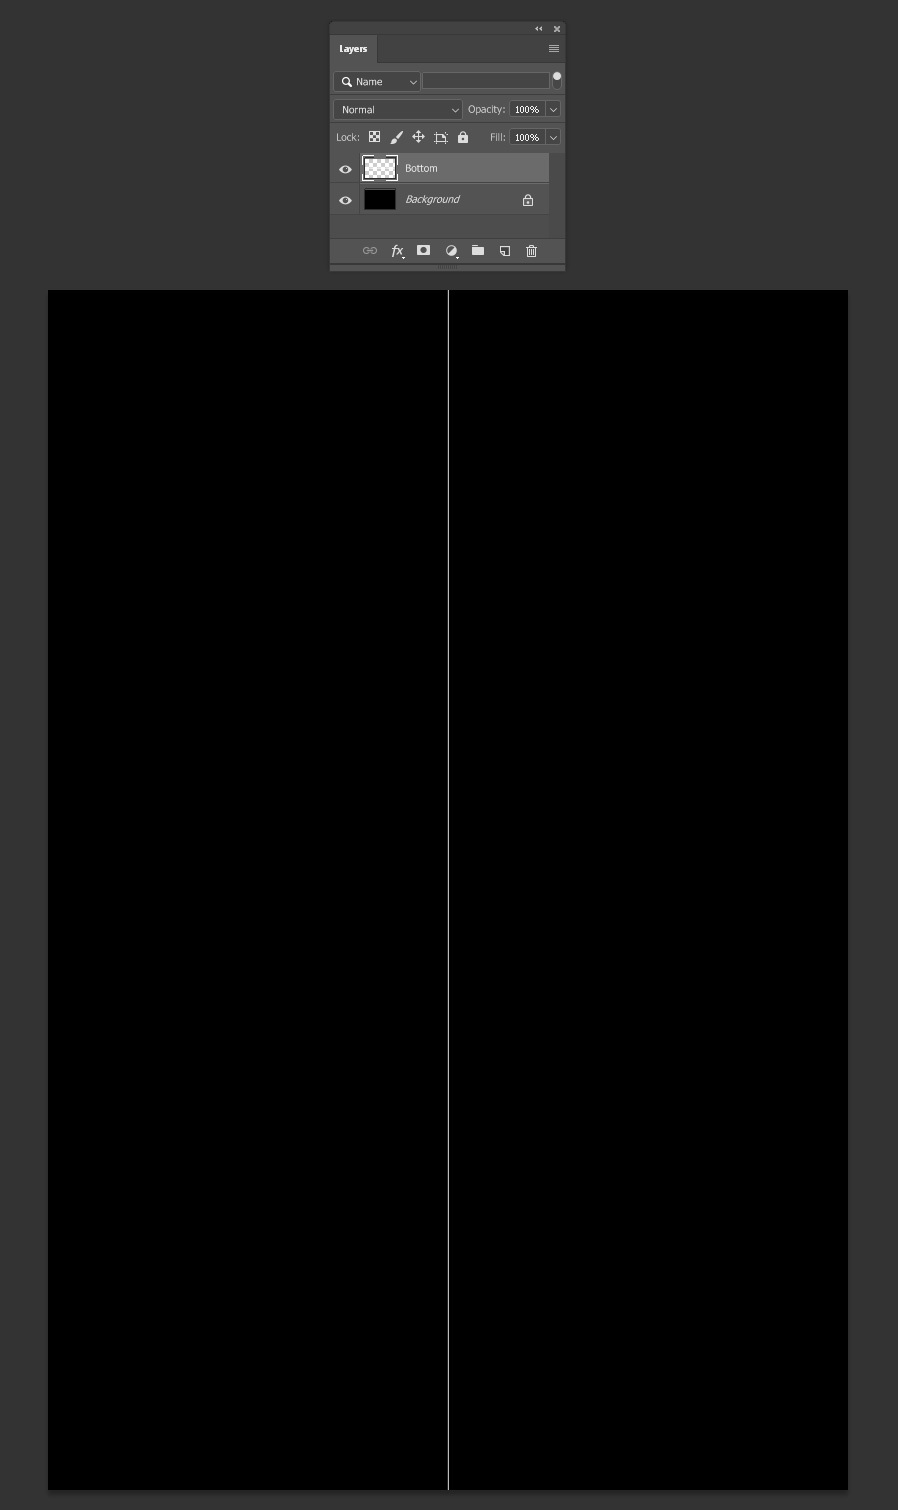
Select the Line tool (U). In the top toolbar be sure to have the Mode set to “Shape”, the Fill to “White” and the Weight to “1 px”.
![](https://s3.medialoot.com/blog-images/How-to-Easily-Make-a-Soundwave-in-Photoshop/02.jpg?mtime=20190523120404)
Step 3
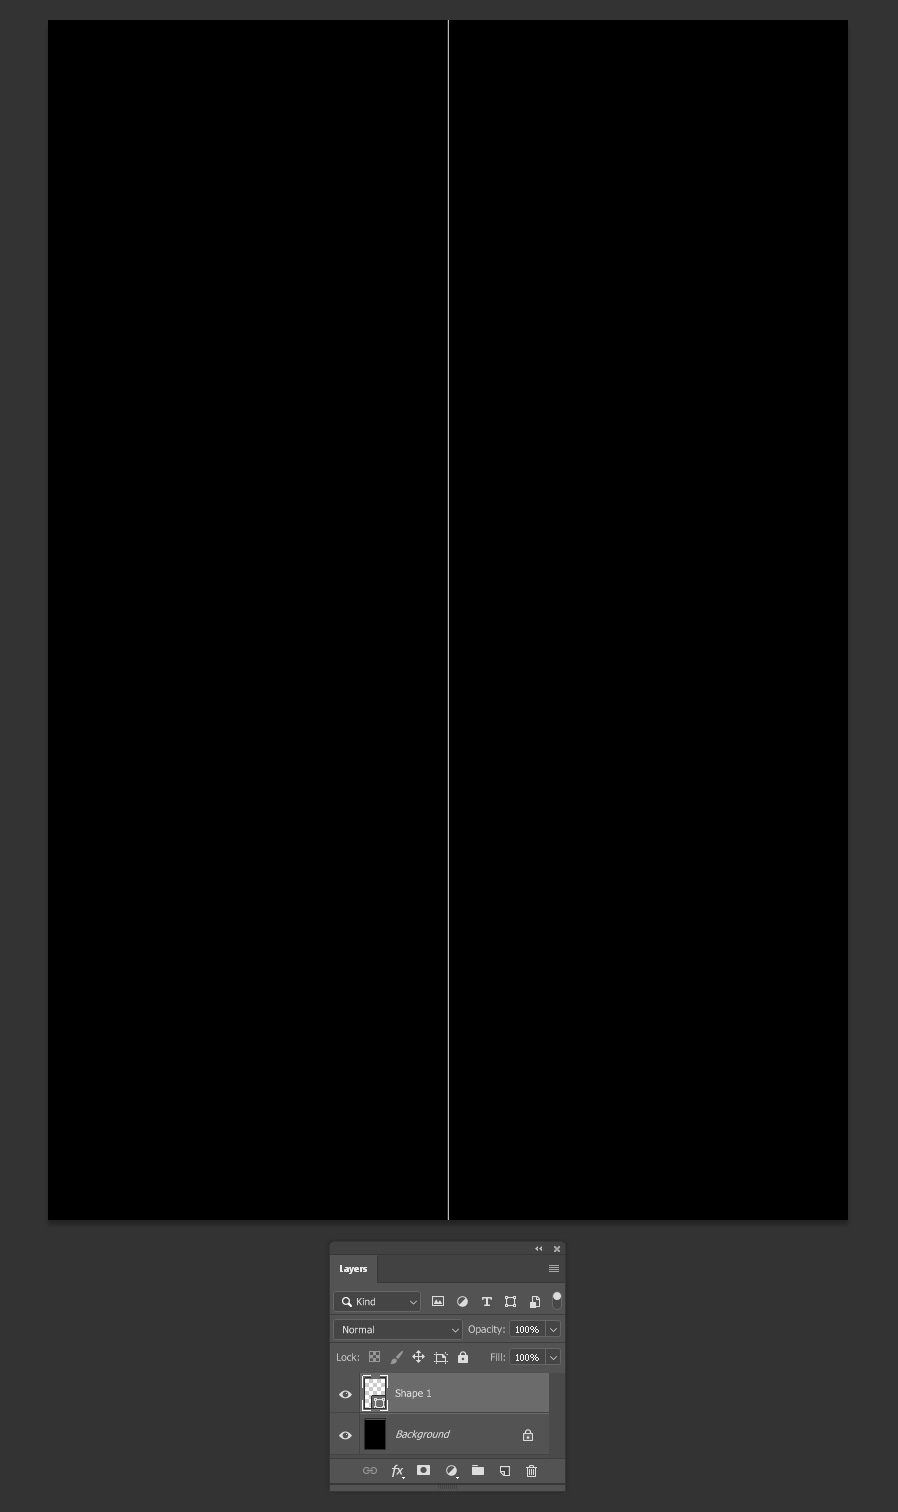
Draw a line from the top to the bottom and center it in the middle of the canvas.
![](https://s3.medialoot.com/blog-images/How-to-Easily-Make-a-Soundwave-in-Photoshop/03.jpg?mtime=20190523120405)
Step 4
Go to Layer > Rasterize > Layer. Rename this layer as “Bottom”.
![](https://s3.medialoot.com/blog-images/How-to-Easily-Make-a-Soundwave-in-Photoshop/04.jpg?mtime=20190523120406)
Step 5
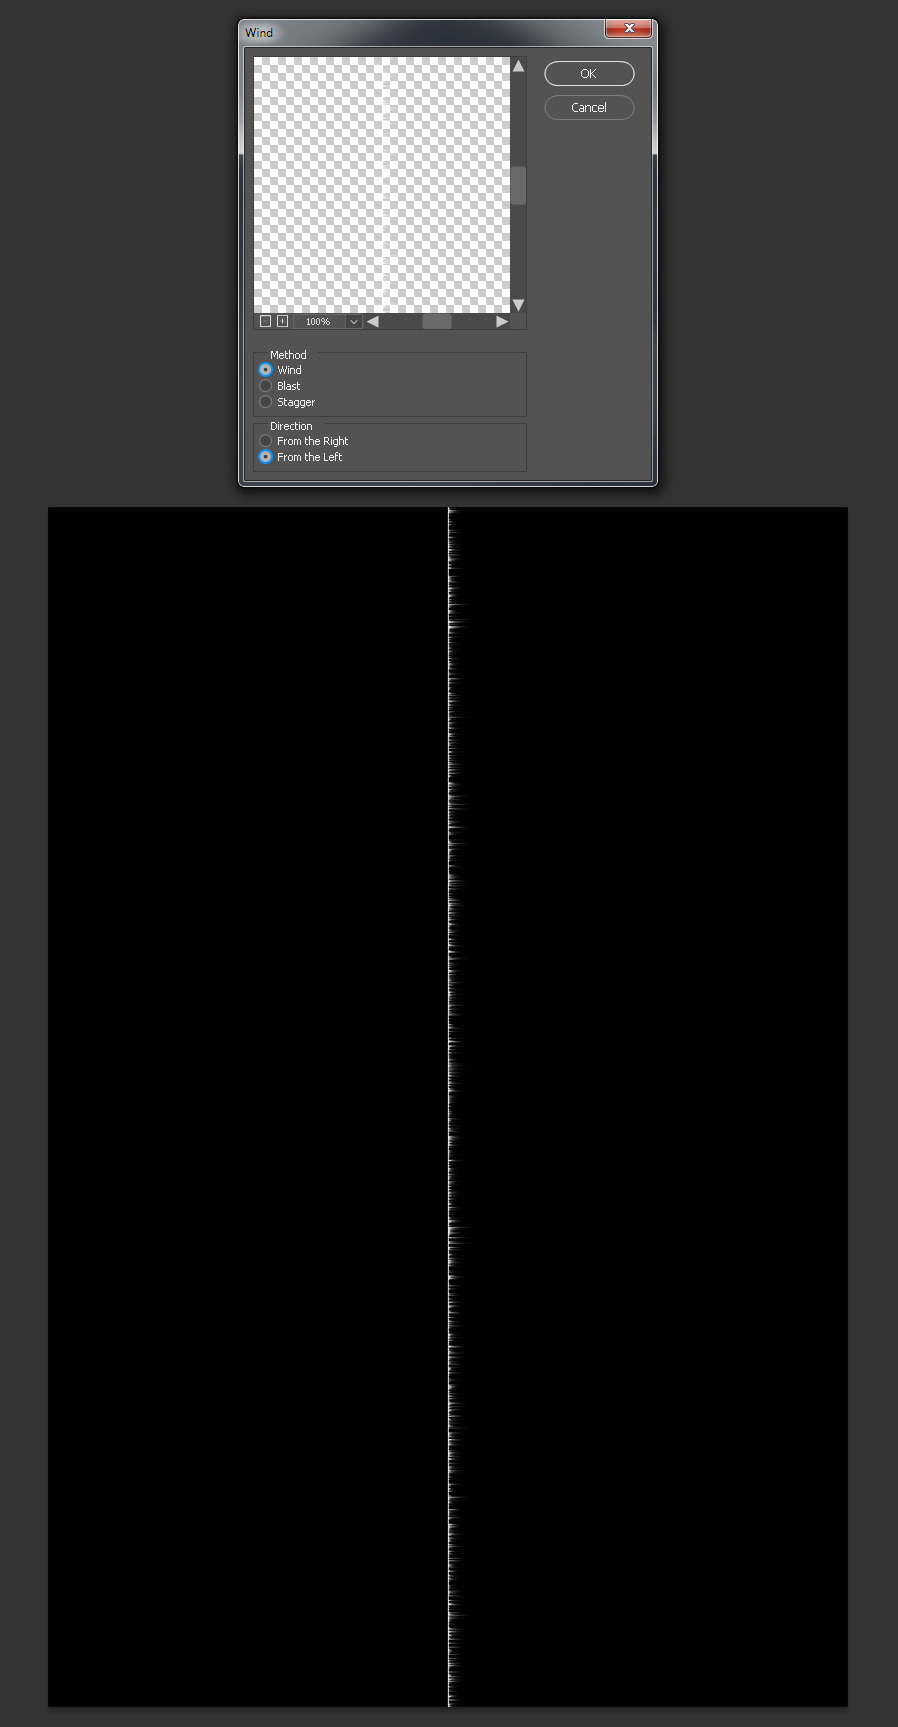
Go to Filter > Stylize > Wind. Set the Method to “Wind”, the Direction to be “From the left” and click OK.
![](https://s3.medialoot.com/blog-images/How-to-Easily-Make-a-Soundwave-in-Photoshop/05.jpg?mtime=20190523120408)
Step 6
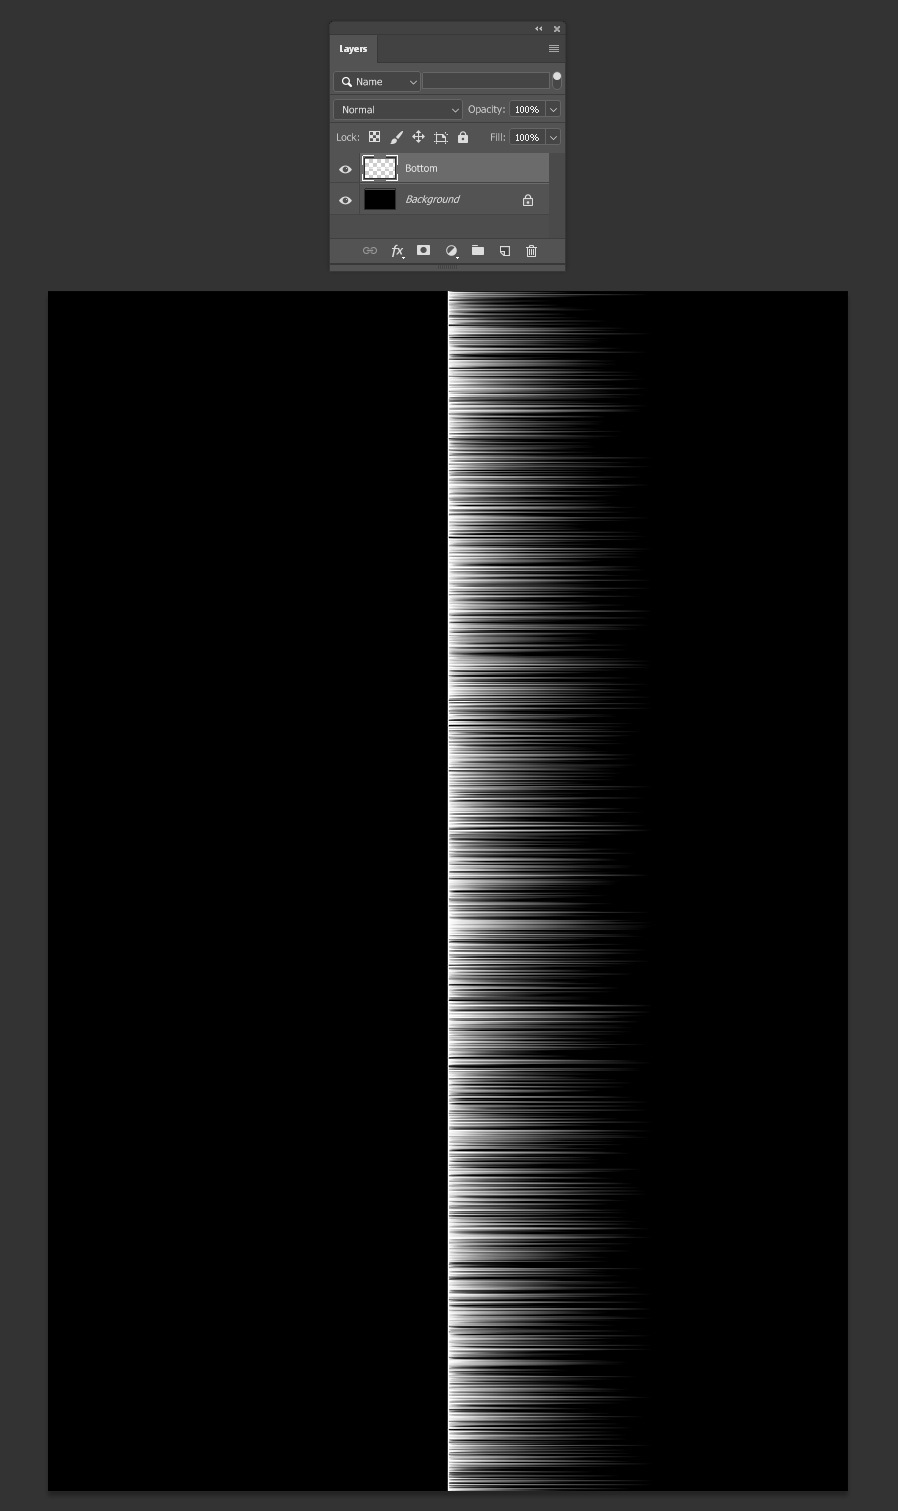
Go to Filter > Wind (or press Alt+Ctrl+F on your keyboard) four times to apply the same Wind effect 4 more times.
![](https://s3.medialoot.com/blog-images/How-to-Easily-Make-a-Soundwave-in-Photoshop/06.jpg?mtime=20190523120409)
Step 7
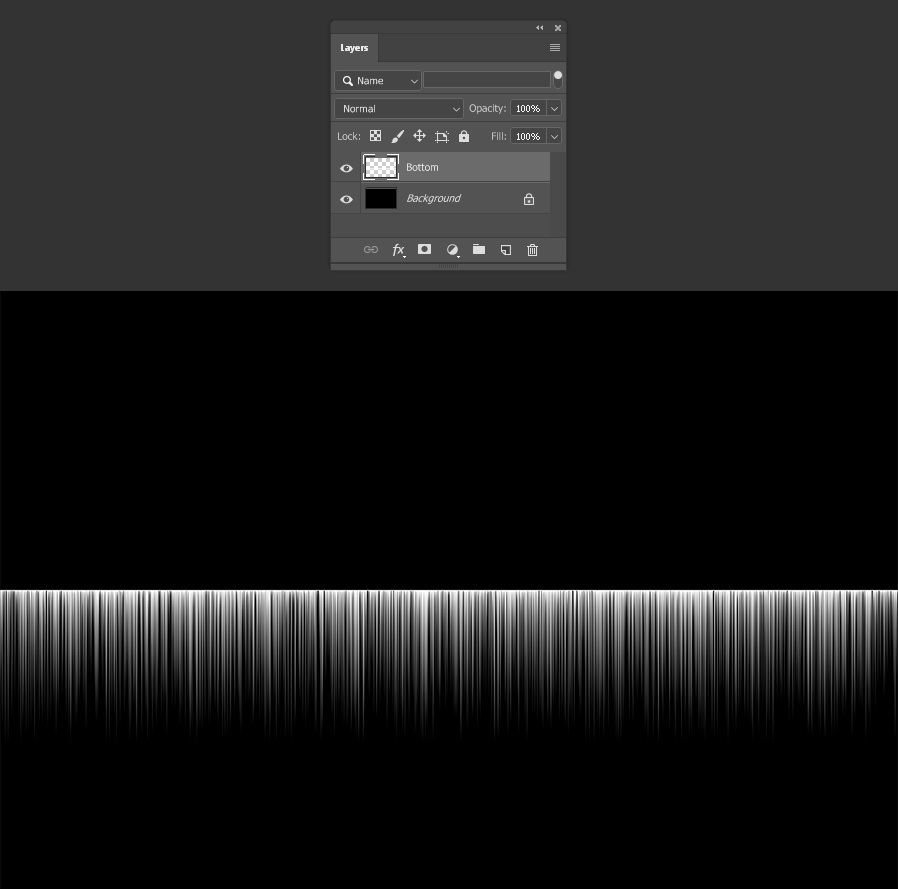
Go to Image > Image Rotation > 90º Clockwise.
![](https://s3.medialoot.com/blog-images/How-to-Easily-Make-a-Soundwave-in-Photoshop/07.jpg?mtime=20190523120410)
Step 8
Go to Layer > Duplicate Layer. Name this layer “Top” and click OK.
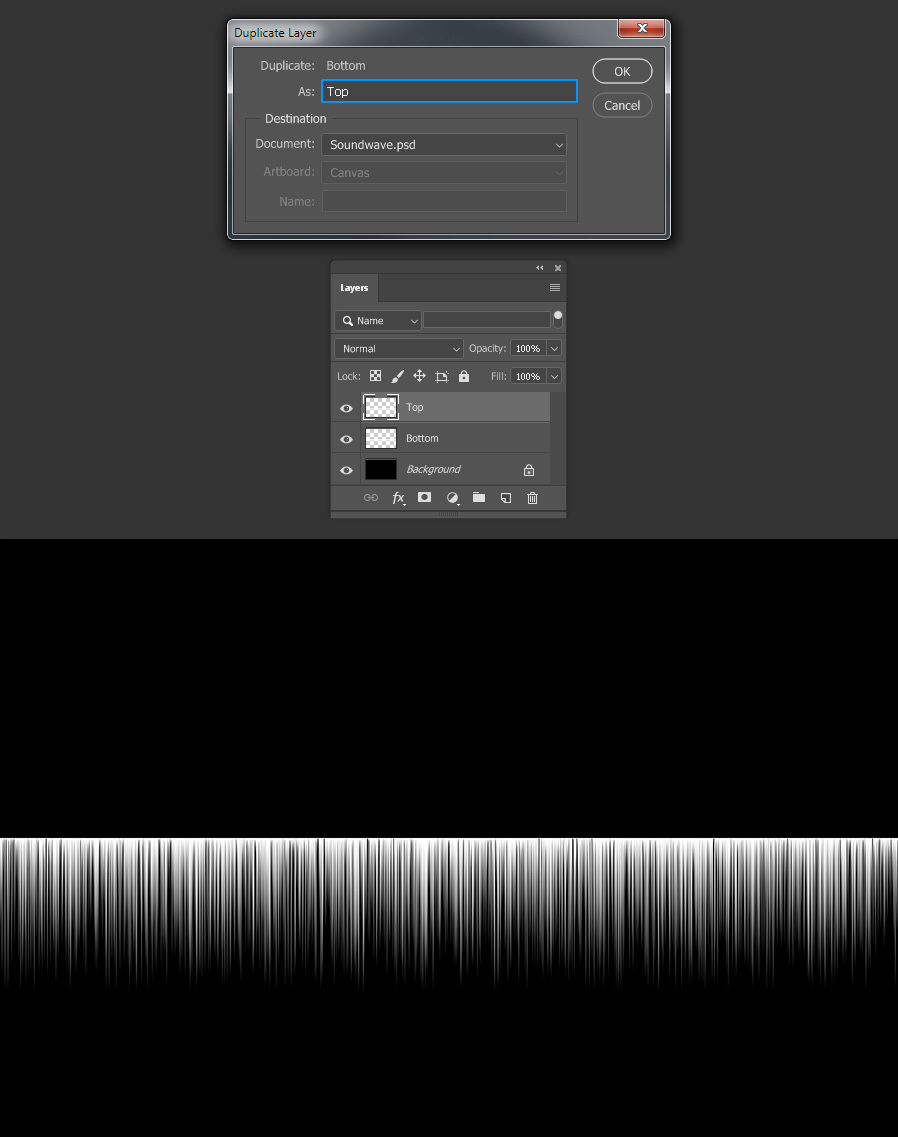
![](https://s3.medialoot.com/blog-images/How-to-Easily-Make-a-Soundwave-in-Photoshop/08.jpg?mtime=20190523120411)
Step 9
With the “Top” layer selected, go to Edit > Transform > Flip Vertical.
![](https://s3.medialoot.com/blog-images/How-to-Easily-Make-a-Soundwave-in-Photoshop/09.jpg?mtime=20190523120412)
Step 10
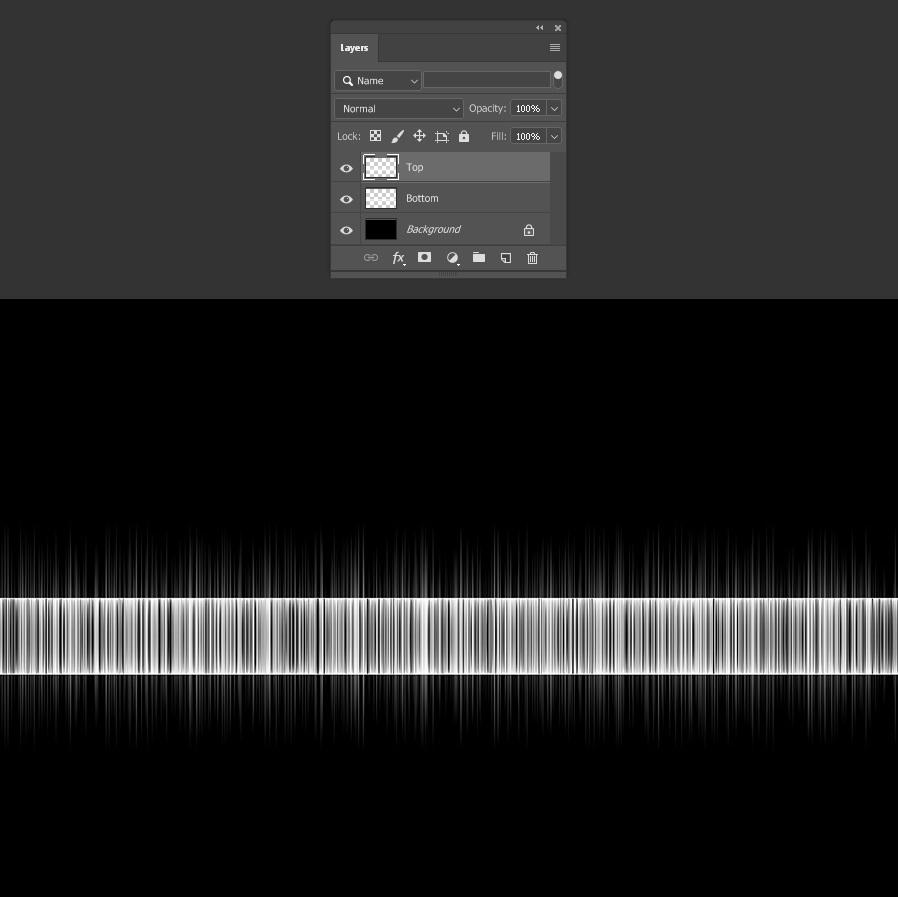
Reposition the “Top” layer to make both lines match in the middle as shown.
![](https://s3.medialoot.com/blog-images/How-to-Easily-Make-a-Soundwave-in-Photoshop/10.jpg?mtime=20190523120413)
Step 11
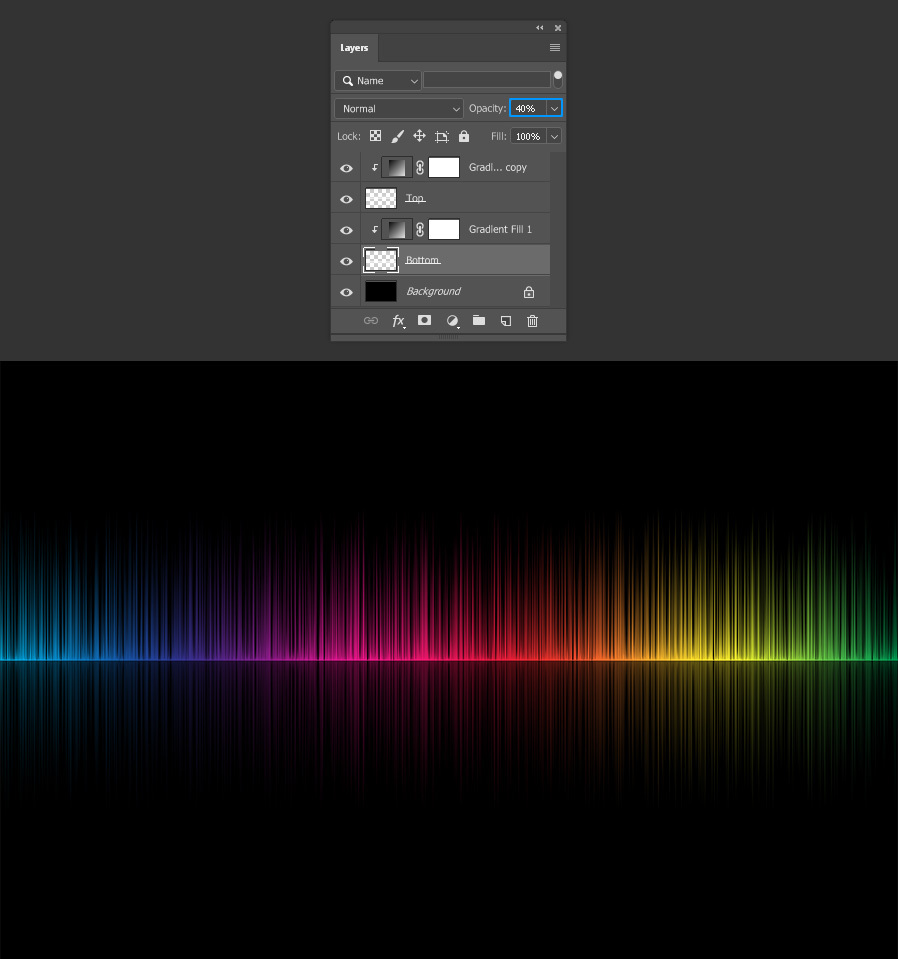
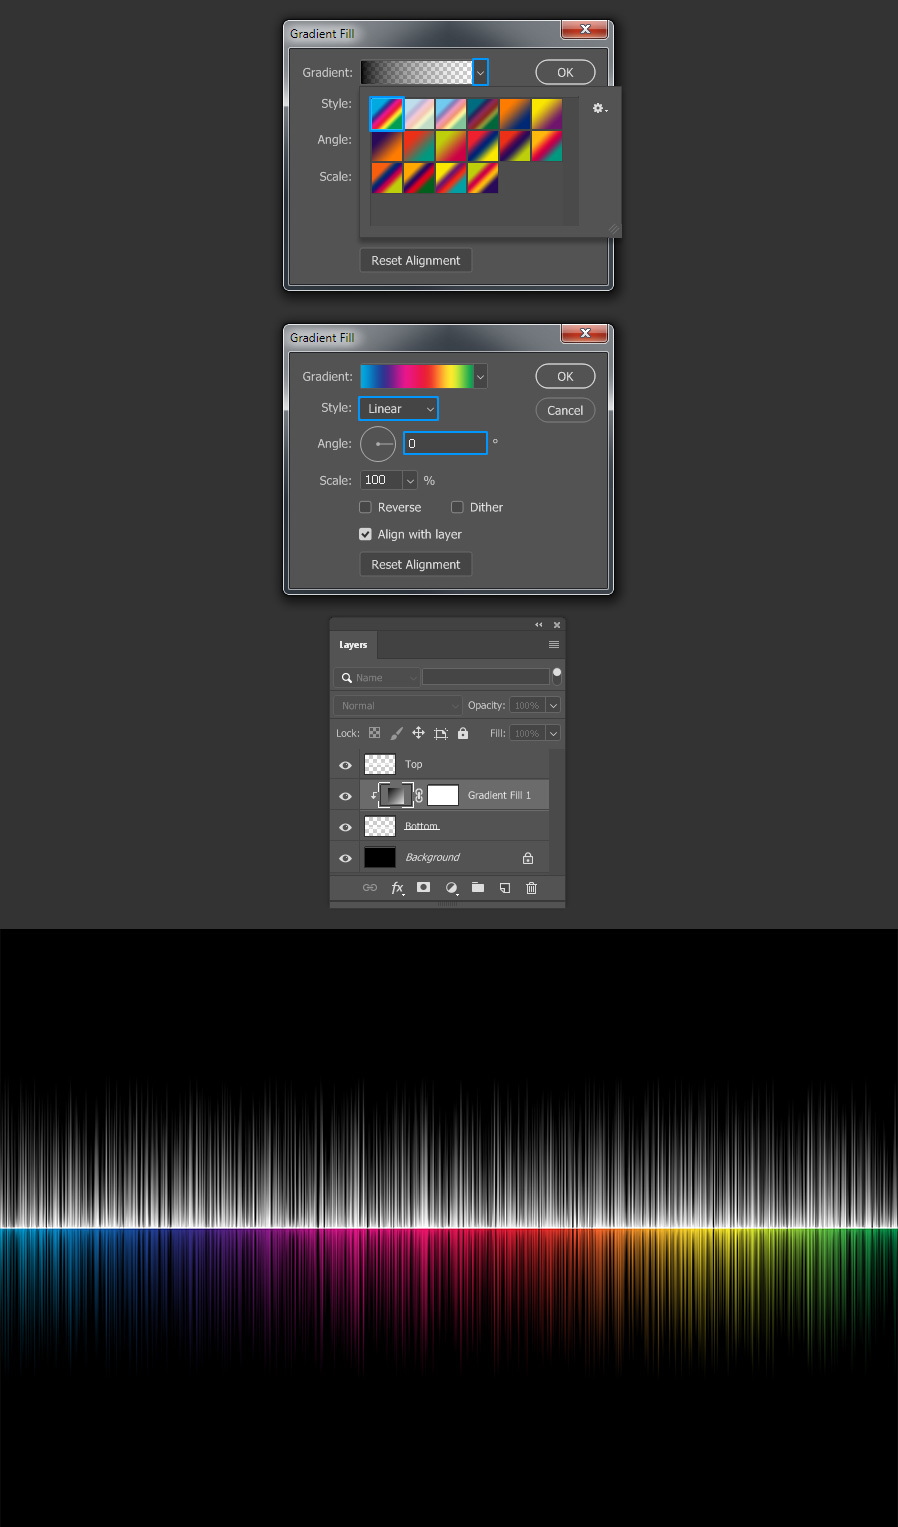
Select the “Bottom” layer and go to Layer > New Fill Layer > Gradient. Be sure to check the “Use Previous Layer to Create Clipping Mask” option and click OK.
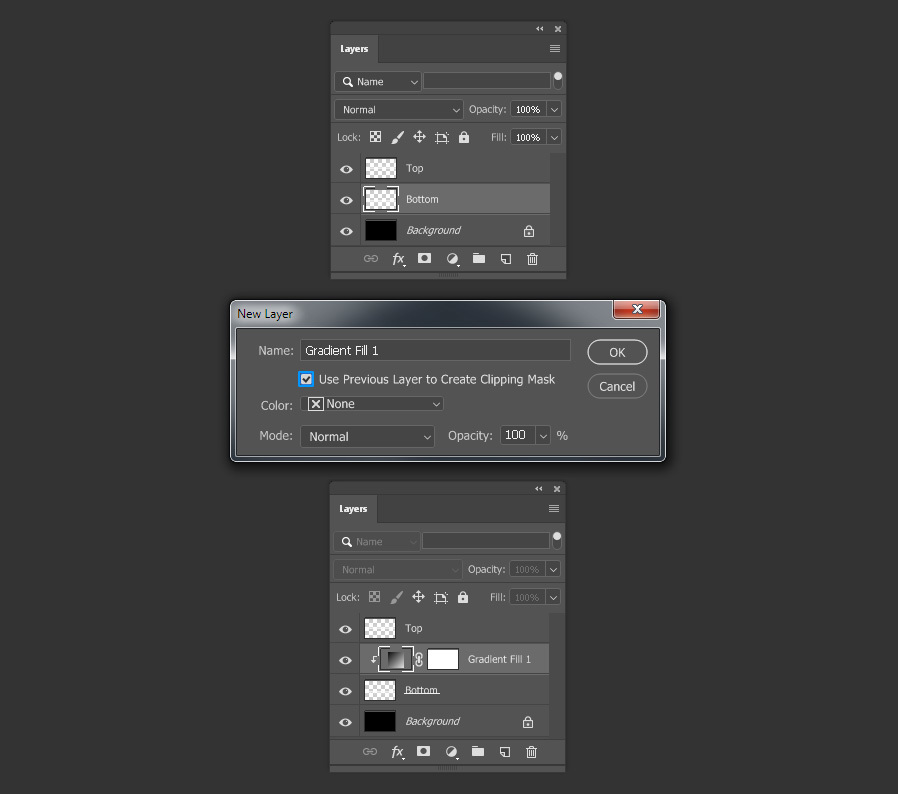
![](https://s3.medialoot.com/blog-images/How-to-Easily-Make-a-Soundwave-in-Photoshop/11.jpg?mtime=20190523120414)
Step 12
In the Gradient Fill window, pick any gradient you want from the thumbnail dropdown. In this case I will be using “Spectrum”. Then set the Style to “Linear”, the Angle to “0º” and click OK.
![](https://s3.medialoot.com/blog-images/How-to-Easily-Make-a-Soundwave-in-Photoshop/12.jpg?mtime=20190523120415)
Step 13
Press Ctrl+J on your keyboard to duplicate the Gradient Fill layer.
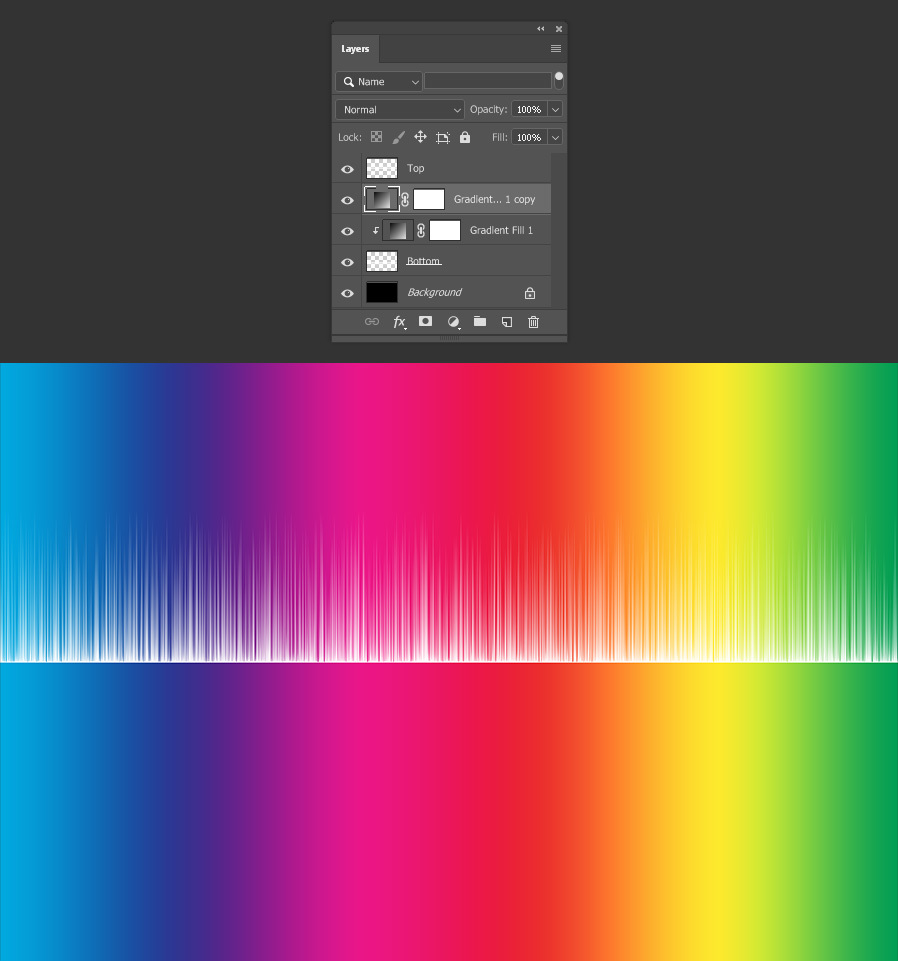
![](https://s3.medialoot.com/blog-images/How-to-Easily-Make-a-Soundwave-in-Photoshop/13.jpg?mtime=20190523120416)
Step 14
Reposition the layer above the “Top” layer and go to Layer > Create Clipping Mask.
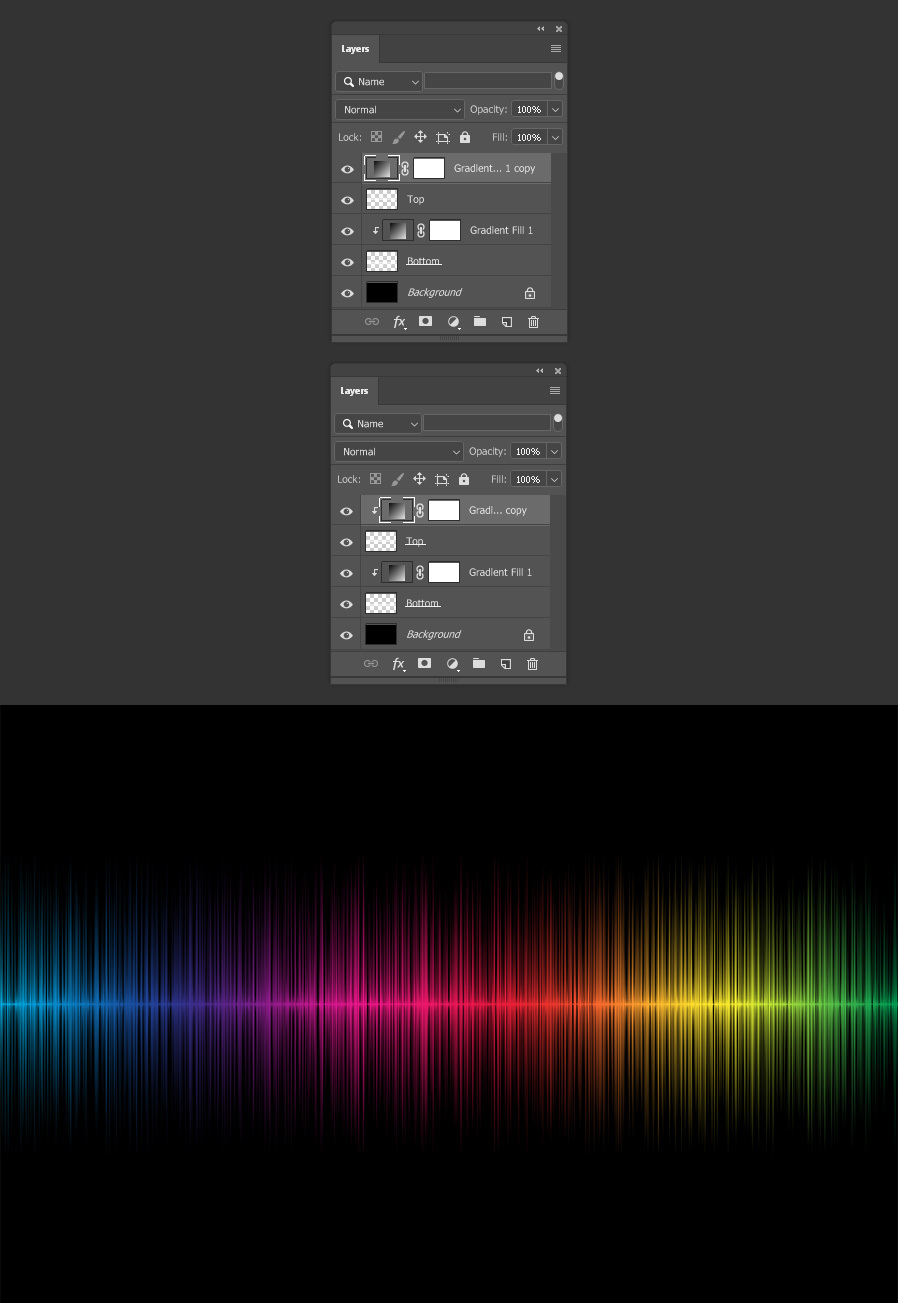
![](https://s3.medialoot.com/blog-images/How-to-Easily-Make-a-Soundwave-in-Photoshop/14.jpg?mtime=20190523120417)
Step 15
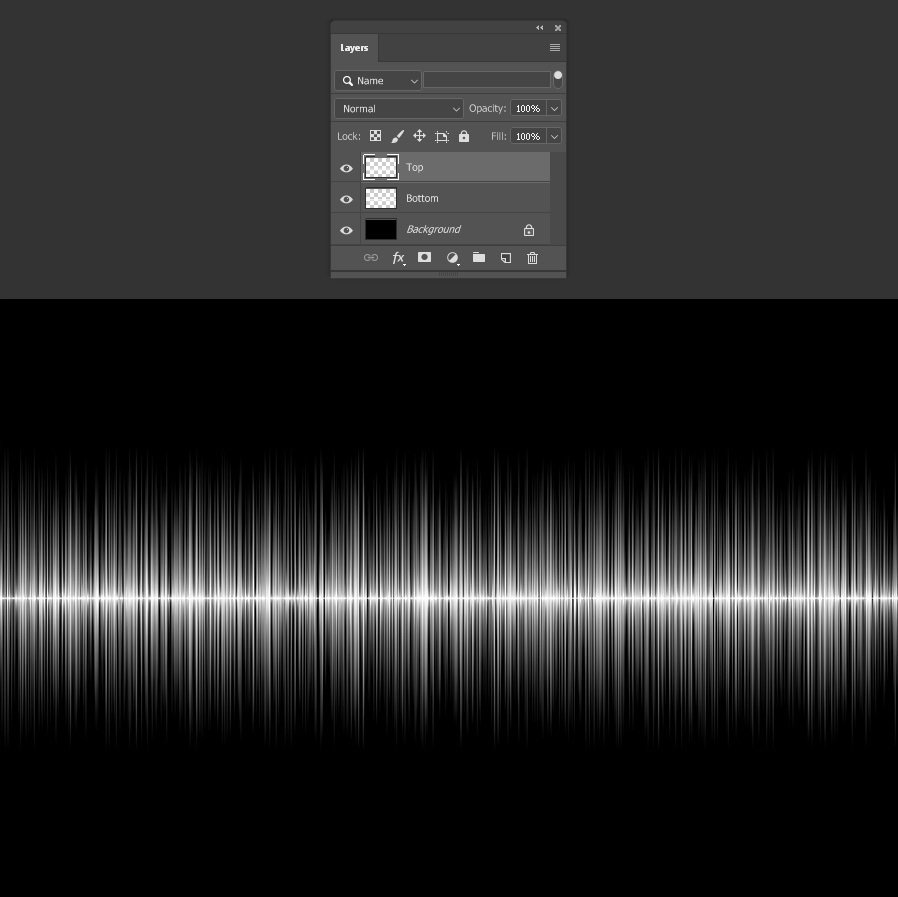
As a finishing touch, select the “Bottom” layer and decrease the opacity to around 40% to make it look like a reflection.
![](https://s3.medialoot.com/blog-images/How-to-Easily-Make-a-Soundwave-in-Photoshop/15.jpg?mtime=20190523120418)