How to Make a Fractal Mirror Effect in Photoshop

Step 1
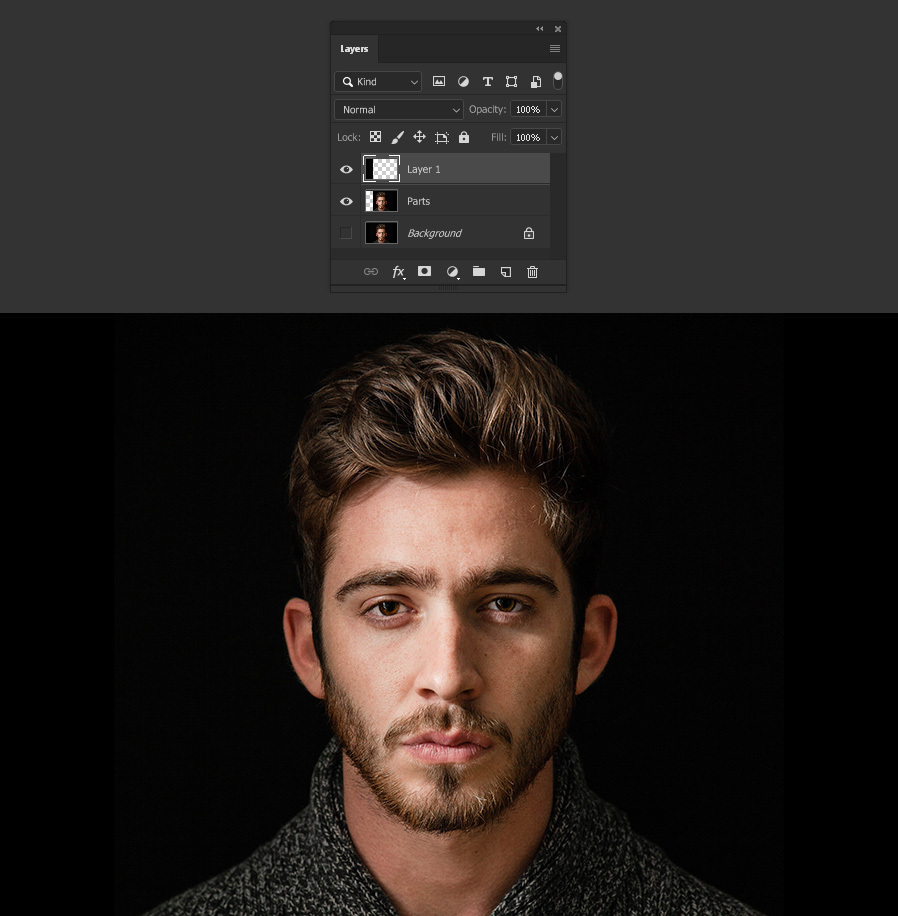
Open your subject image in Photoshop.
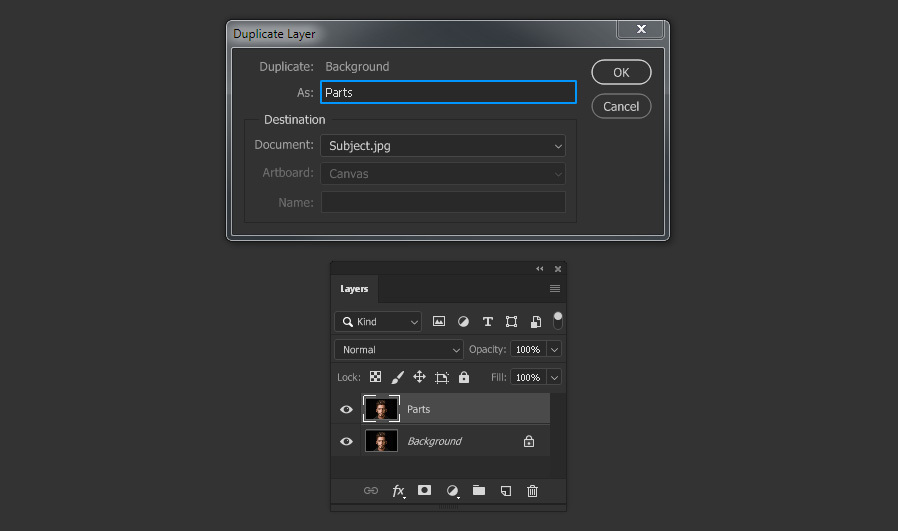
Step 2
Go to Layer > Duplicate Layer. Name this layer as “Parts” and click OK.
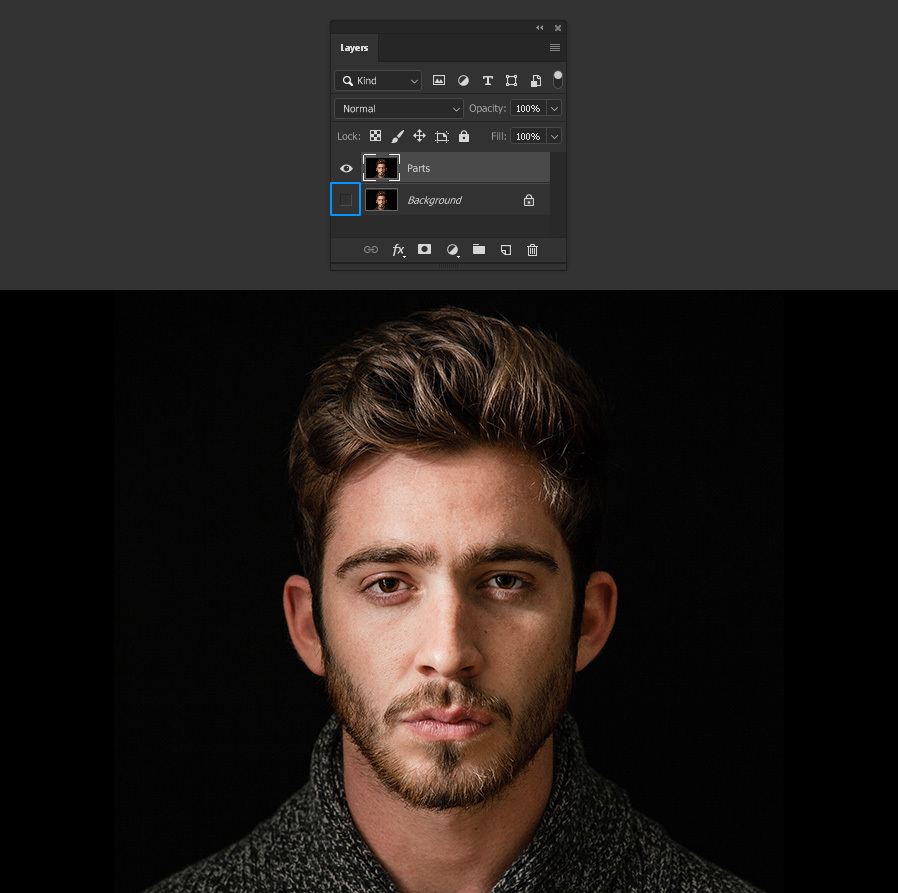
Step 3
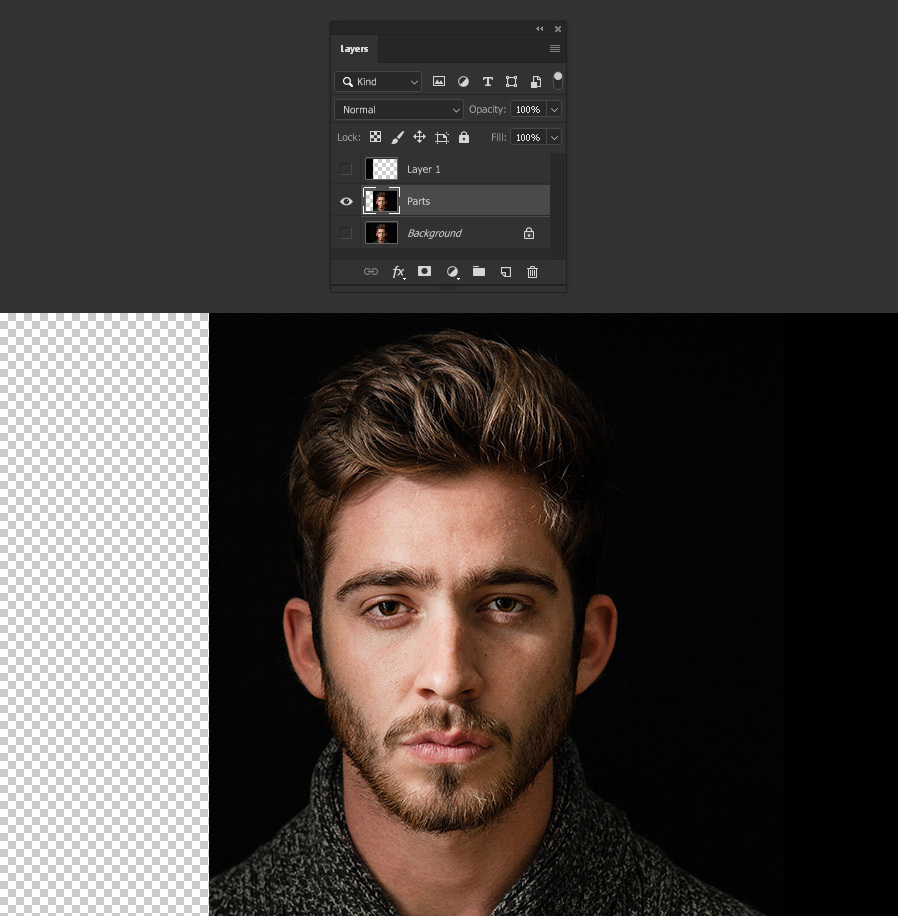
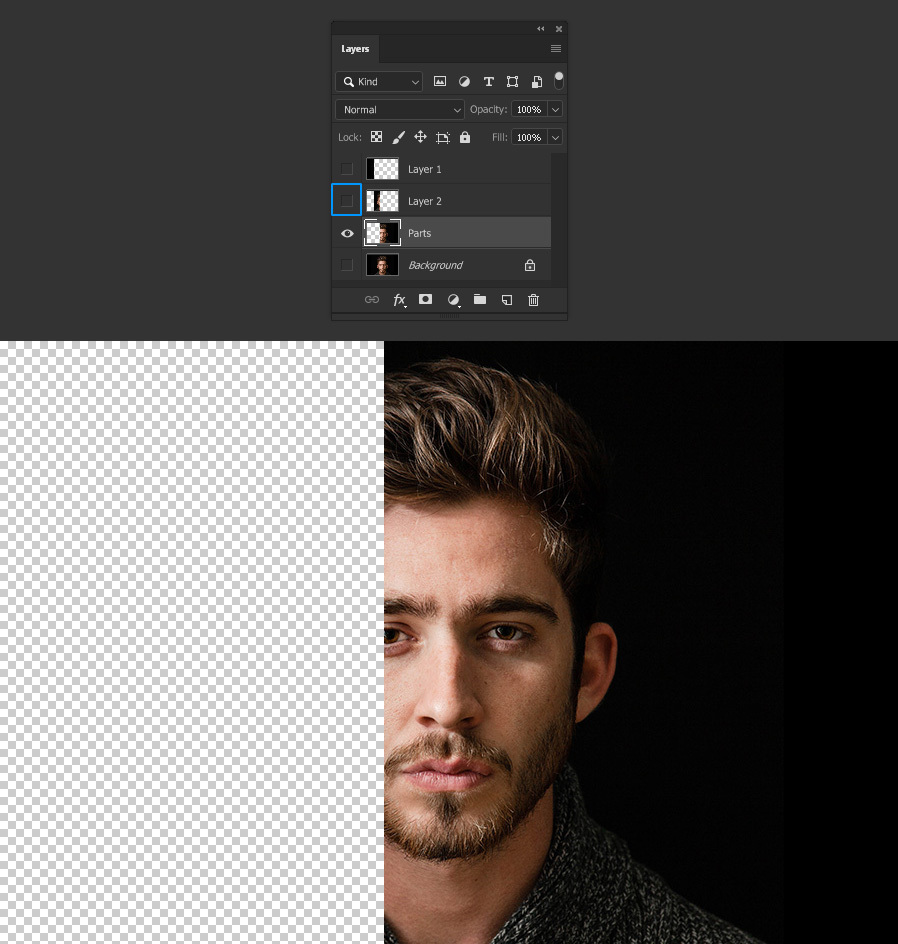
Hide the Background Layer.
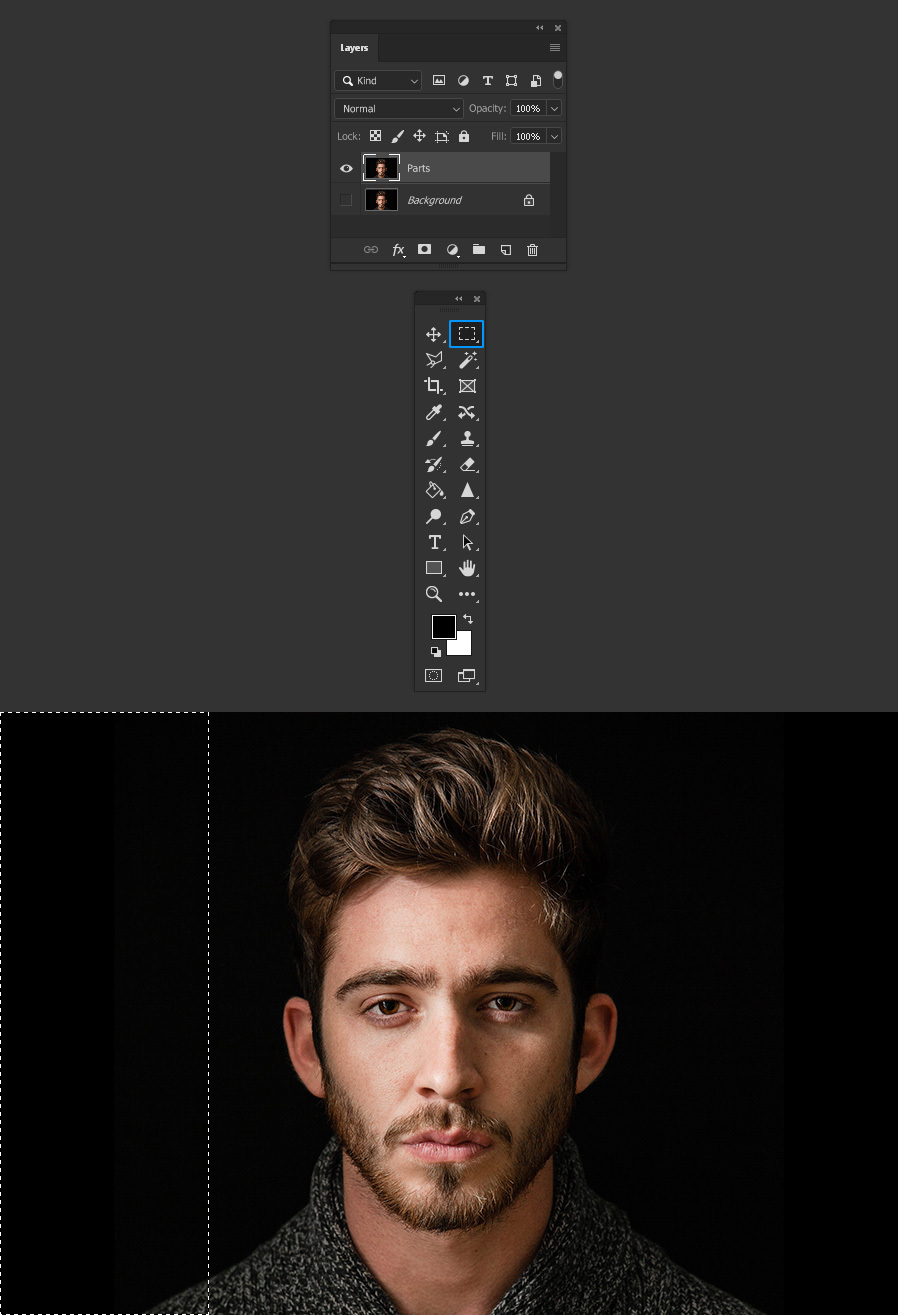
Step 4
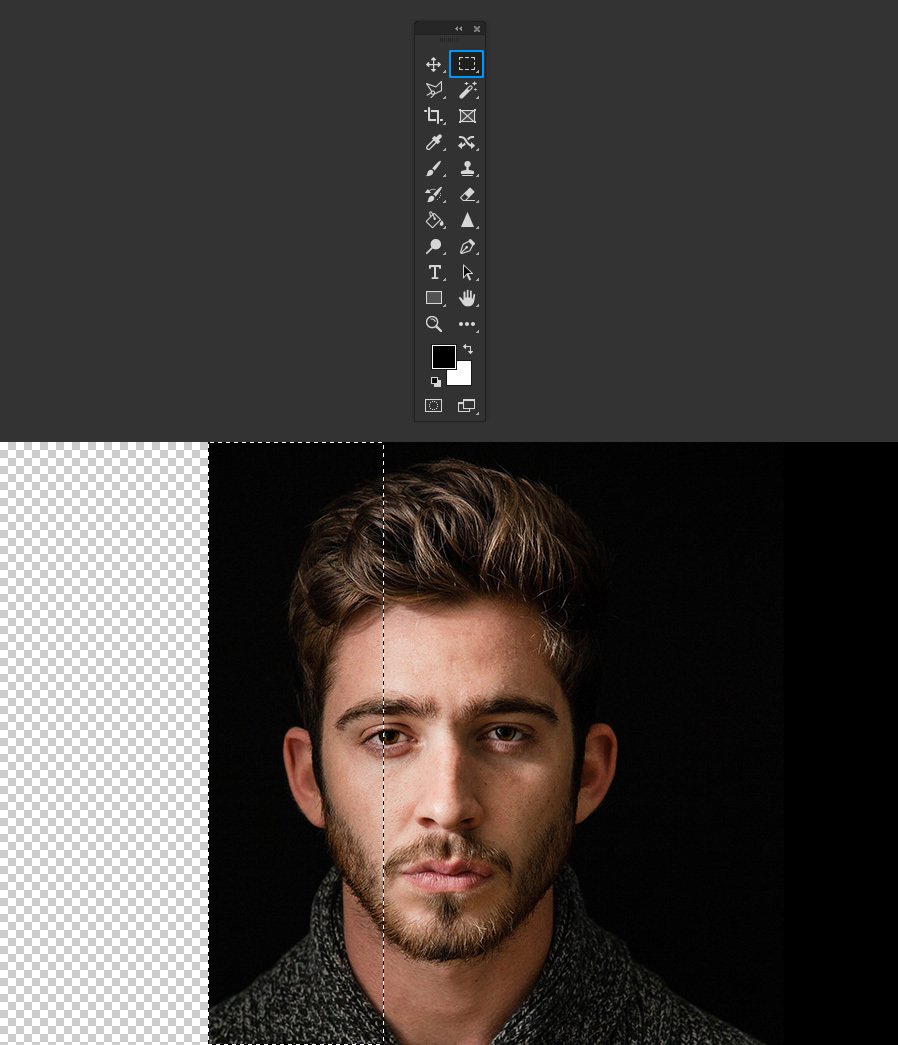
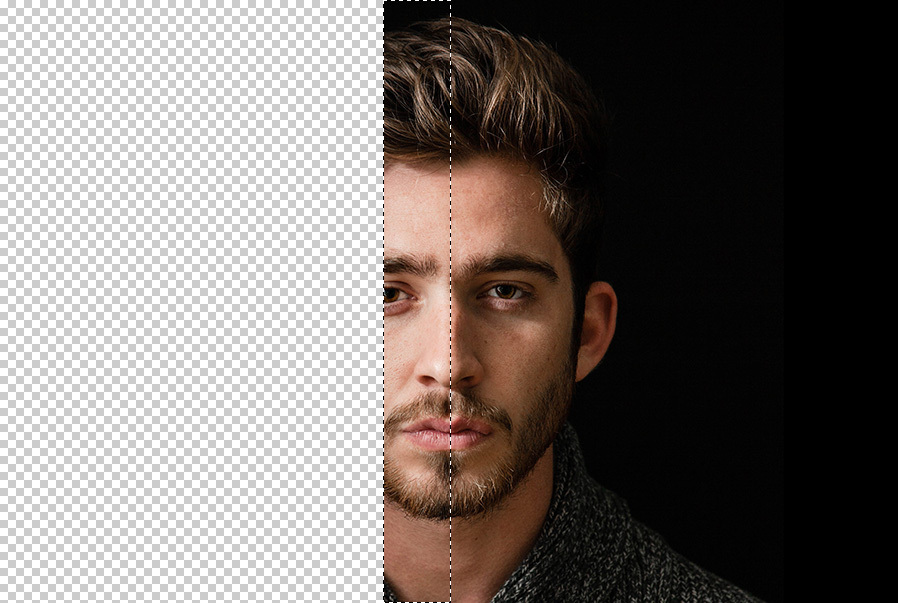
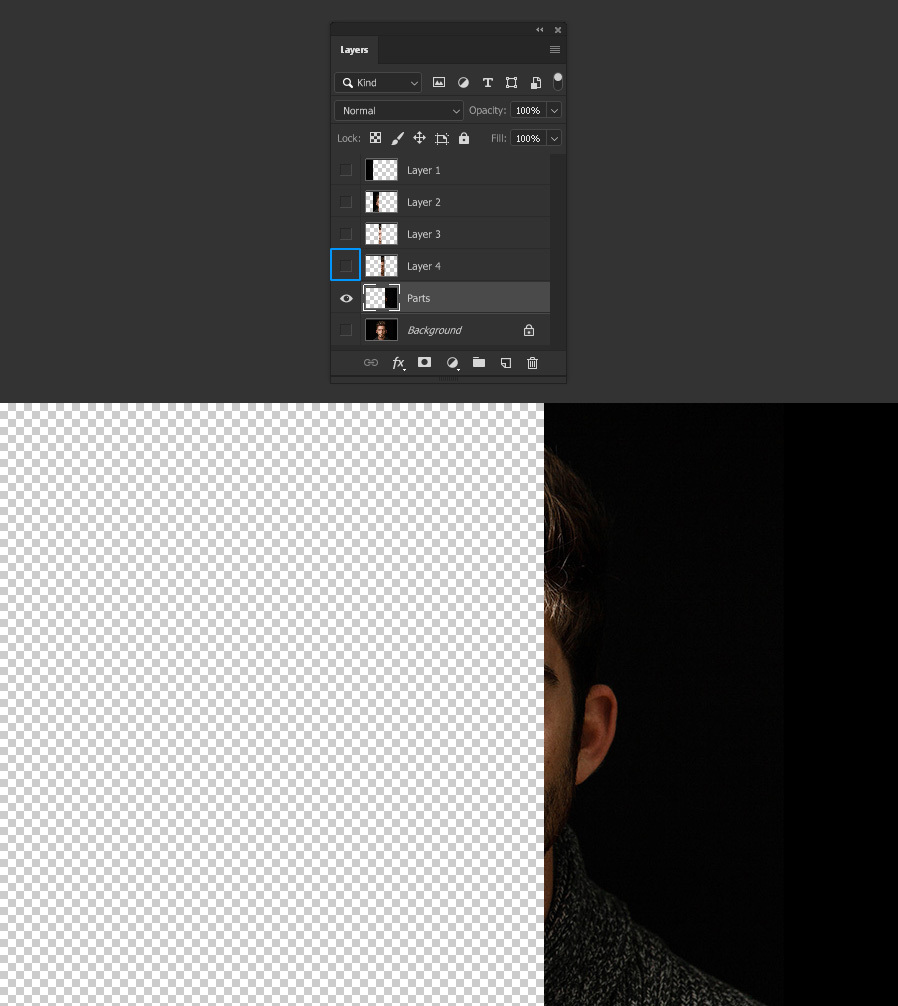
With the “Parts” layer active, select the Rectangular Marquee Tool (M) and make a selection on the left part of your subject as shown.
Step 5
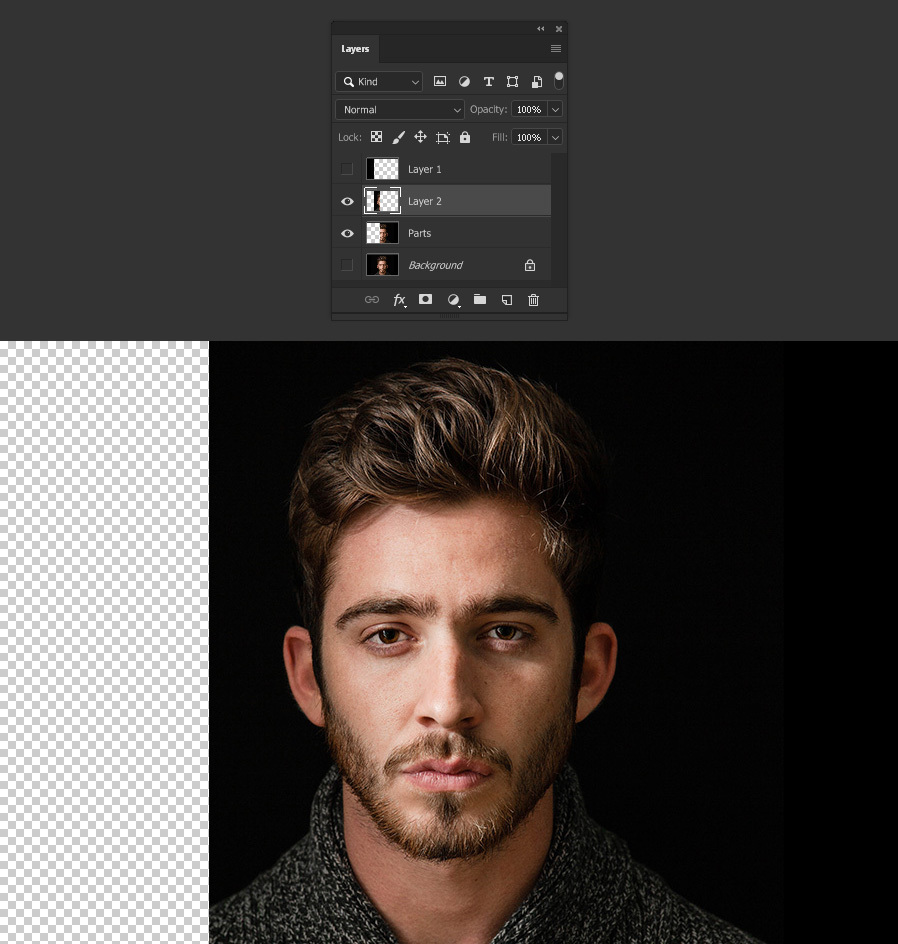
With the selection active, go to Layer > New > Layer Via Cut.
Step 6
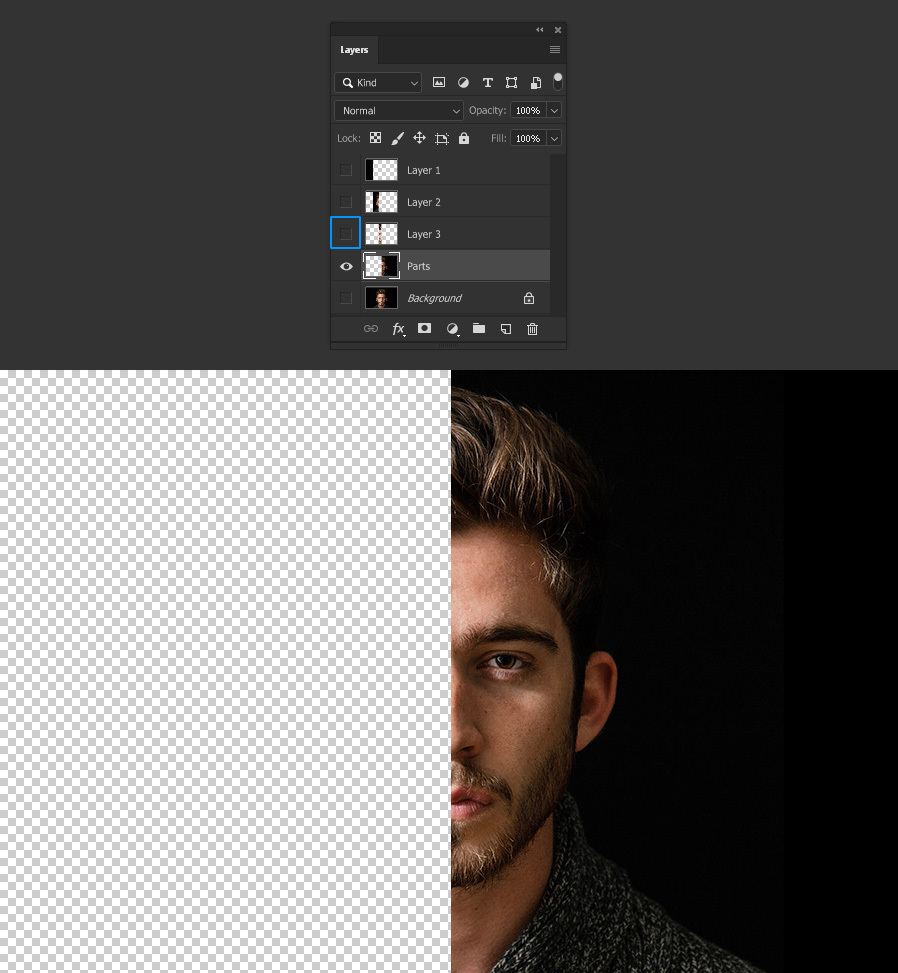
Hide the “Layer 1” and select the “Parts” layer.
Step 7
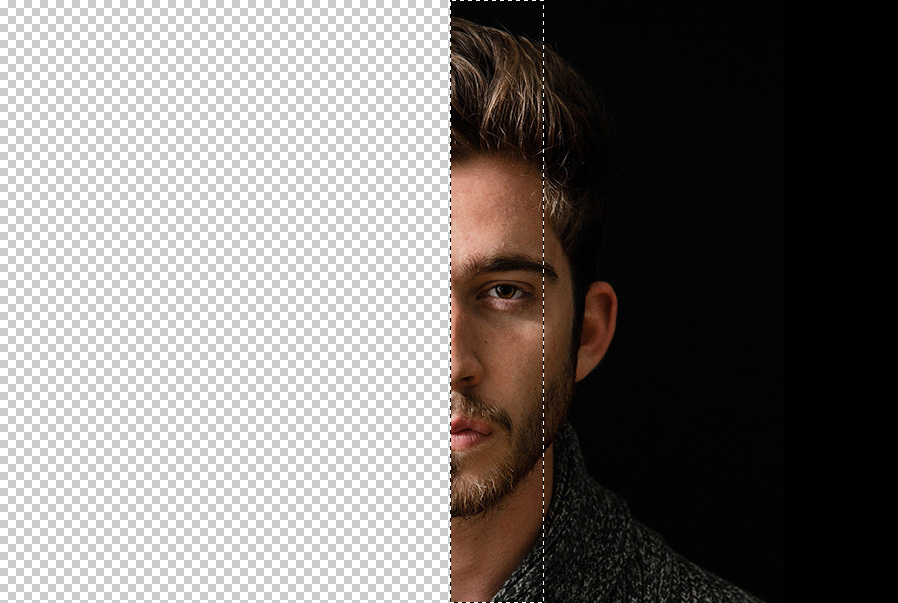
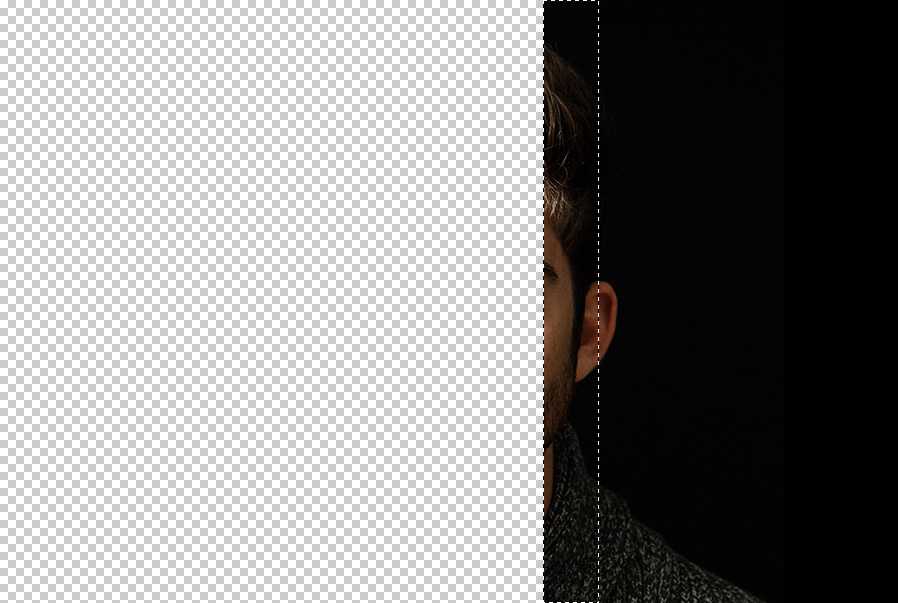
Again, select the Rectangular Marquee Tool (M) and make a selection on the left part of your subject as shown.
Step 8
With the selection active, go to Layer > New > Layer Via Cut.
Step 9
Hide the “Layer 2” and select the “Parts” layer.
Step 10
Again, select the Rectangular Marquee Tool (M) and make a selection on the left part of your subject as shown.
Step 11
With the selection active, go to Layer > New > Layer Via Cut. Hide the “Layer 3” and select the “Parts” layer.
Step 12
One more time, select the Rectangular Marquee Tool (M) and make a selection on the left part of your subject as shown.
Step 13
With the selection active, go to Layer > New > Layer Via Cut. Hide the “Layer 4” and select the “Parts” layer.
Step 14
For the last time, select the Rectangular Marquee Tool (M) and make a selection on the left part of your subject as shown.
Step 15
With the selection active, go to Layer > New > Layer Via Cut. Hide the “Layer 5” and select the “Parts” layer.
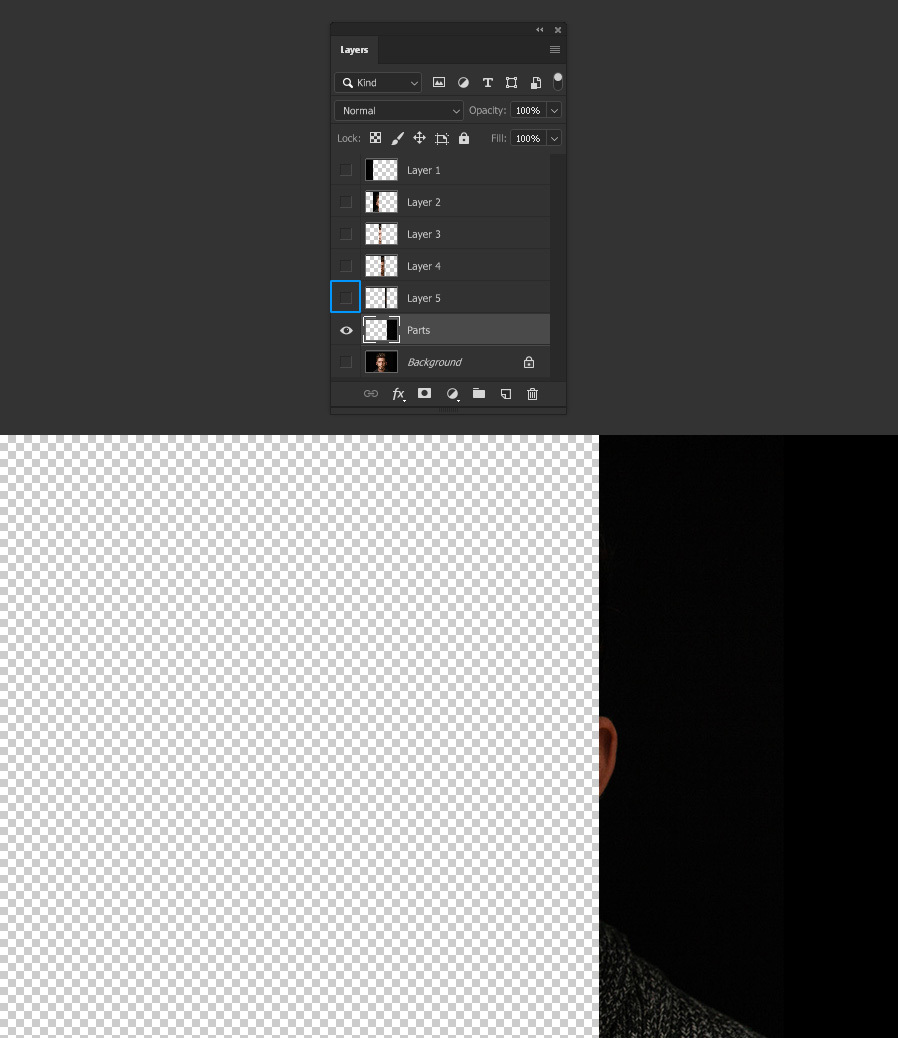
Step 16
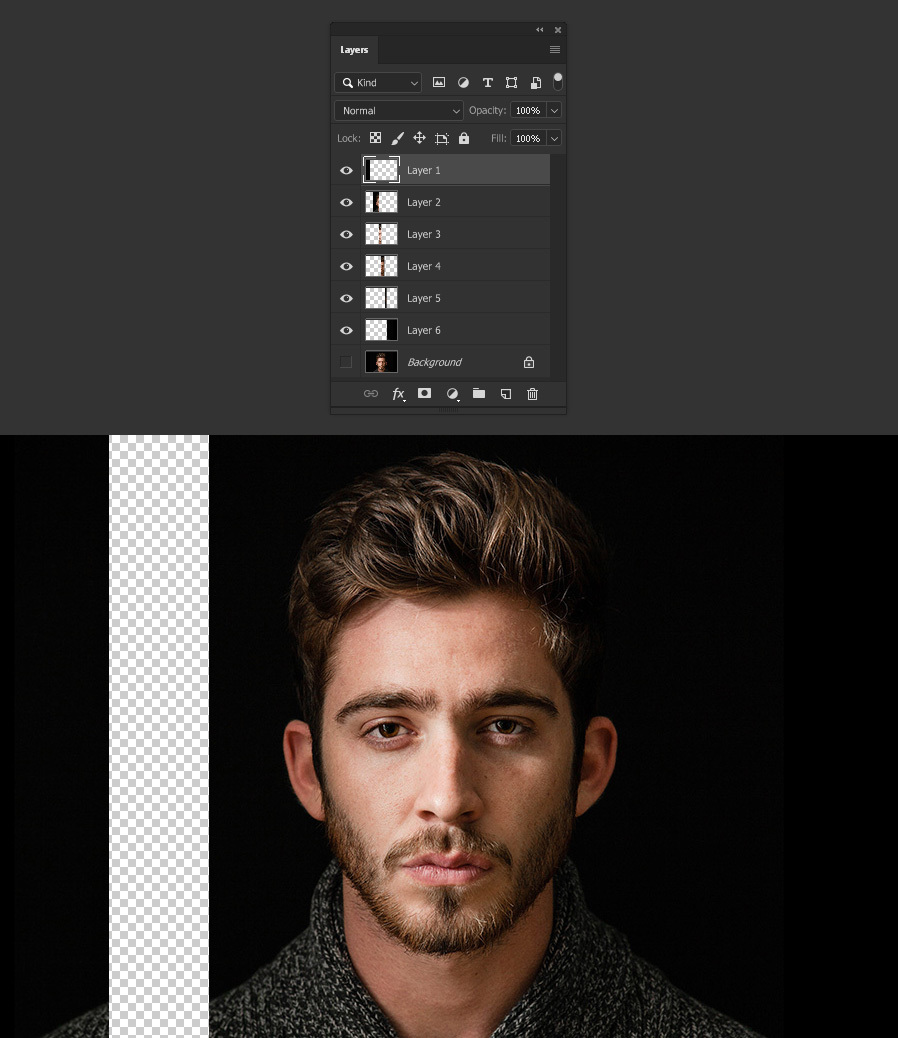
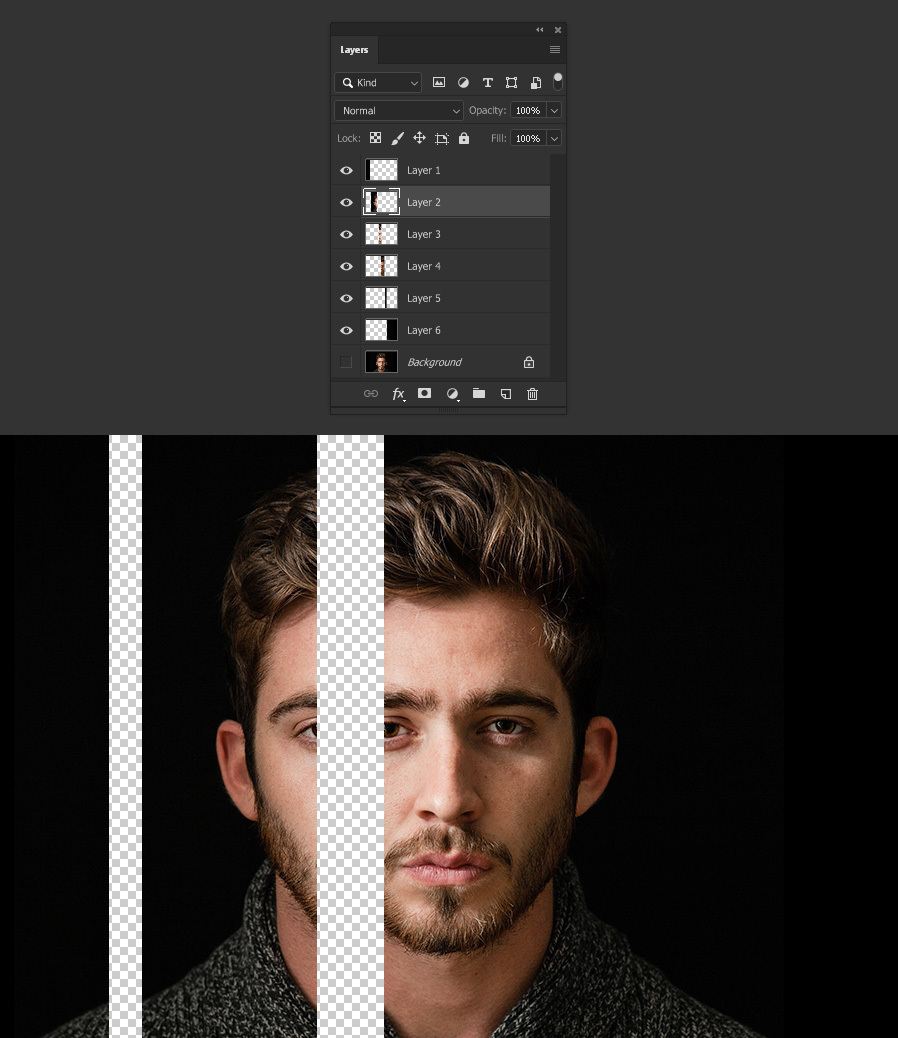
Rename the “Parts” layer to “Layer 6” and make all layers (except the Background) visible again.

Step 17
Select the “Layer 1” and using the Move Tool (V) drag it to the left as shown.
Step 18
Select the “Layer 2” and using the Move Tool (V) drag it to the left as shown.
Step 19
Keep moving the different parts until you have something like the example below.

Step 20
Select all layers (except the Background) and make a new layer group. Name this group as “Blur”.
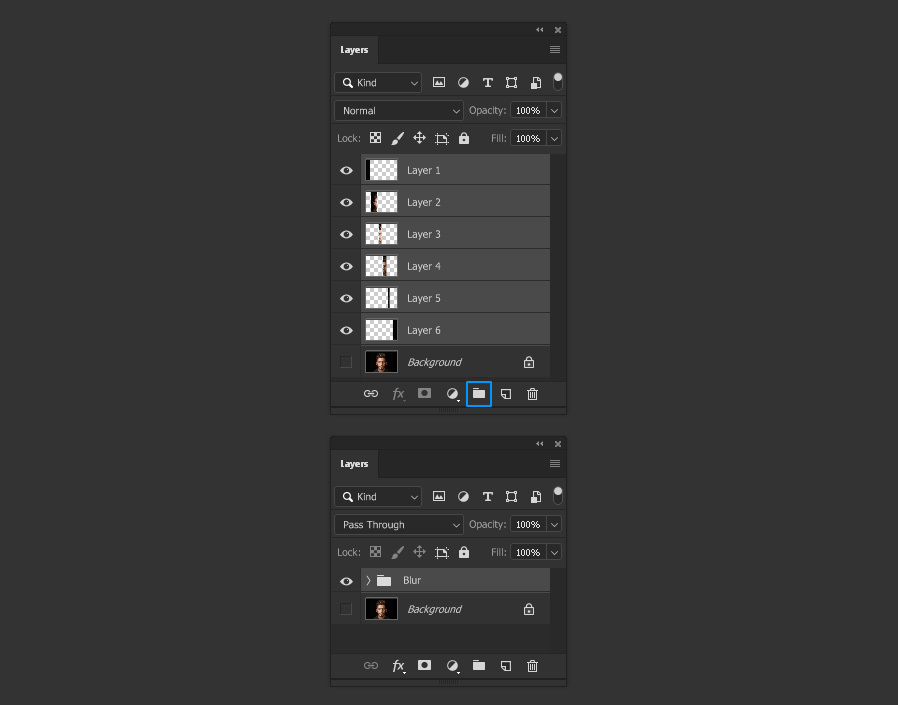
Step 21
Go to Layer > Duplicate Group. Name this group as “Front” and click OK.

Step 22
Select the “Blur” layer group and go to Layer > Smart Objects > Convert to Smart Object.

Step 23
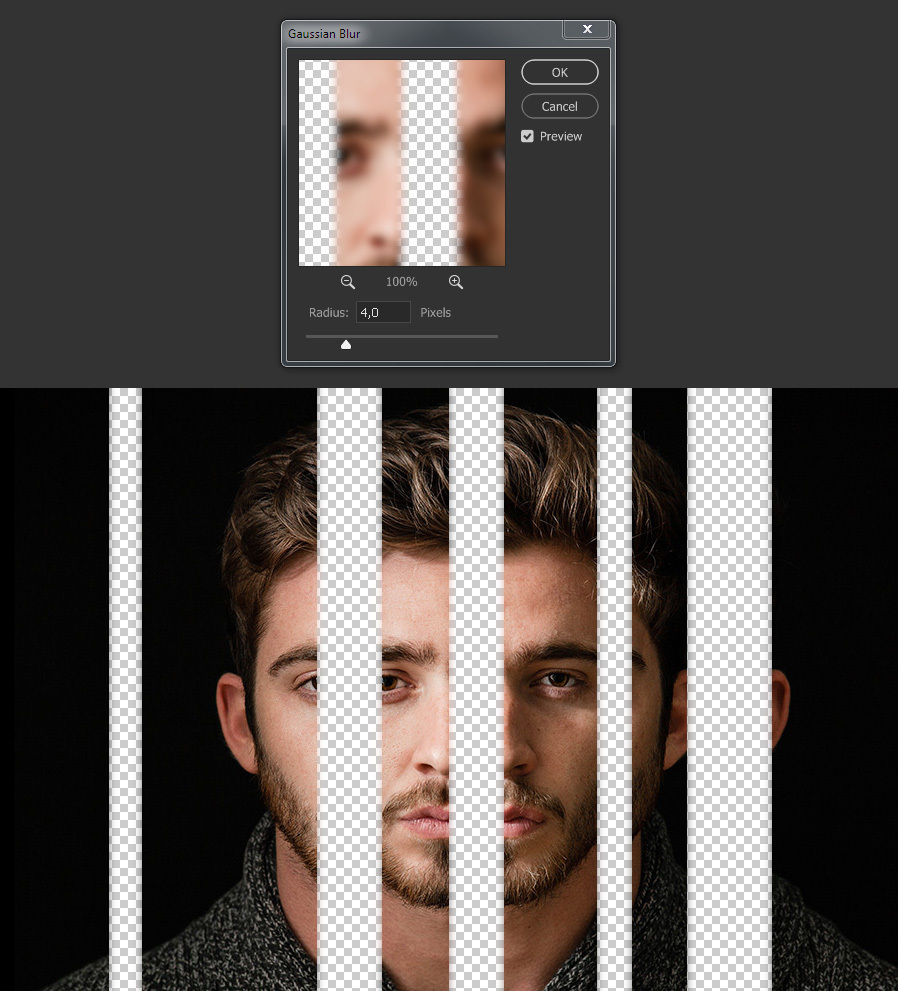
Go to Filter > Blur > Gaussian Blur. Apply the following settings and click OK.
Step 24
Using the Move Tool (V) move the “Blur” layer to the left as shown.
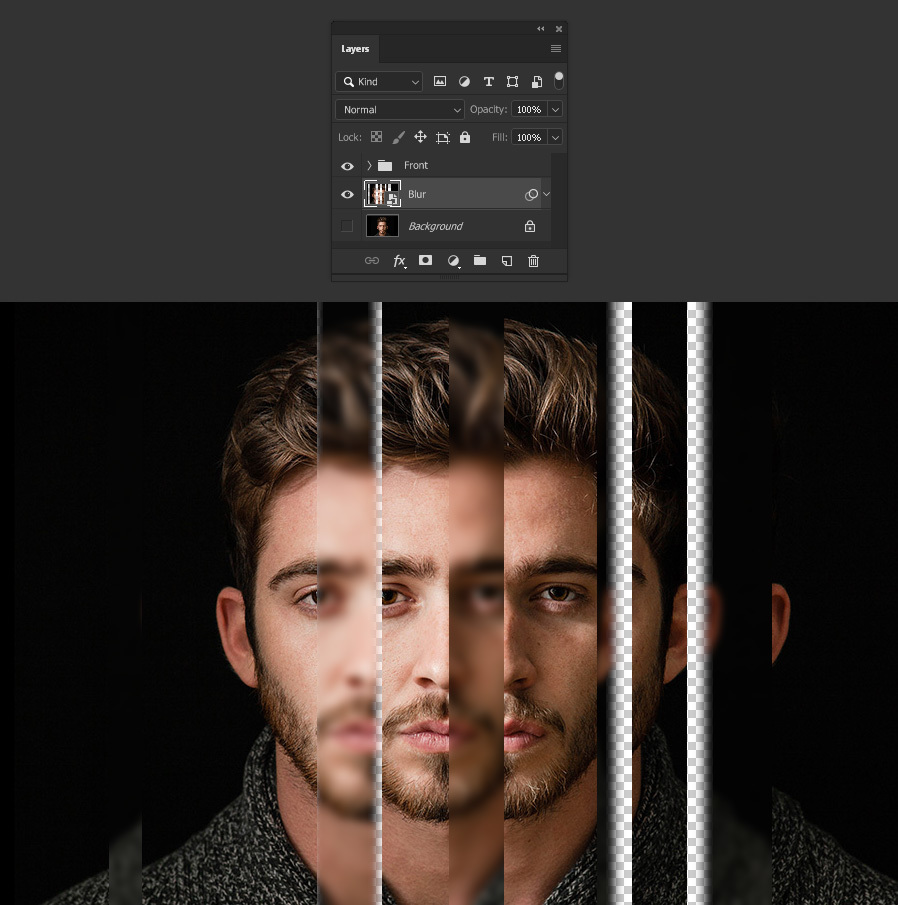
Step 25
Make the “Background” layer visible.
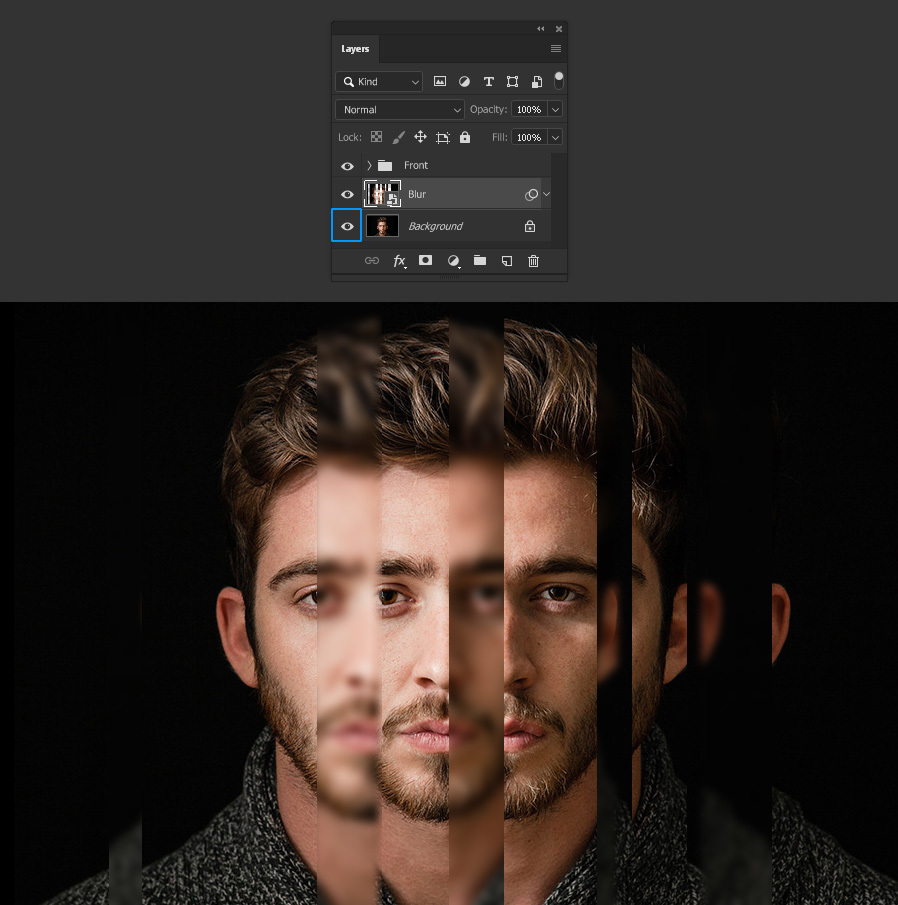
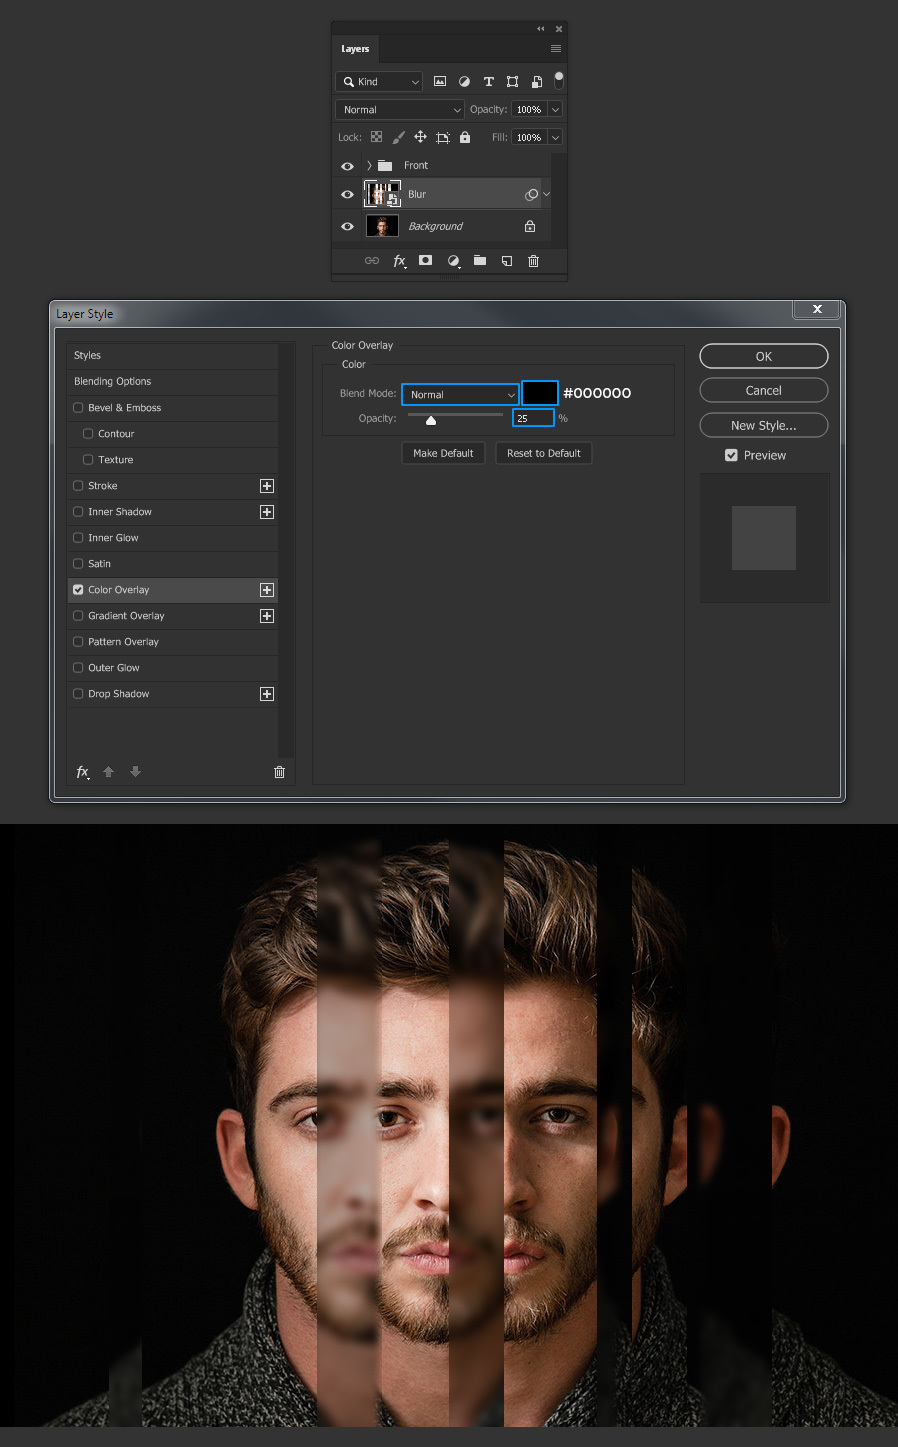
Step 26
With the “Blur” layer selected, go to Layer > Layer Style > Color Overlay. Apply the following settings and click OK.
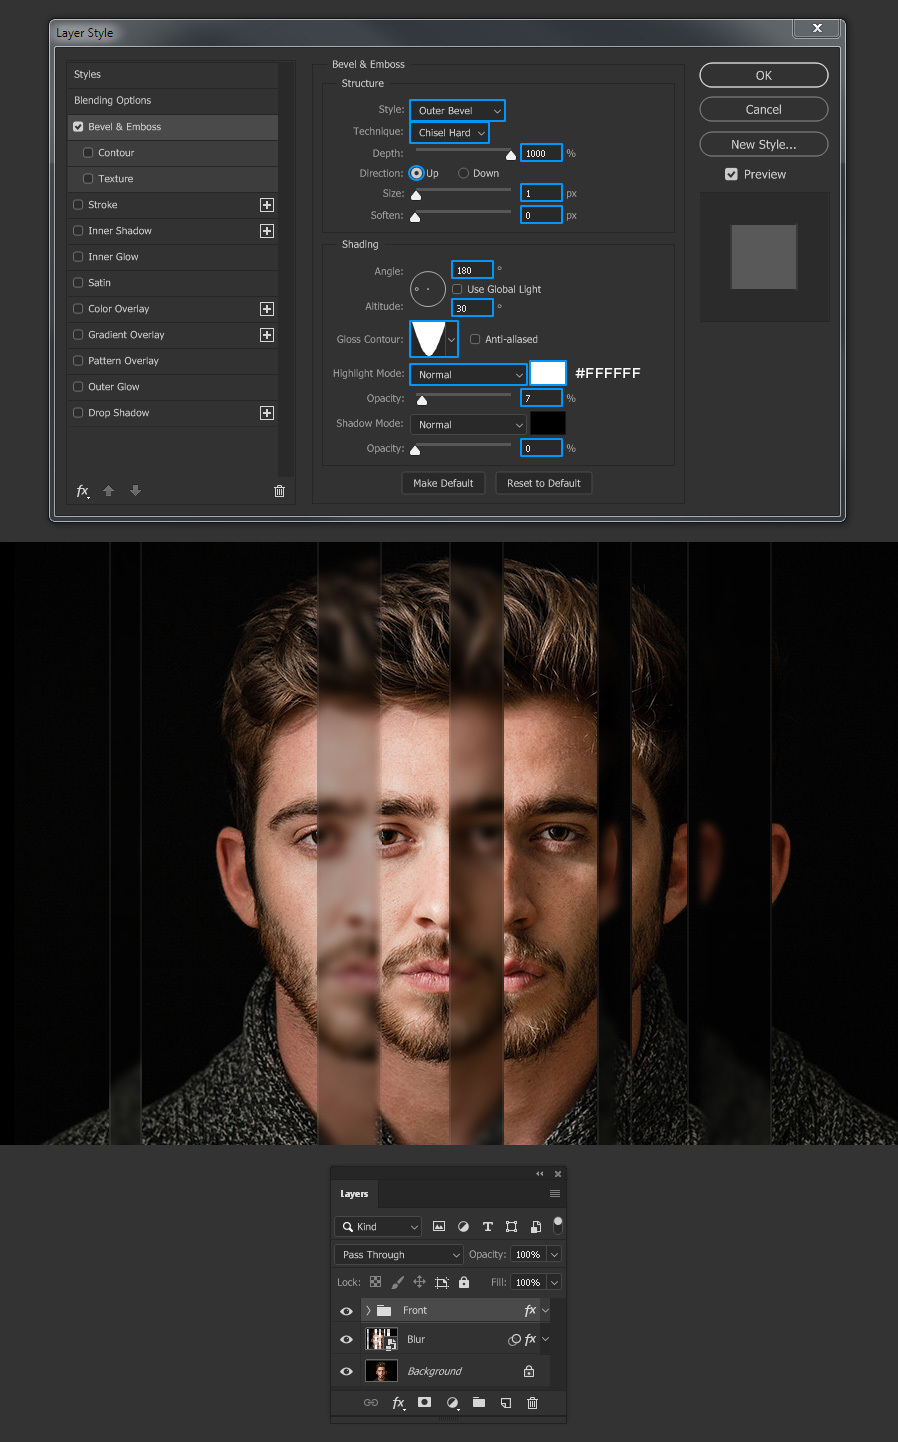
Step 27
Select the “Front” layer group and go to Layer > Layer Style > Bevel & Emboss. Under “Gloss Contour” select the “Cone – Inverted”.

Step 28
Still in the Bevel & Emboss window, apply the following settings and click OK.
Step 29
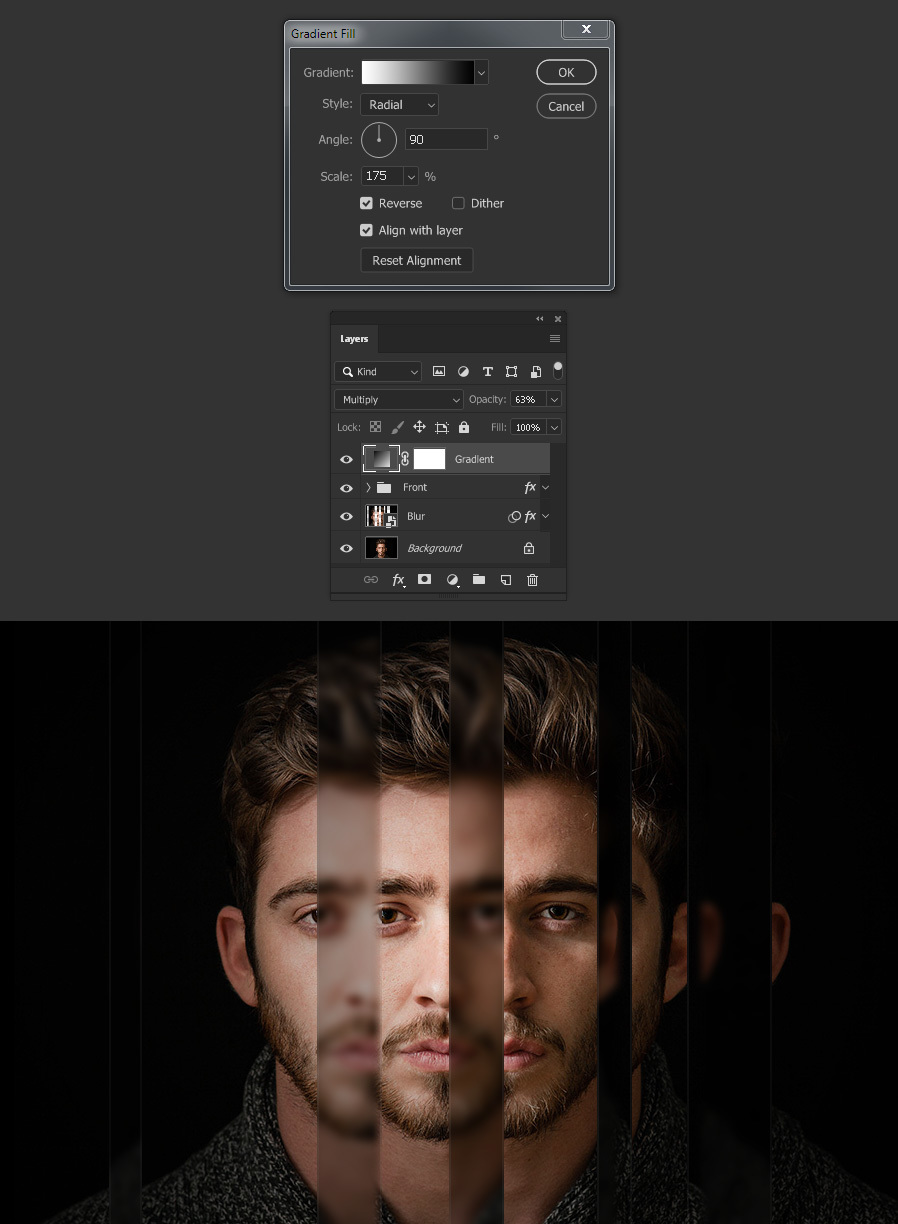
With the “Front” layer group selected, go to Layer > New Fill Layer > Gradient. Name this layer as “Gradient”, set the Mode to Multiply, the Opacity to 65% and click OK.
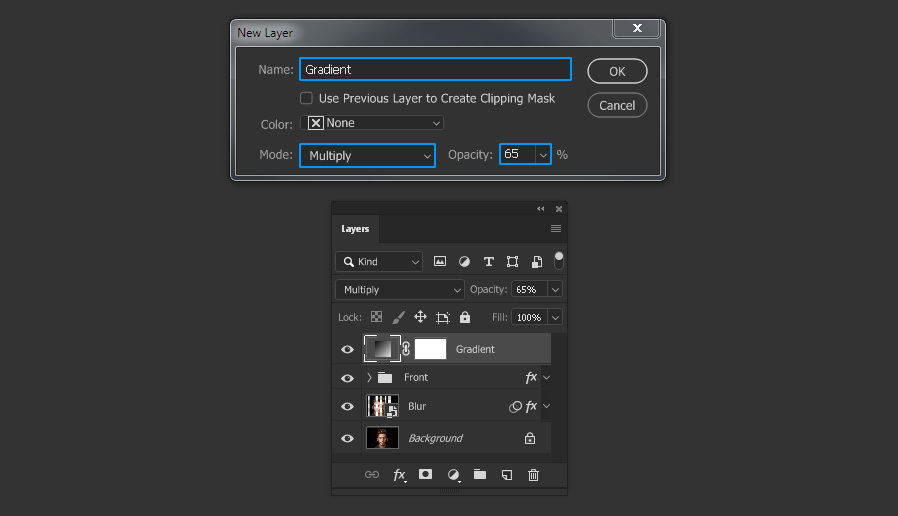
Step 30
Click on the gradient thumbnail of the gradient Fill window and select the “Black, White” gradient.
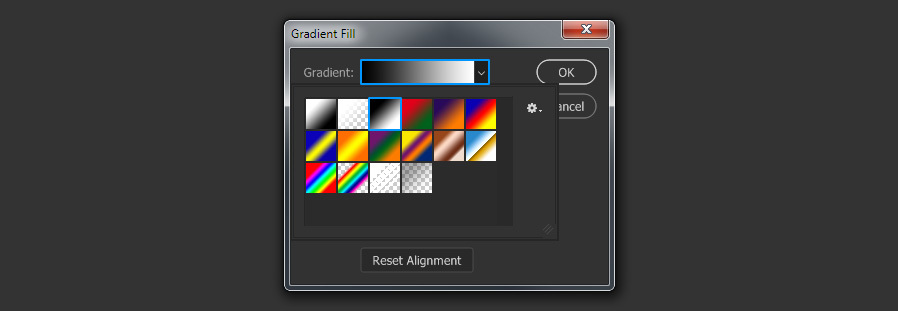
Step 31
Lastly, and to finish our Fractal Mirror Effect, apply the following settings in the Gradient Fill window and click OK.