Create Dynamic Lighting Using Custom Brushes in Photoshop

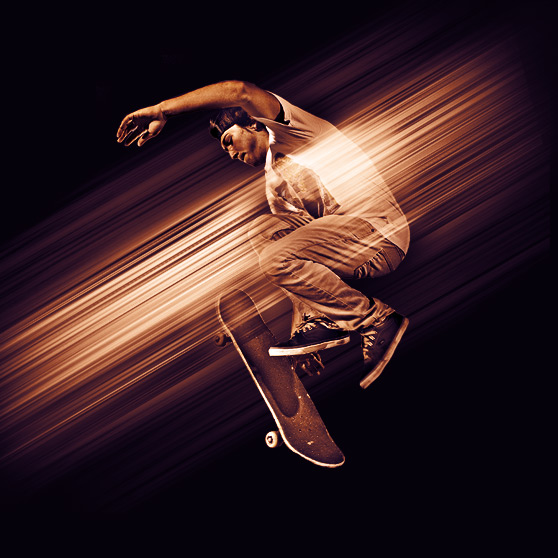
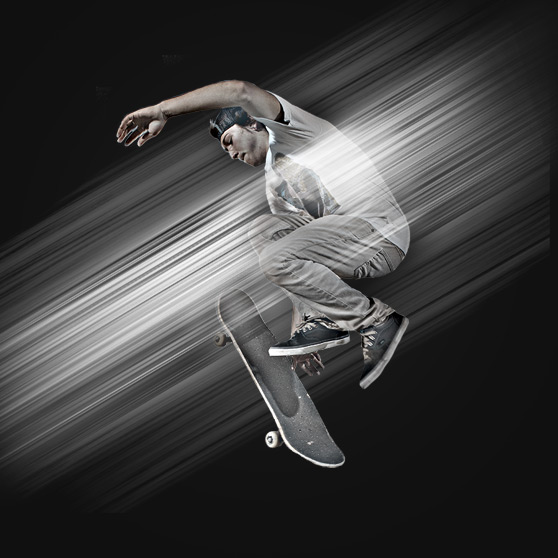
Earlier today we released a free brush set called Rays of Light, and I wanted to follow up that release with a quick tutorial on how to use the brush set. Below is quick design using the brushes. Lets take a look at how this was created.

First up, you’ll need to download and install the new Rays of Light free brush set.
Step 1
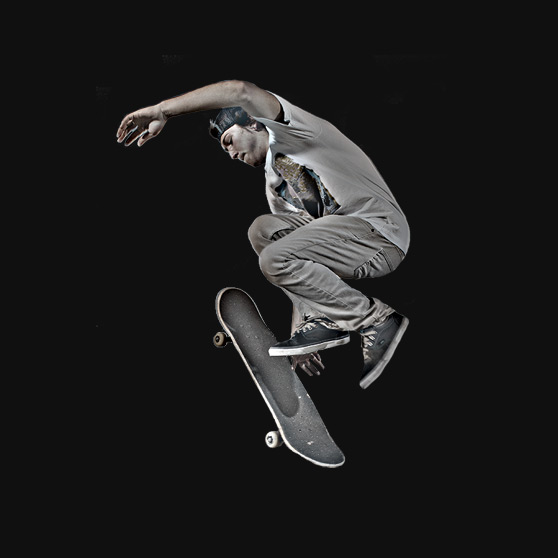
I found this image of a skater by Robert Bejil Photography. I removed the skater from the background using Quick Mask Mode (Q). You can use whatever selection and extraction methods you prefer. I then copied and pasted the skater onto an 800×800 pixel document with a background set to #101010.

I then ran a High Pass Filter (Filter | Other | High Pass ) with a Radius around 15 to give the figure a slight HDR look.
Step 2
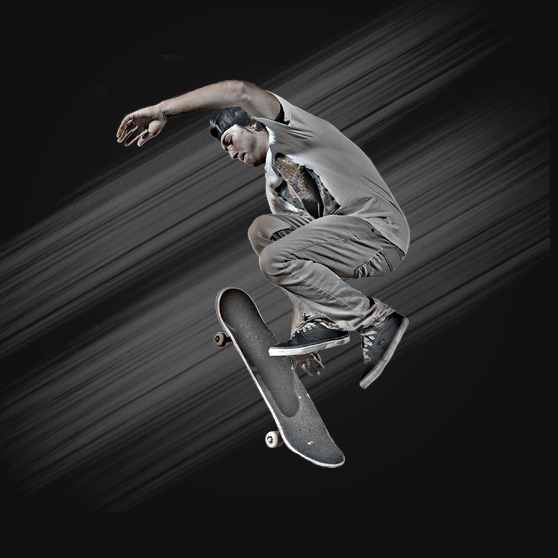
On a layer behind the skater I applied one of the wider light ray brushes at a diagonal. Note: You can adjust the angle of a brush using the adjustment arrow below. It’s found on the Brush Panel. (Window | Brush)

I used a medium gray for the color when applying this brush.
Next up, on a layer above the skater, I applied another light ray brush. This time I used white as the color, and I adjusted the angle to match that of the background brush.
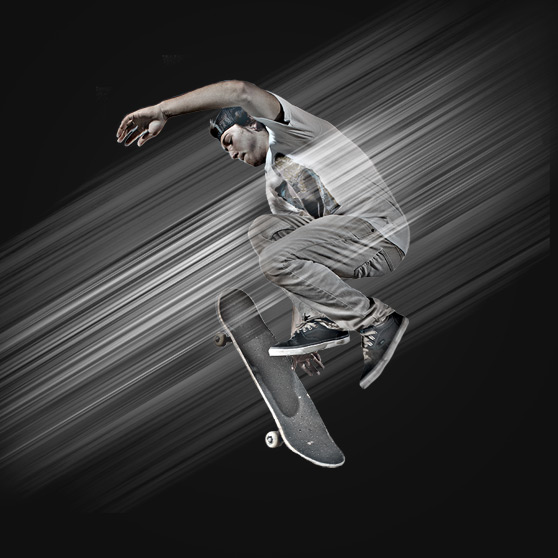
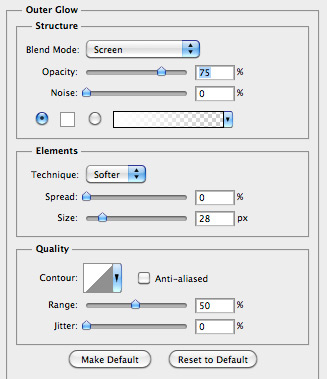
To punch up the glowing effect of the foreground light rays, I applied an Outer Glow layer style to that brushes layer. I used the following settings.

Step 3
With a soft black brush I applied some shadows on a layer behind the skater.
Finally…
I added a Gradient Map adjustment layer above all other layers. The adjustment layer’s blend mode is set to Overlay. I used the following gradient.

Note: This is one of the defaults in the gradient editor. Below is my final image. I hope this gives you some ideas and inspiration for using our latest free brush set.
