Convert a Portrait to an Oil Painting in Photoshop Without the Oil Paint Filter

Open your image in Photoshop.
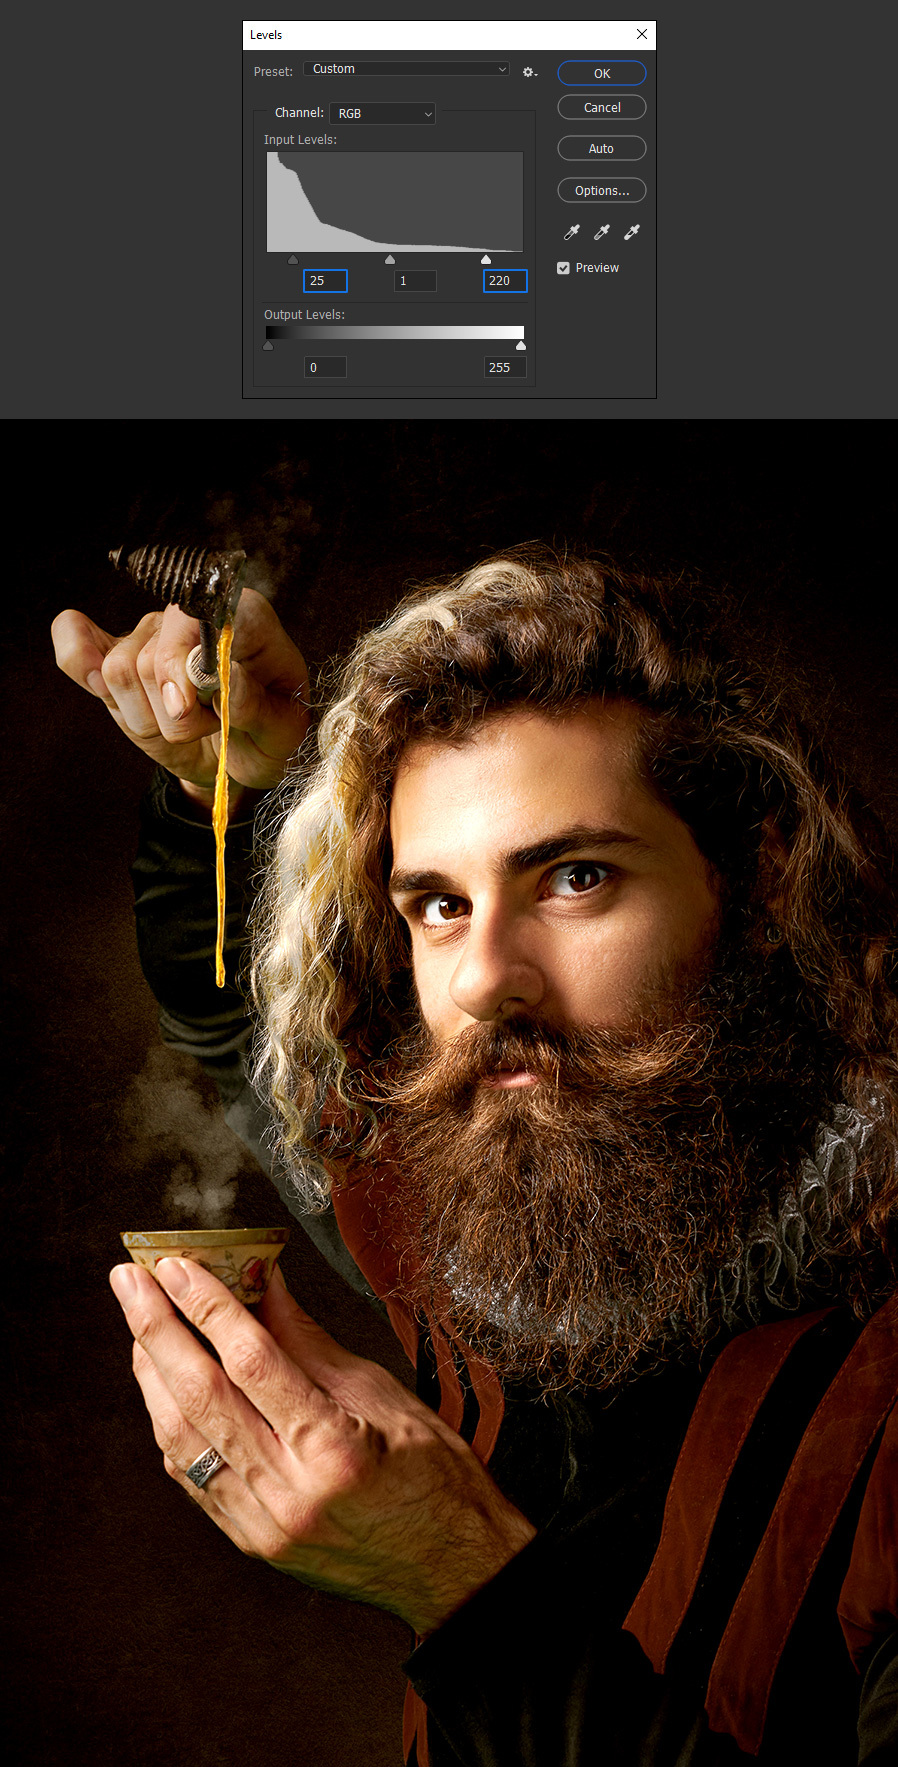
Step 2
Go to Image > Adjustments > Levels. Adjust the Shadow and Highlight Input levels to increase the image contrast and click OK.
Step 3
Press Ctrl+J on your keyboard to duplicate the current layer.

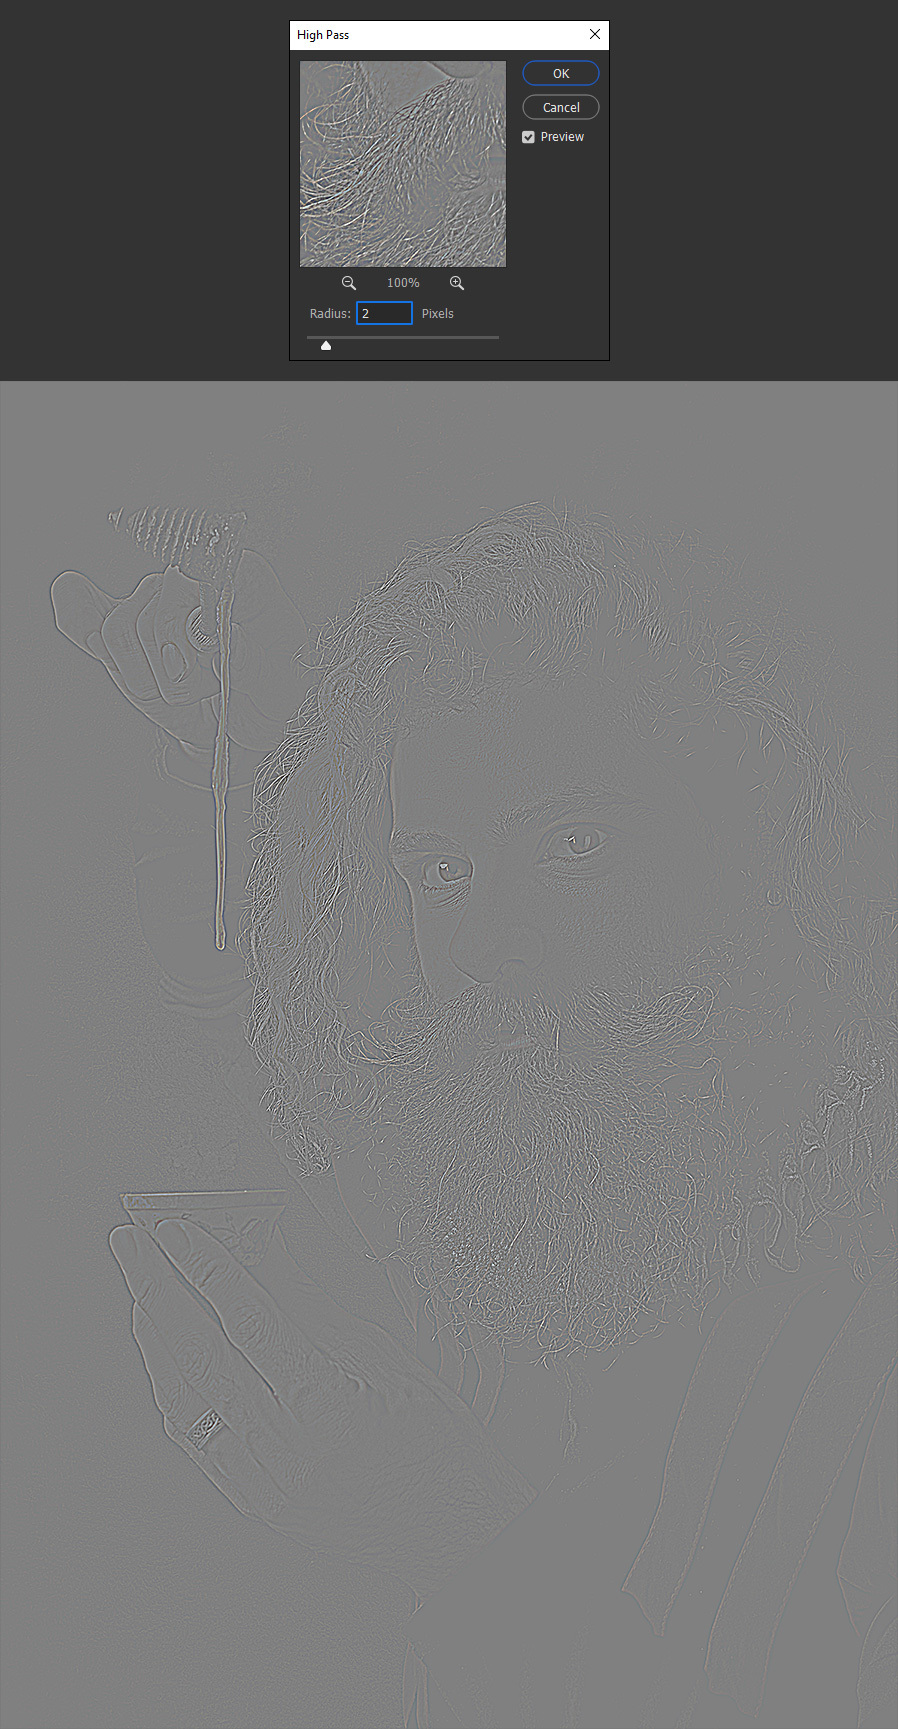
Step 4
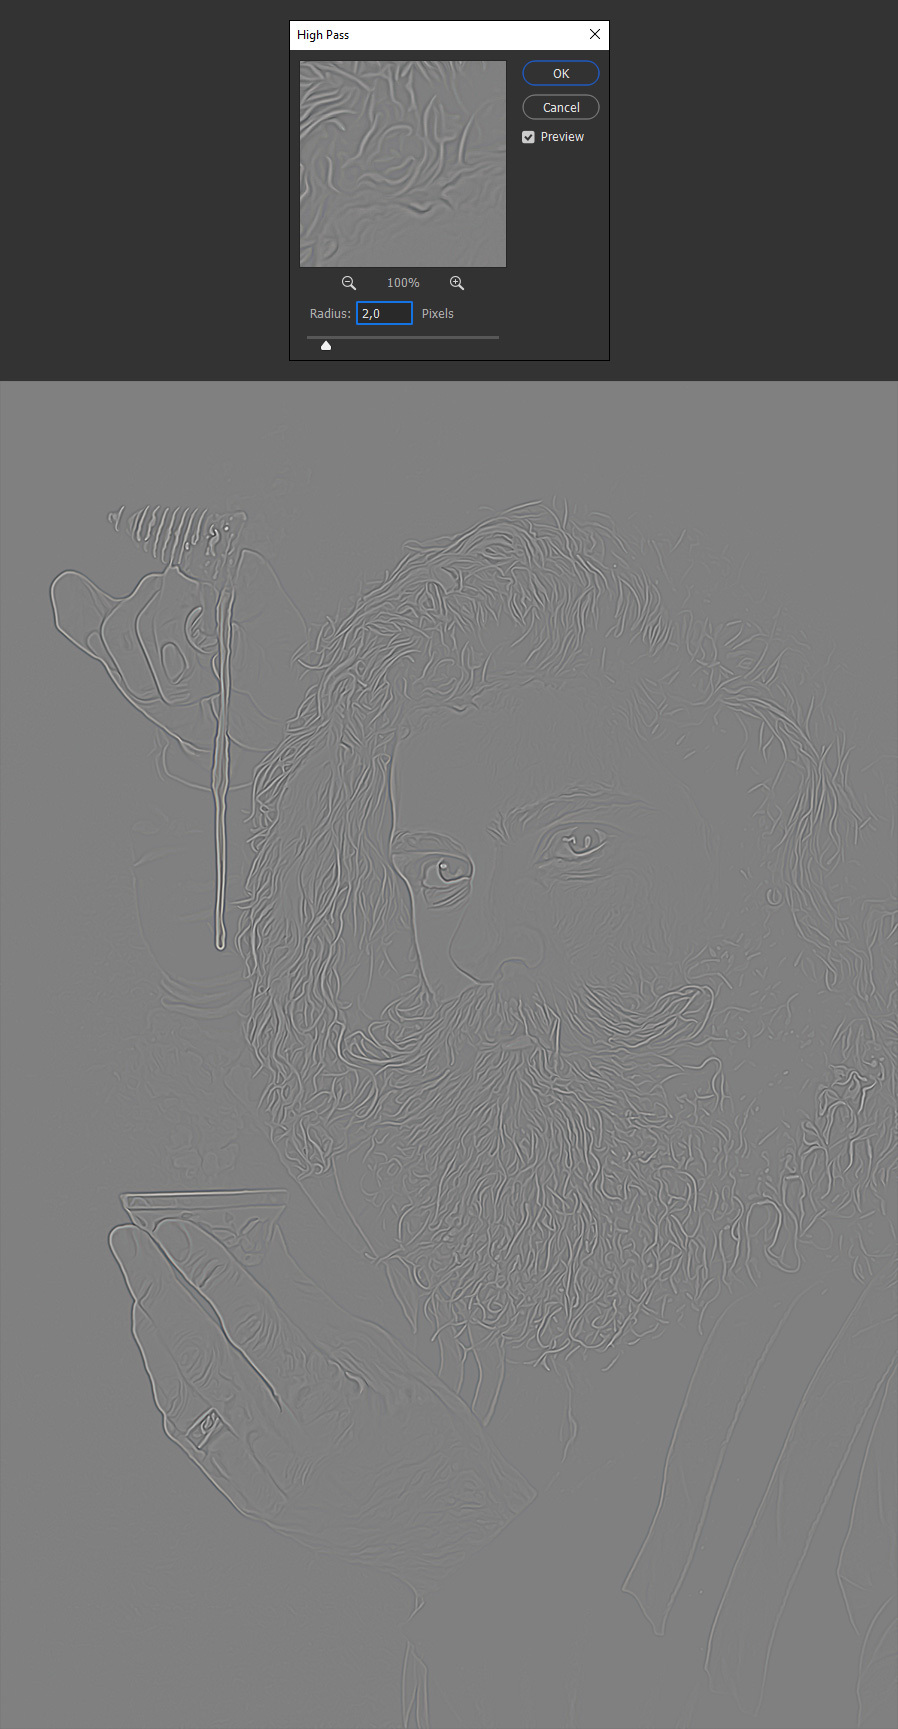
Go to Filter > Other > High Pass. Set the Radius to 2 and click OK.
Step 5
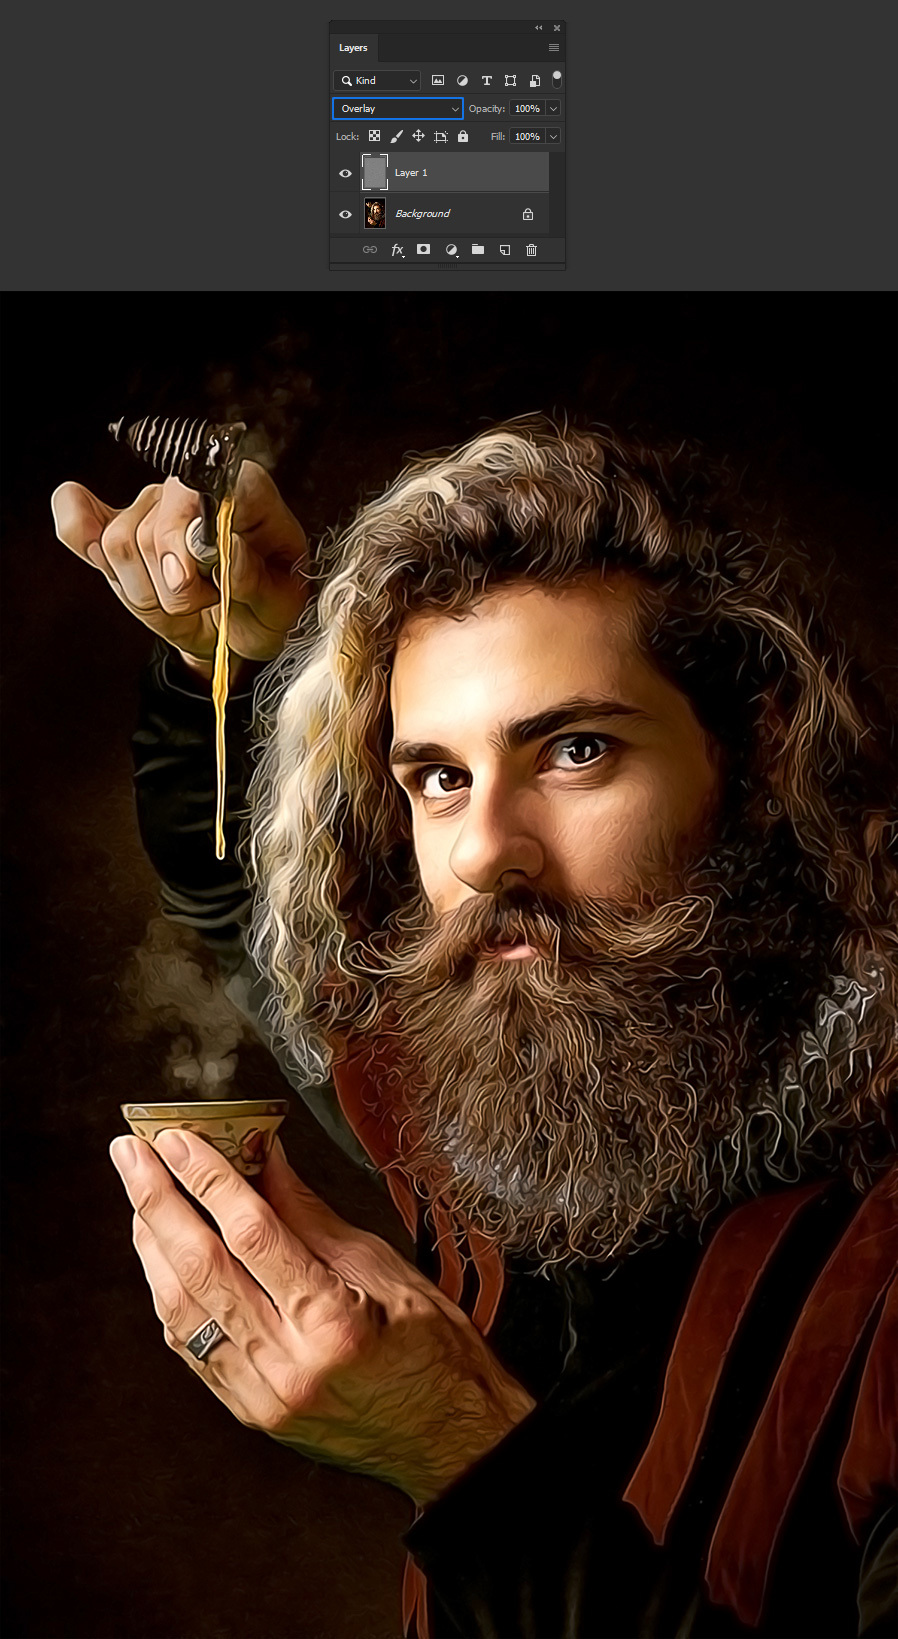
Set the recently duplicated layer blending mode to Overlay.

Step 6
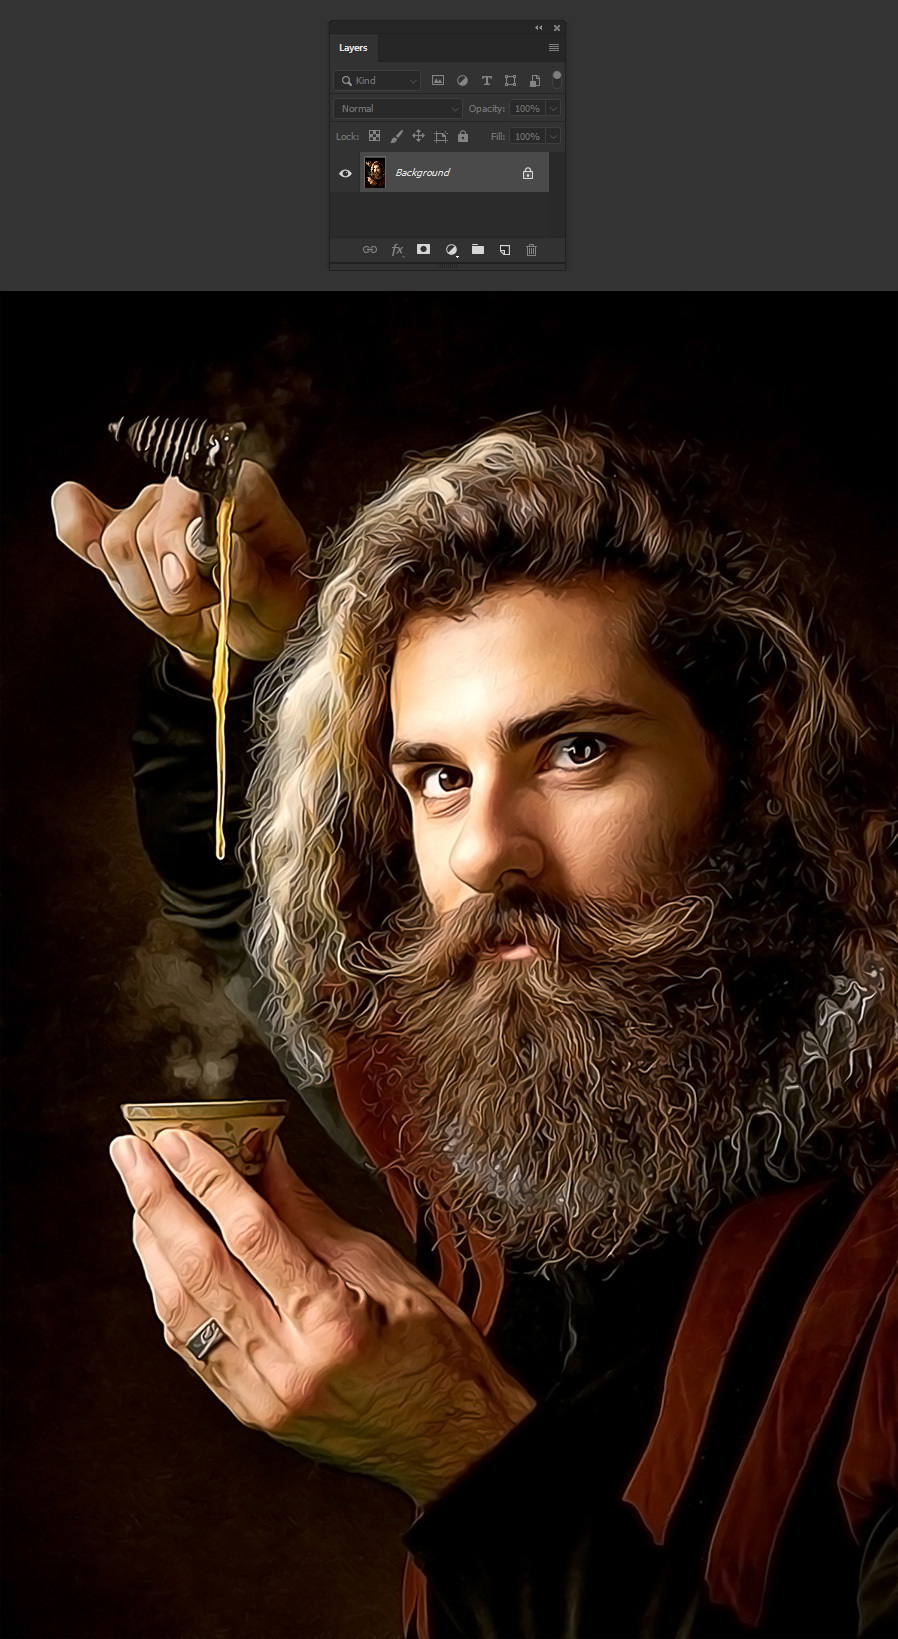
Go to Layer > Merge Visible (or press Shift+Ctrl+E on your keyboard).

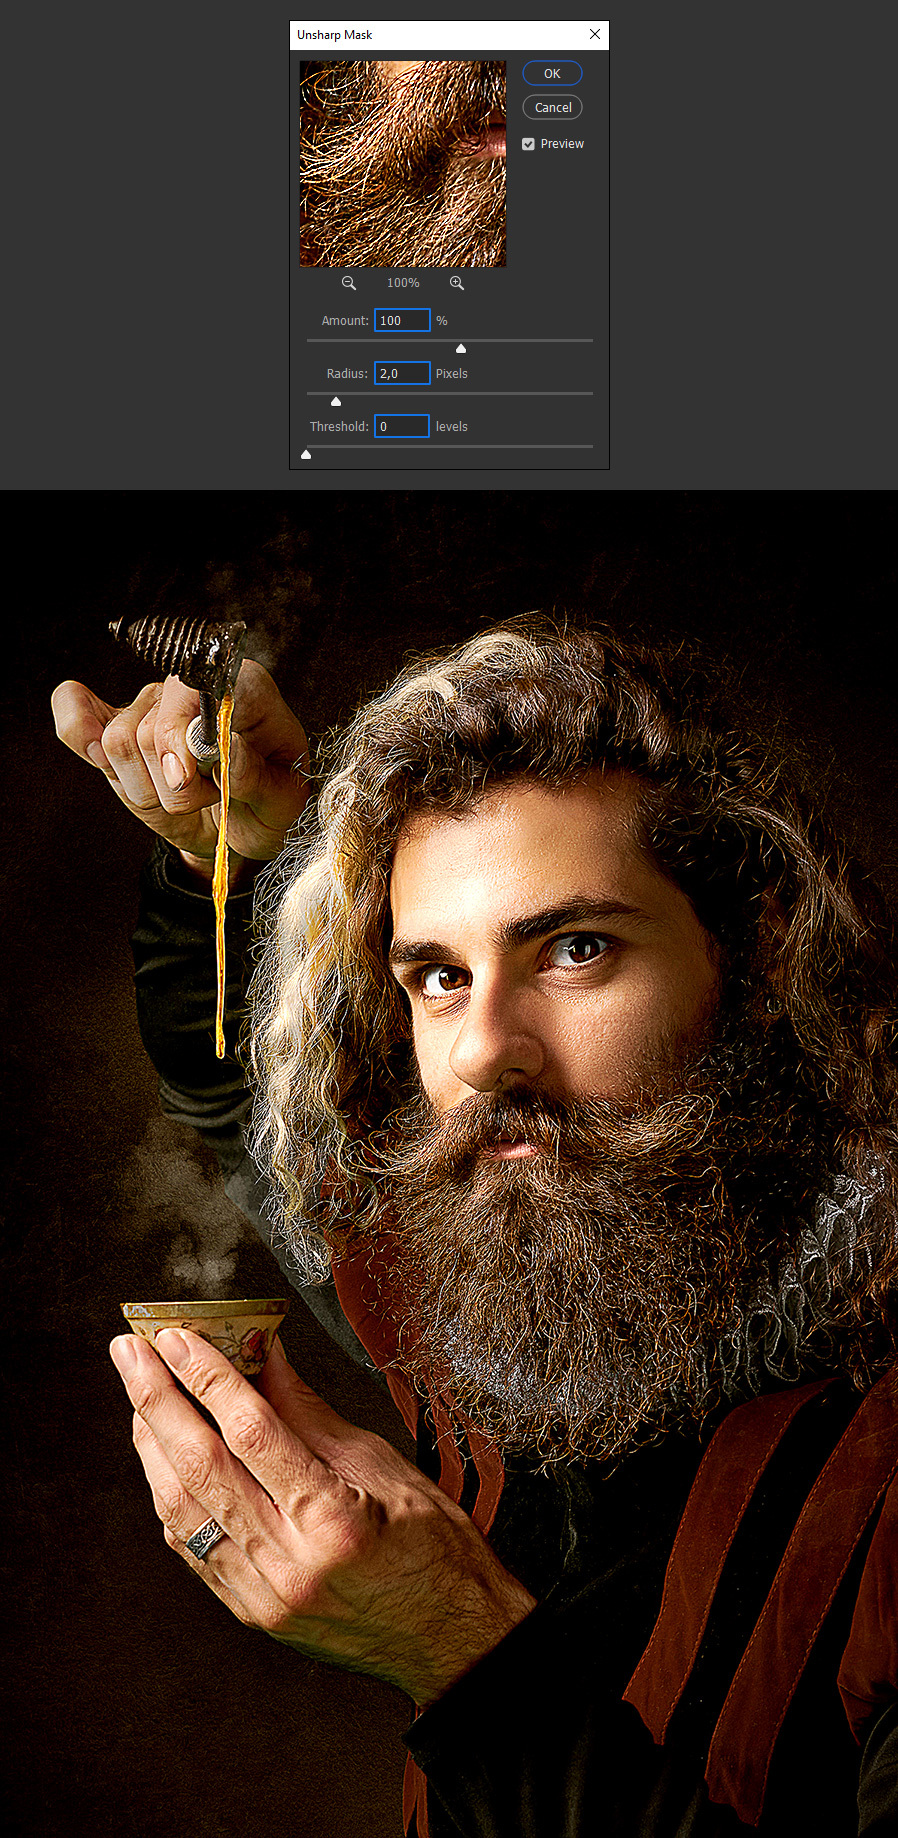
Step 7
Go to Filter > Sharpen > Unsharp Mask. Apply the following settings and click OK.
Step 8
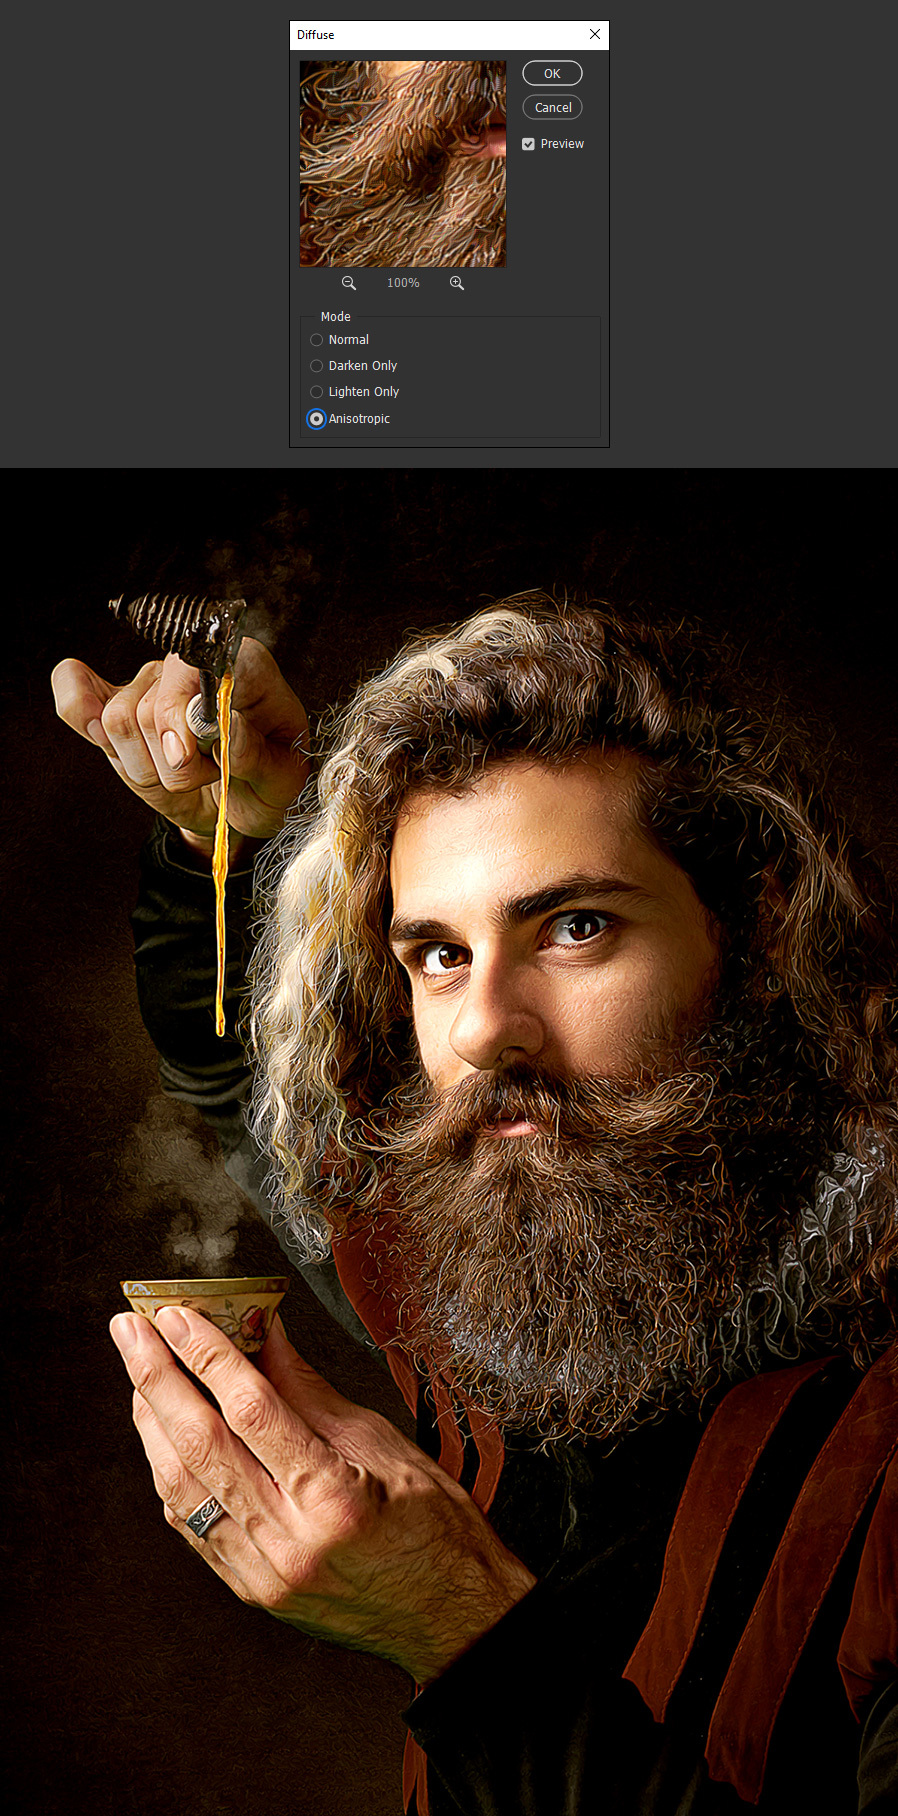
Go to Filter > Stylize > Diffuse. Under Mode select the Anisotropic option and click OK.
Step 9
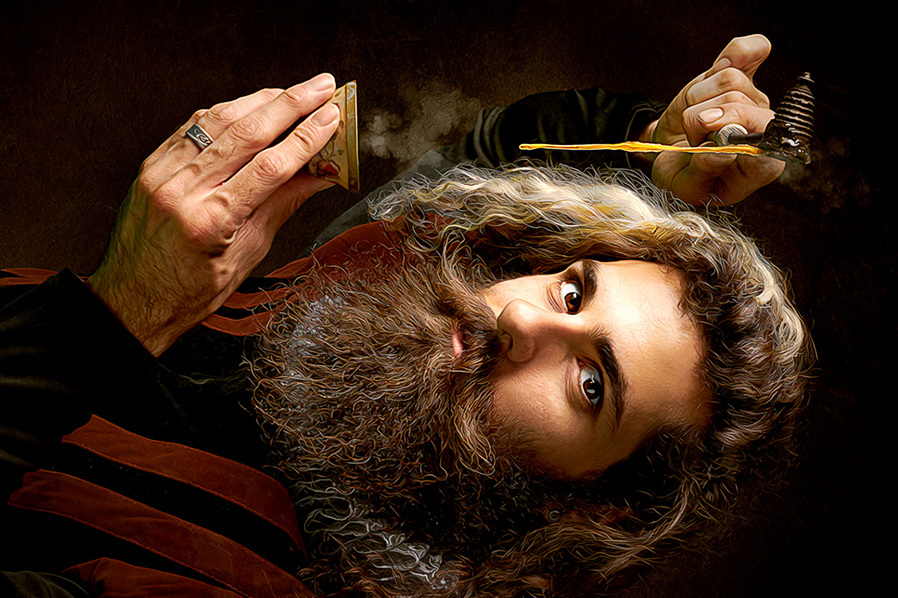
Go to Image > Image Rotation > 90º Clockwise.

Step 10
Go to Filter > Diffuse. The latest filter used should be right on top of the Filter menu, if not, simply press Alt+Crtl+F on your keyboard.
Step 11
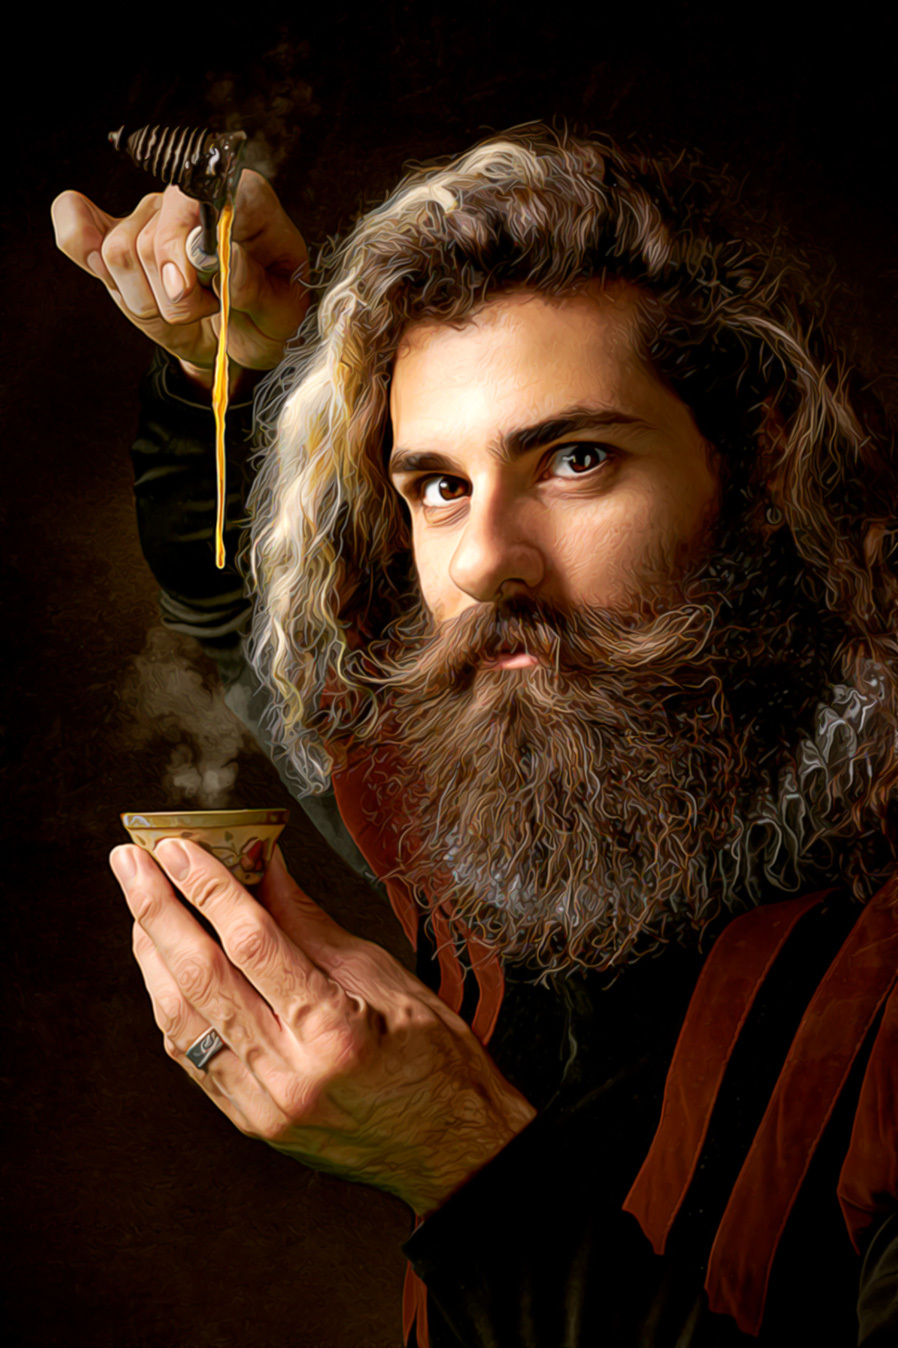
Repeat the last 2 steps (Image > Image Rotation > 90º Clockwise and Alt+Ctrl+F) 3 more times until the image return to the initial position.
Step 12
Go to Filter > Noise > Reduce Noise. Apply the following settings and click OK.

Step 13
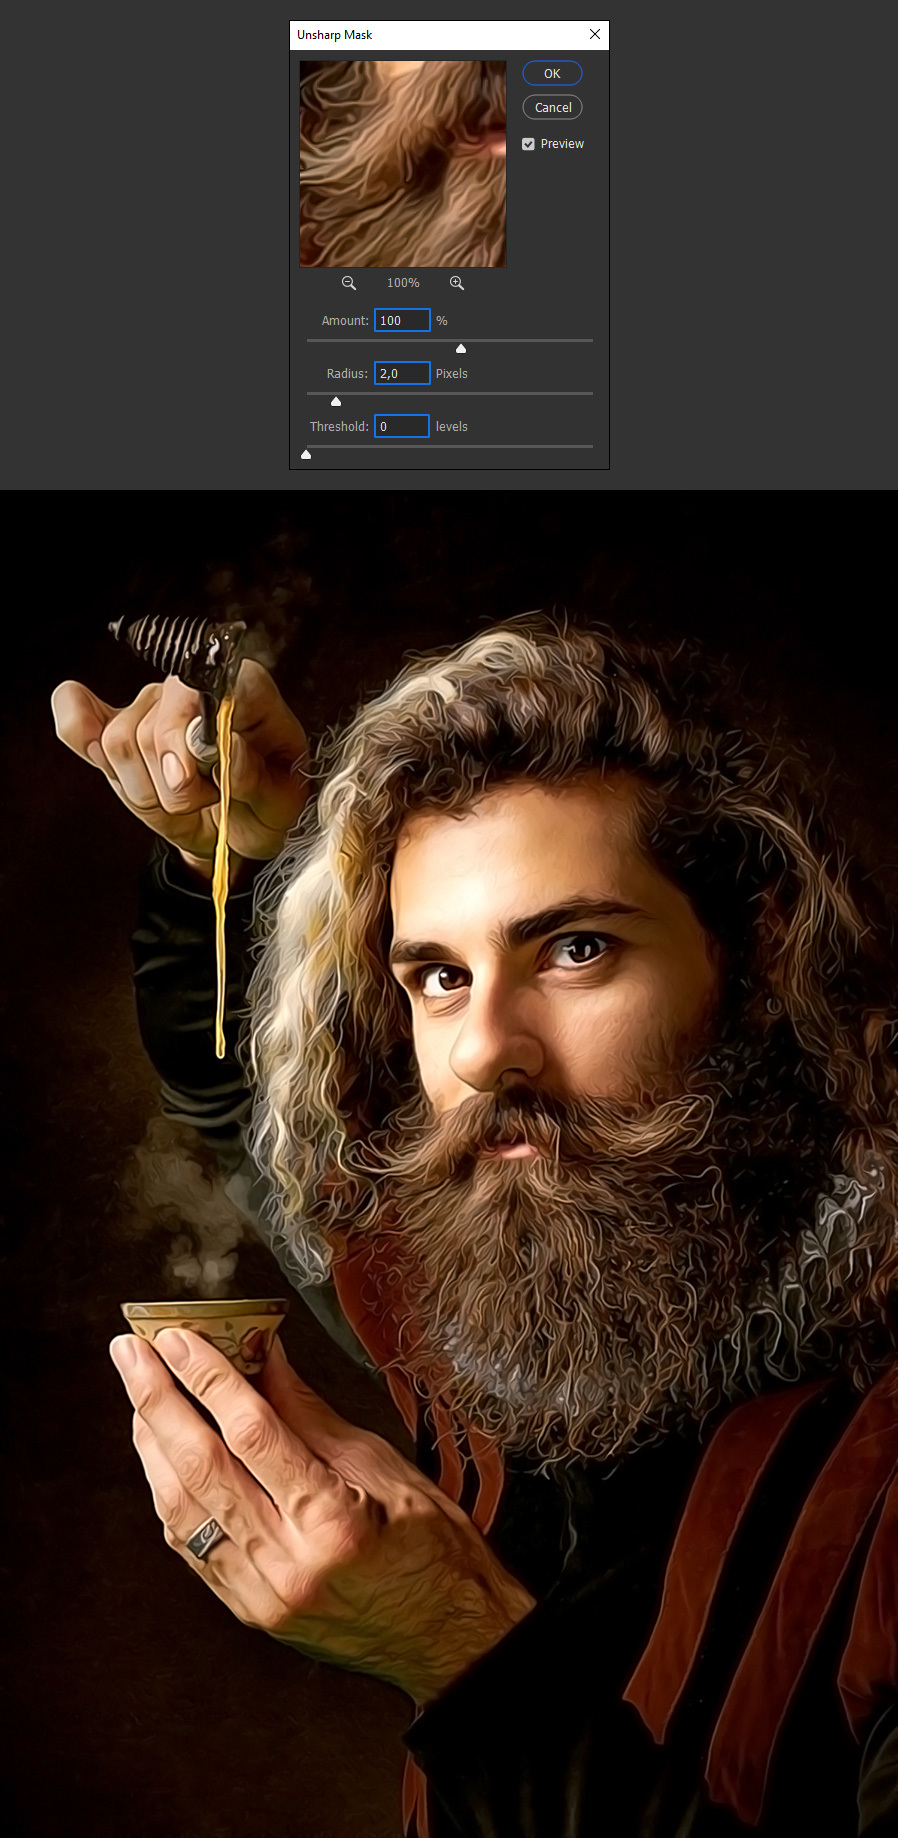
Go to Filter > Sharpen > Unsharp Mask. Apply the following settings and click OK.
Step 14
Press Ctrl+J on your keyboard to duplicate the current layer.

Step 15
Go to Filter > Other > High Pass. Set the Radius to 2 and click OK.
Step 16
Set the recently duplicated layer blending mode to Overlay.
Step 17
Go to Layer > Merge Visible (or press Shift+Ctrl+E on your keyboard).
Step 18
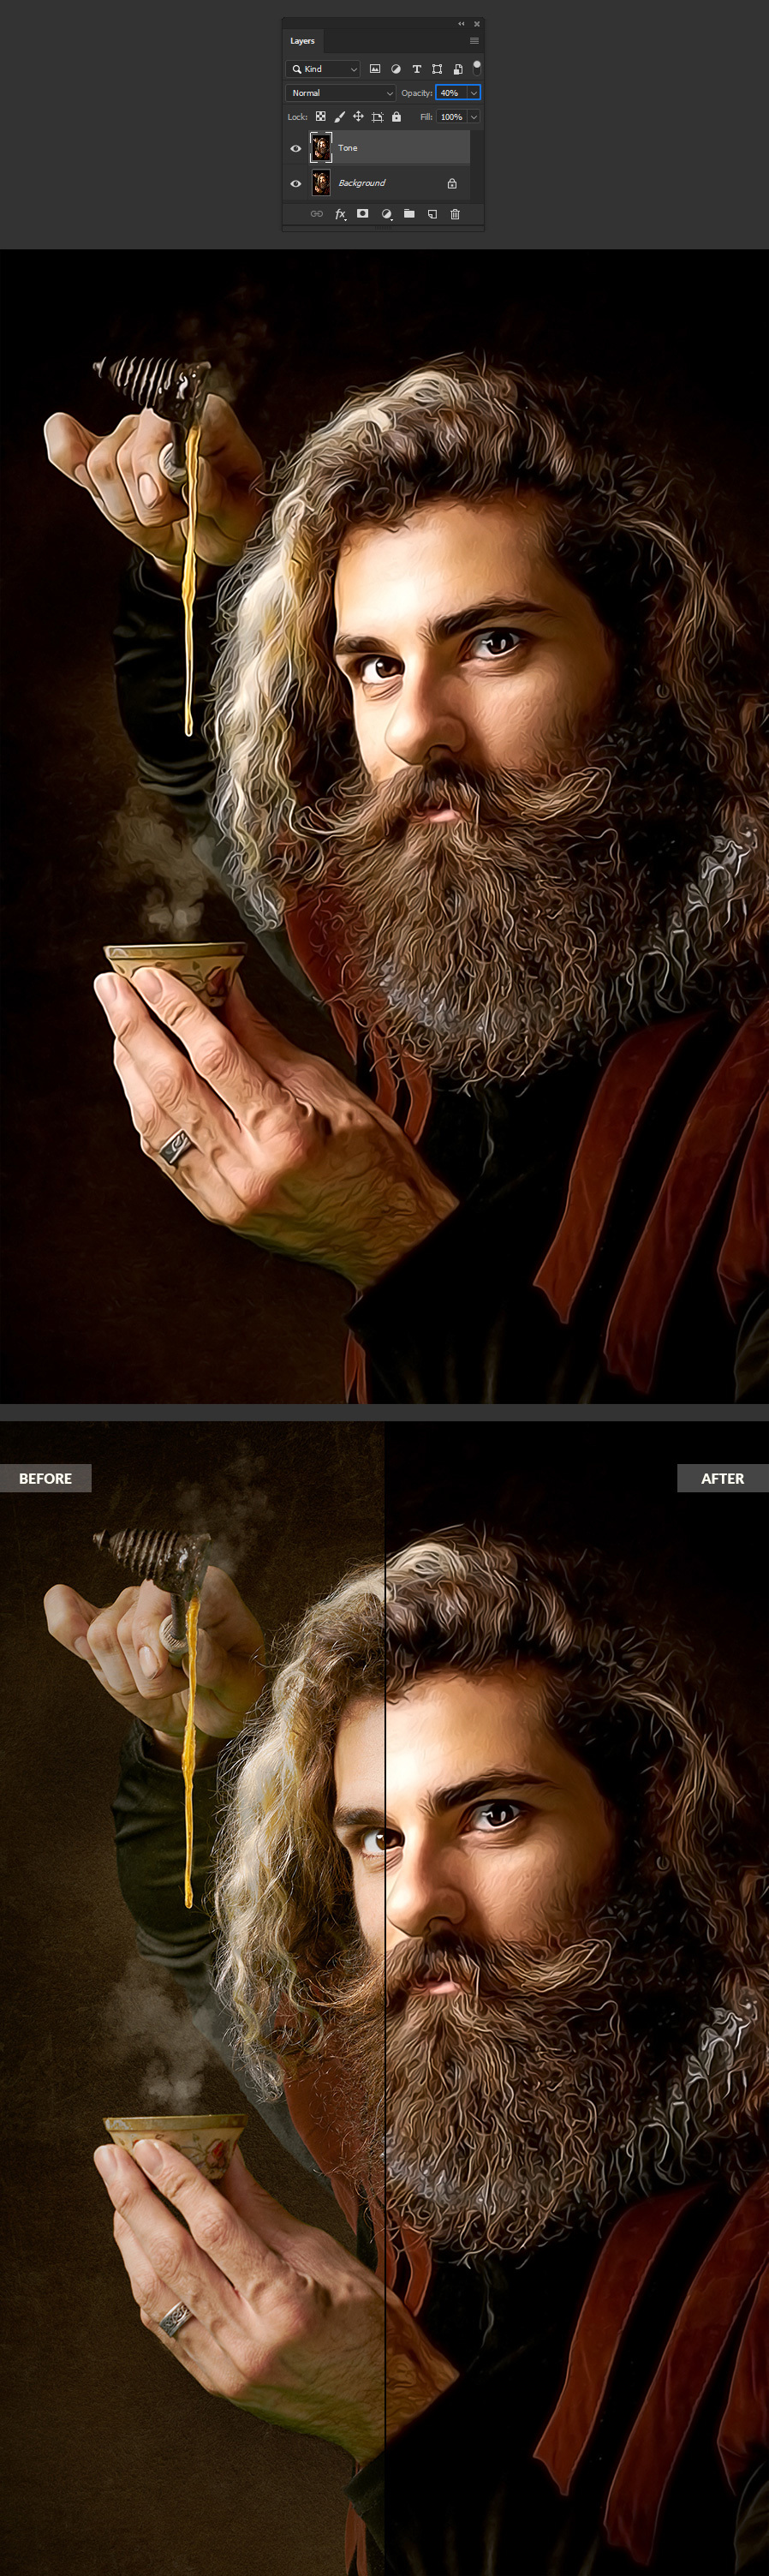
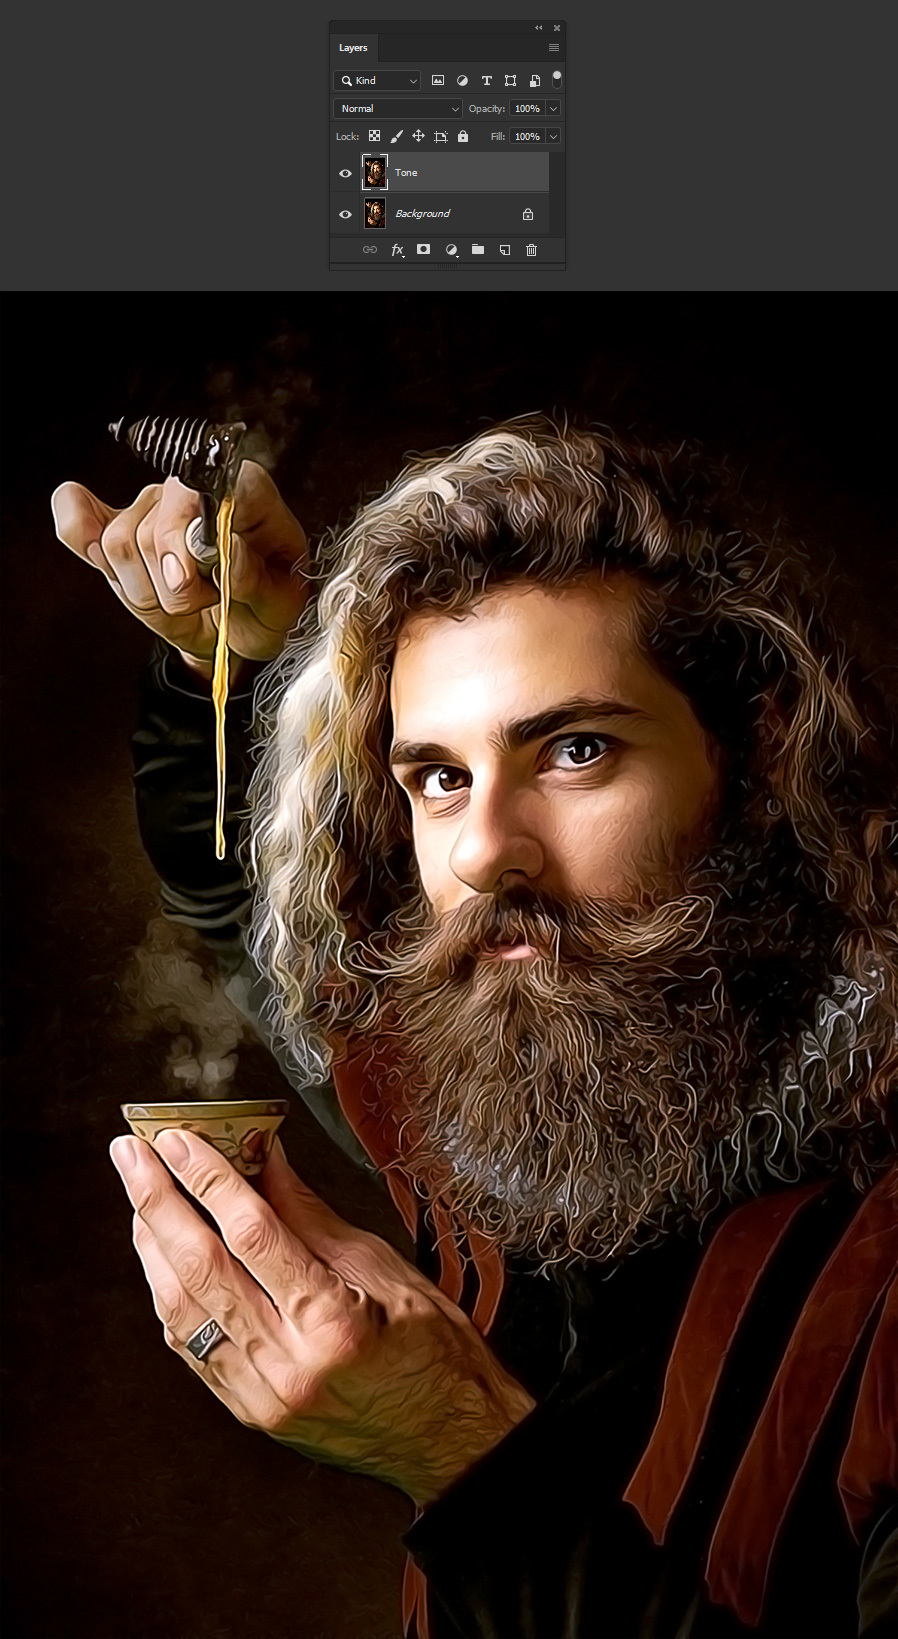
Press Ctrl+J on your keyboard to duplicate the current layer and rename it to “Tone”.

Step 19
Go to Image > Auto Tone.
Step 20
Finally, bring down the “Tone” layer opacity to your liking, which in this case is set to 40%.